Brief
"Create a prototype of a mobile, portable or integrated device. It will be the process from an initial concept idea through to designing a visual prototype of the device and an interface design of an application running on the device."
Overview
For this project, my group and I chose the idea of a type of smart ski goggles which would enhance the skier's experience. Some unique features included a sensor alongside the goggles which would have clipped onto the skis, used to inform the skier of what their balance was and at what angle the skis were positioned. We went from designs to actually 3D printing the sensors which would fit onto the skis and link to the ski goggles via 'Bluetooth'. We didn't 3D print the actual ski goggles as it was too complex to do in the time we had remaining.
With regards to this project, I created various designs for the ski goggles and the actual sensors which would fit onto the skis. My main role for this project was to make the 3D sensors in 'Cinema 4D'. After finishing the designs in 'Cinema 4D', I then rendered the one we had all agreed on and labelled it in a diagram. Finally, I utilised the 3D printer to make a 3D printed object of the sensors.
The process of the project from initial stages to the final outcome can be viewed on this page.
References for this project can be viewed in the document supplied at the end of this page.
Sketches and Ideas
Brainstorming Initial Ideas
Overview
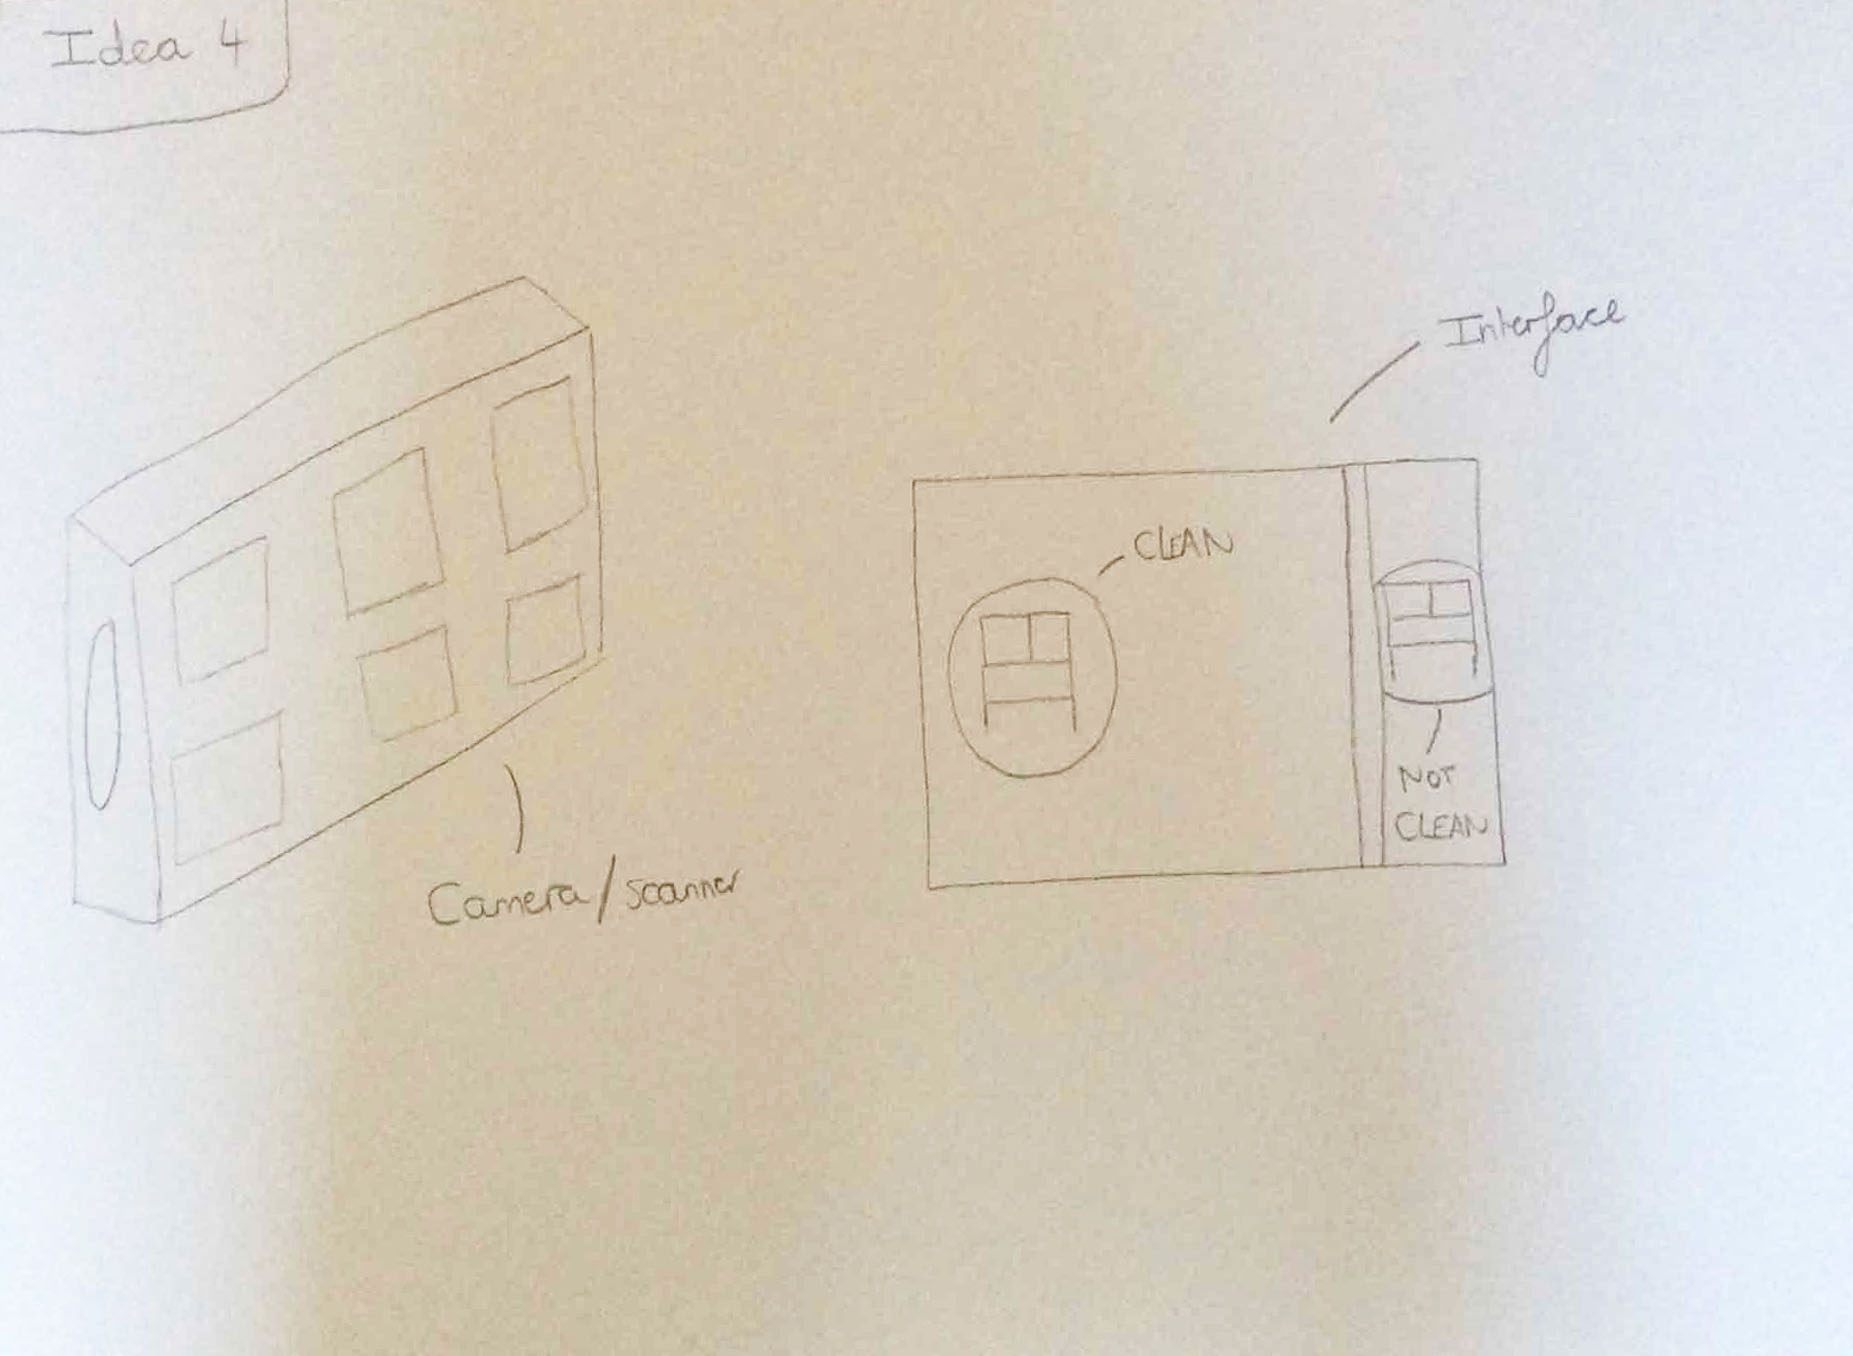
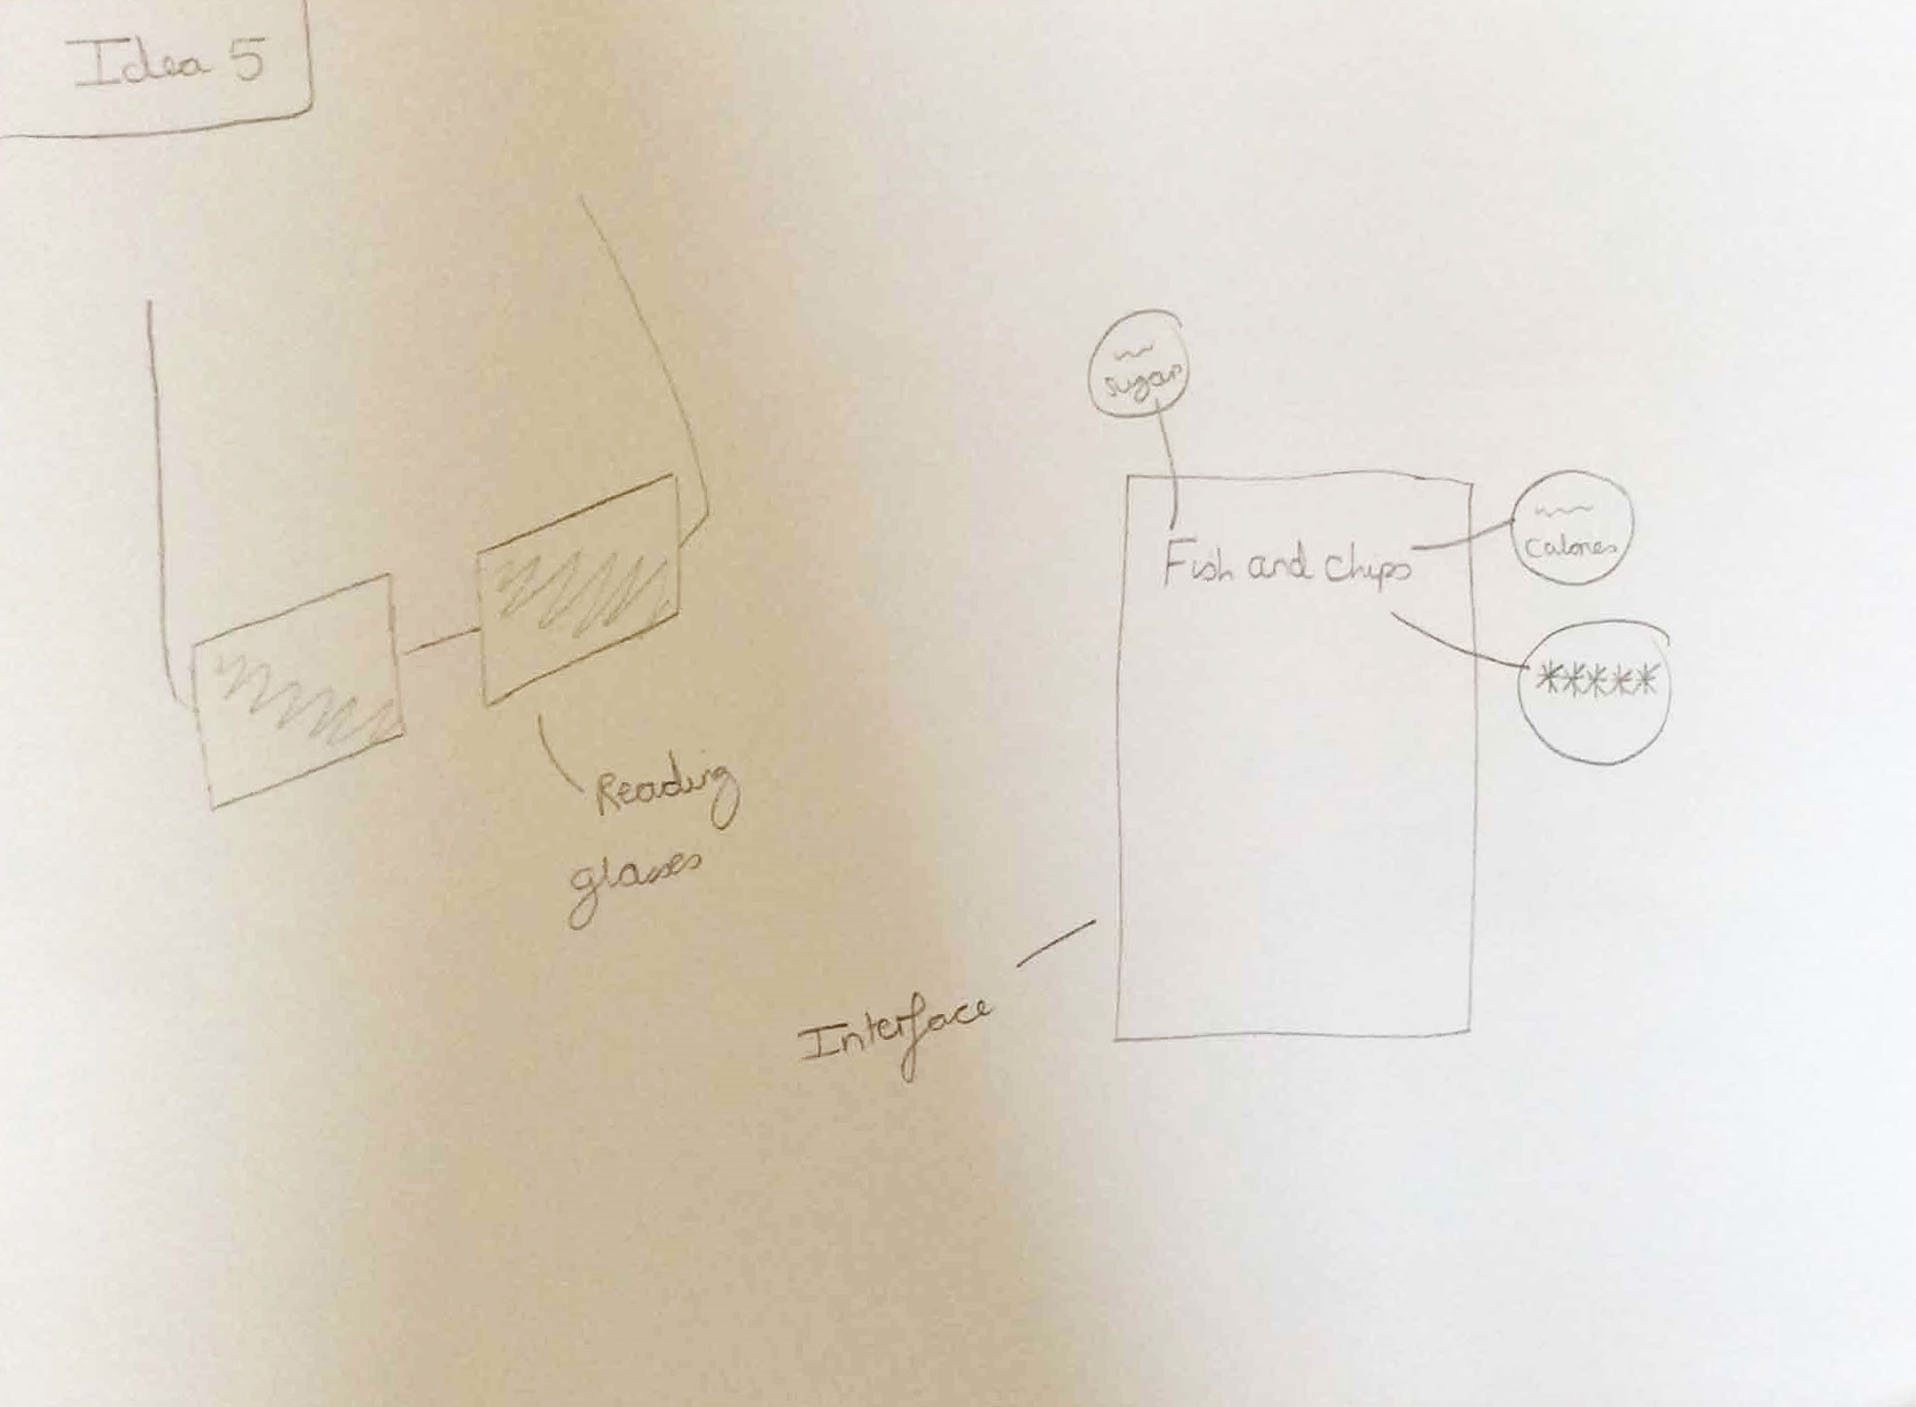
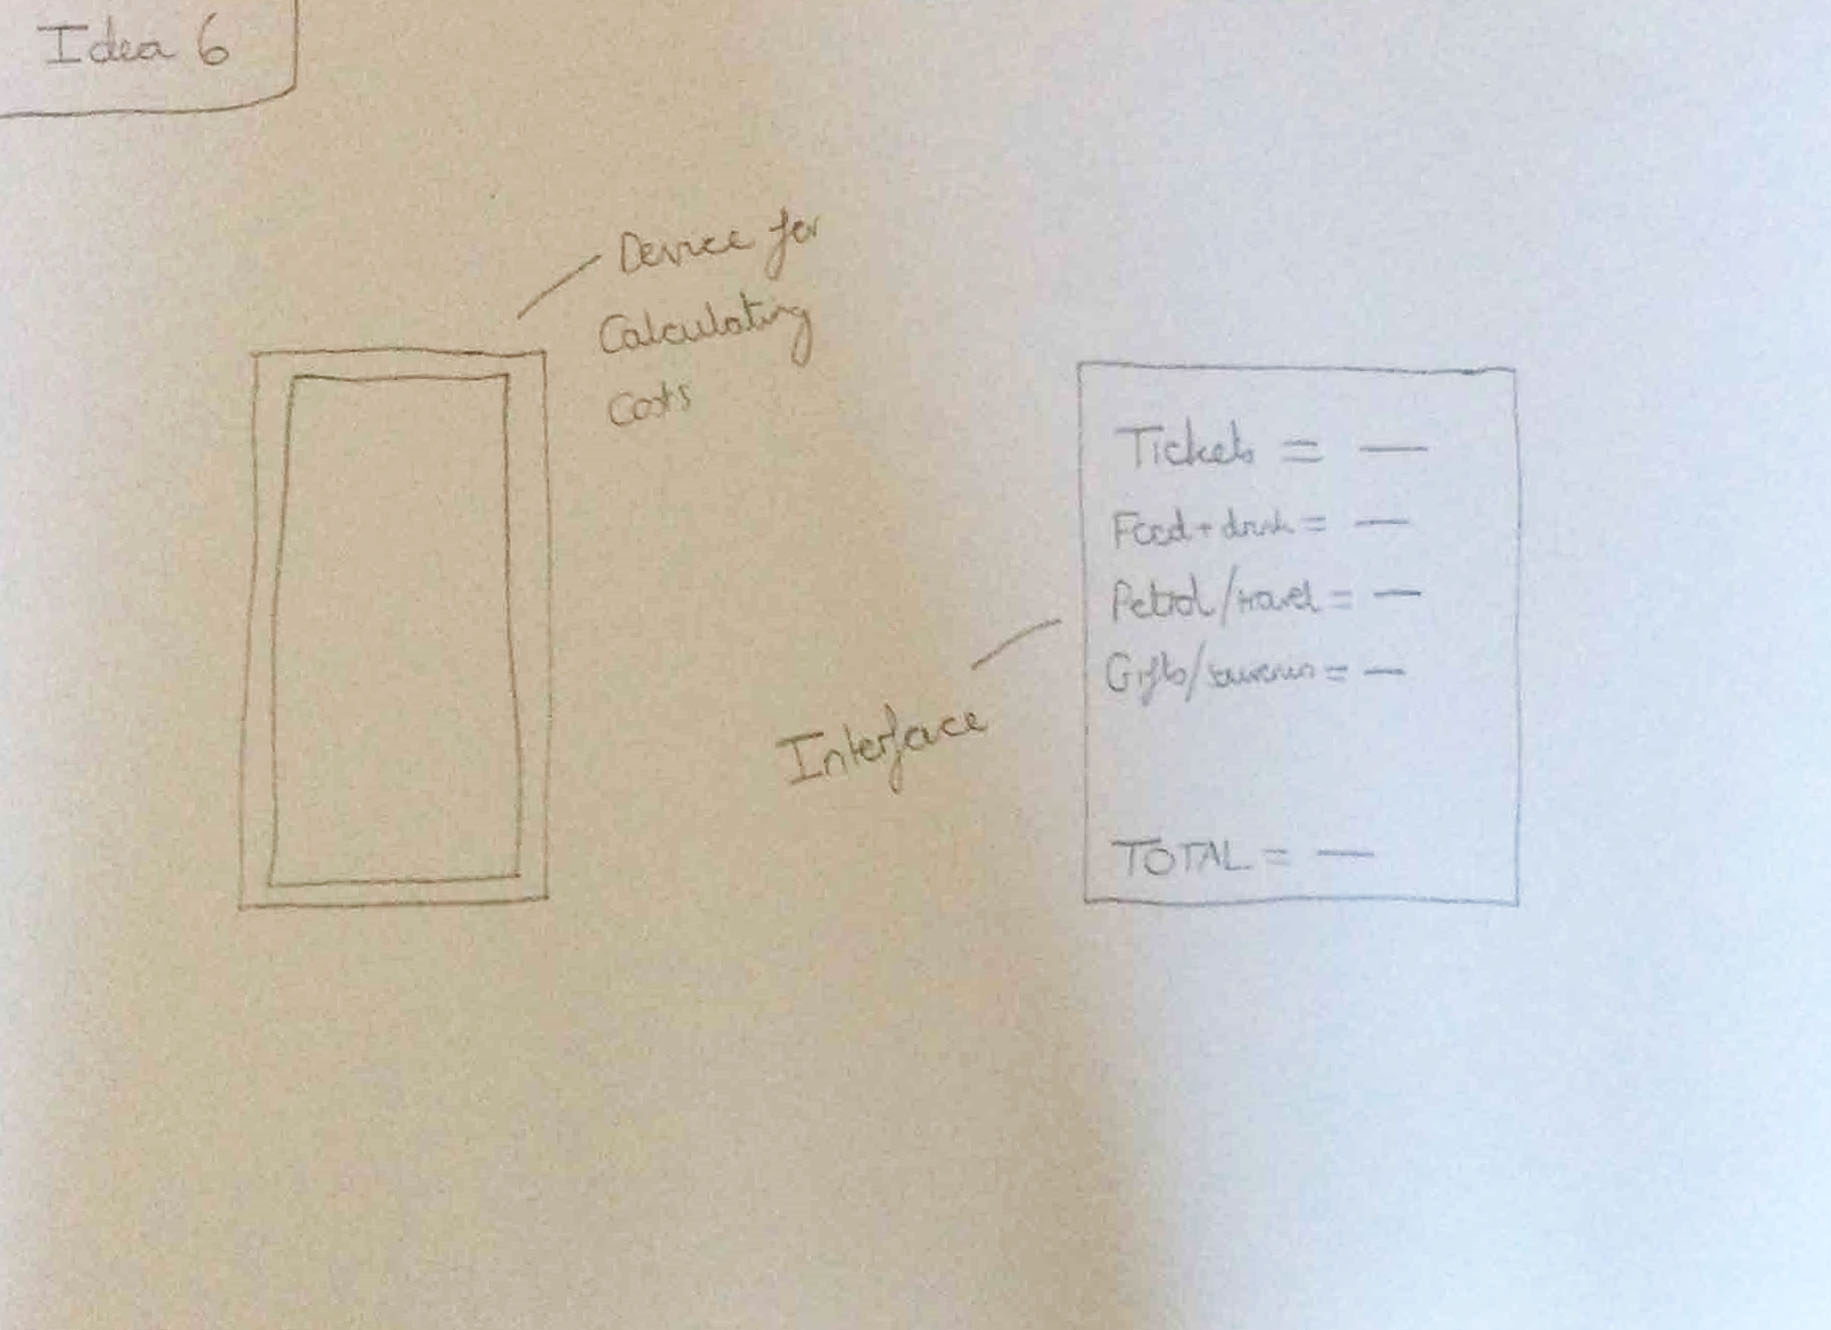
First of all, before agreeing with the first idea we thought of, we produced lots of different ideas so that we would have had a good selection to consider rather than one or two. To contribute, I noted down six different ideas, one for each different context we had to choose from and drew a rough sketch to display a visual for each idea.
The six different contexts were travelling on public transport, going to an entertainment event, buying furniture, ordering food, watching a sports event (we selected this context) and presenting to people.
The Created Ideas
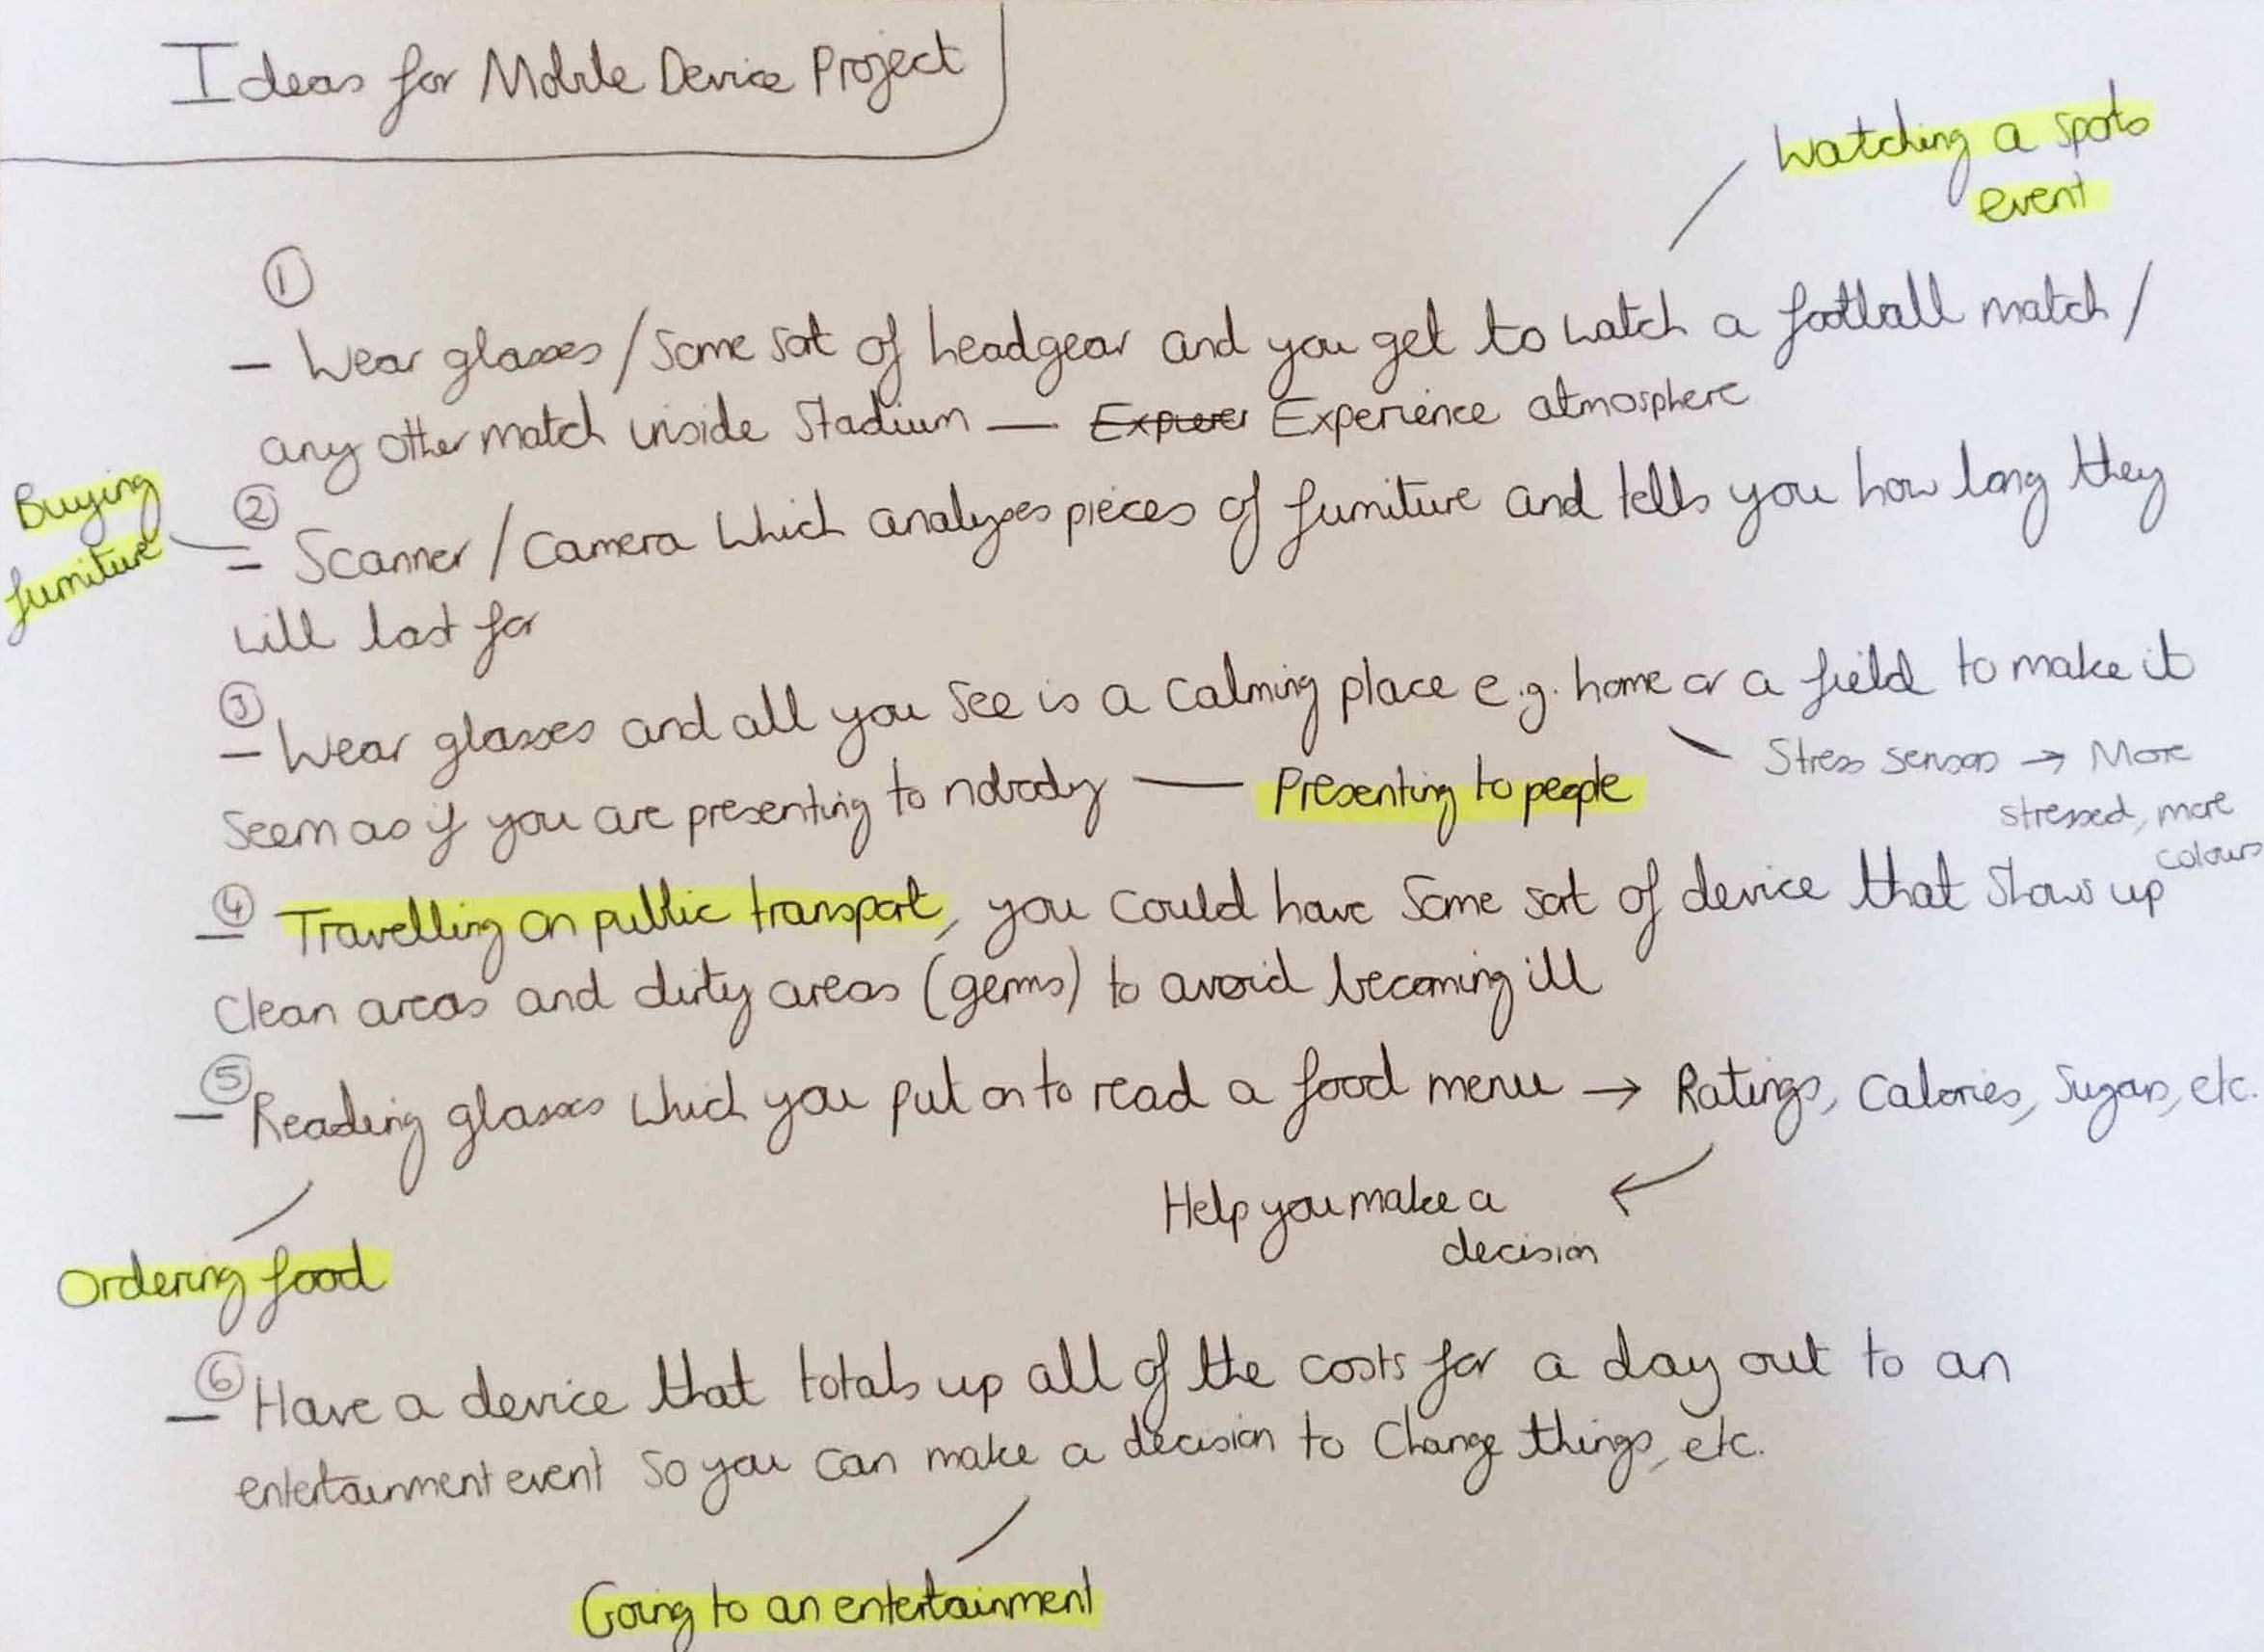
The List of Ideas with Descriptions
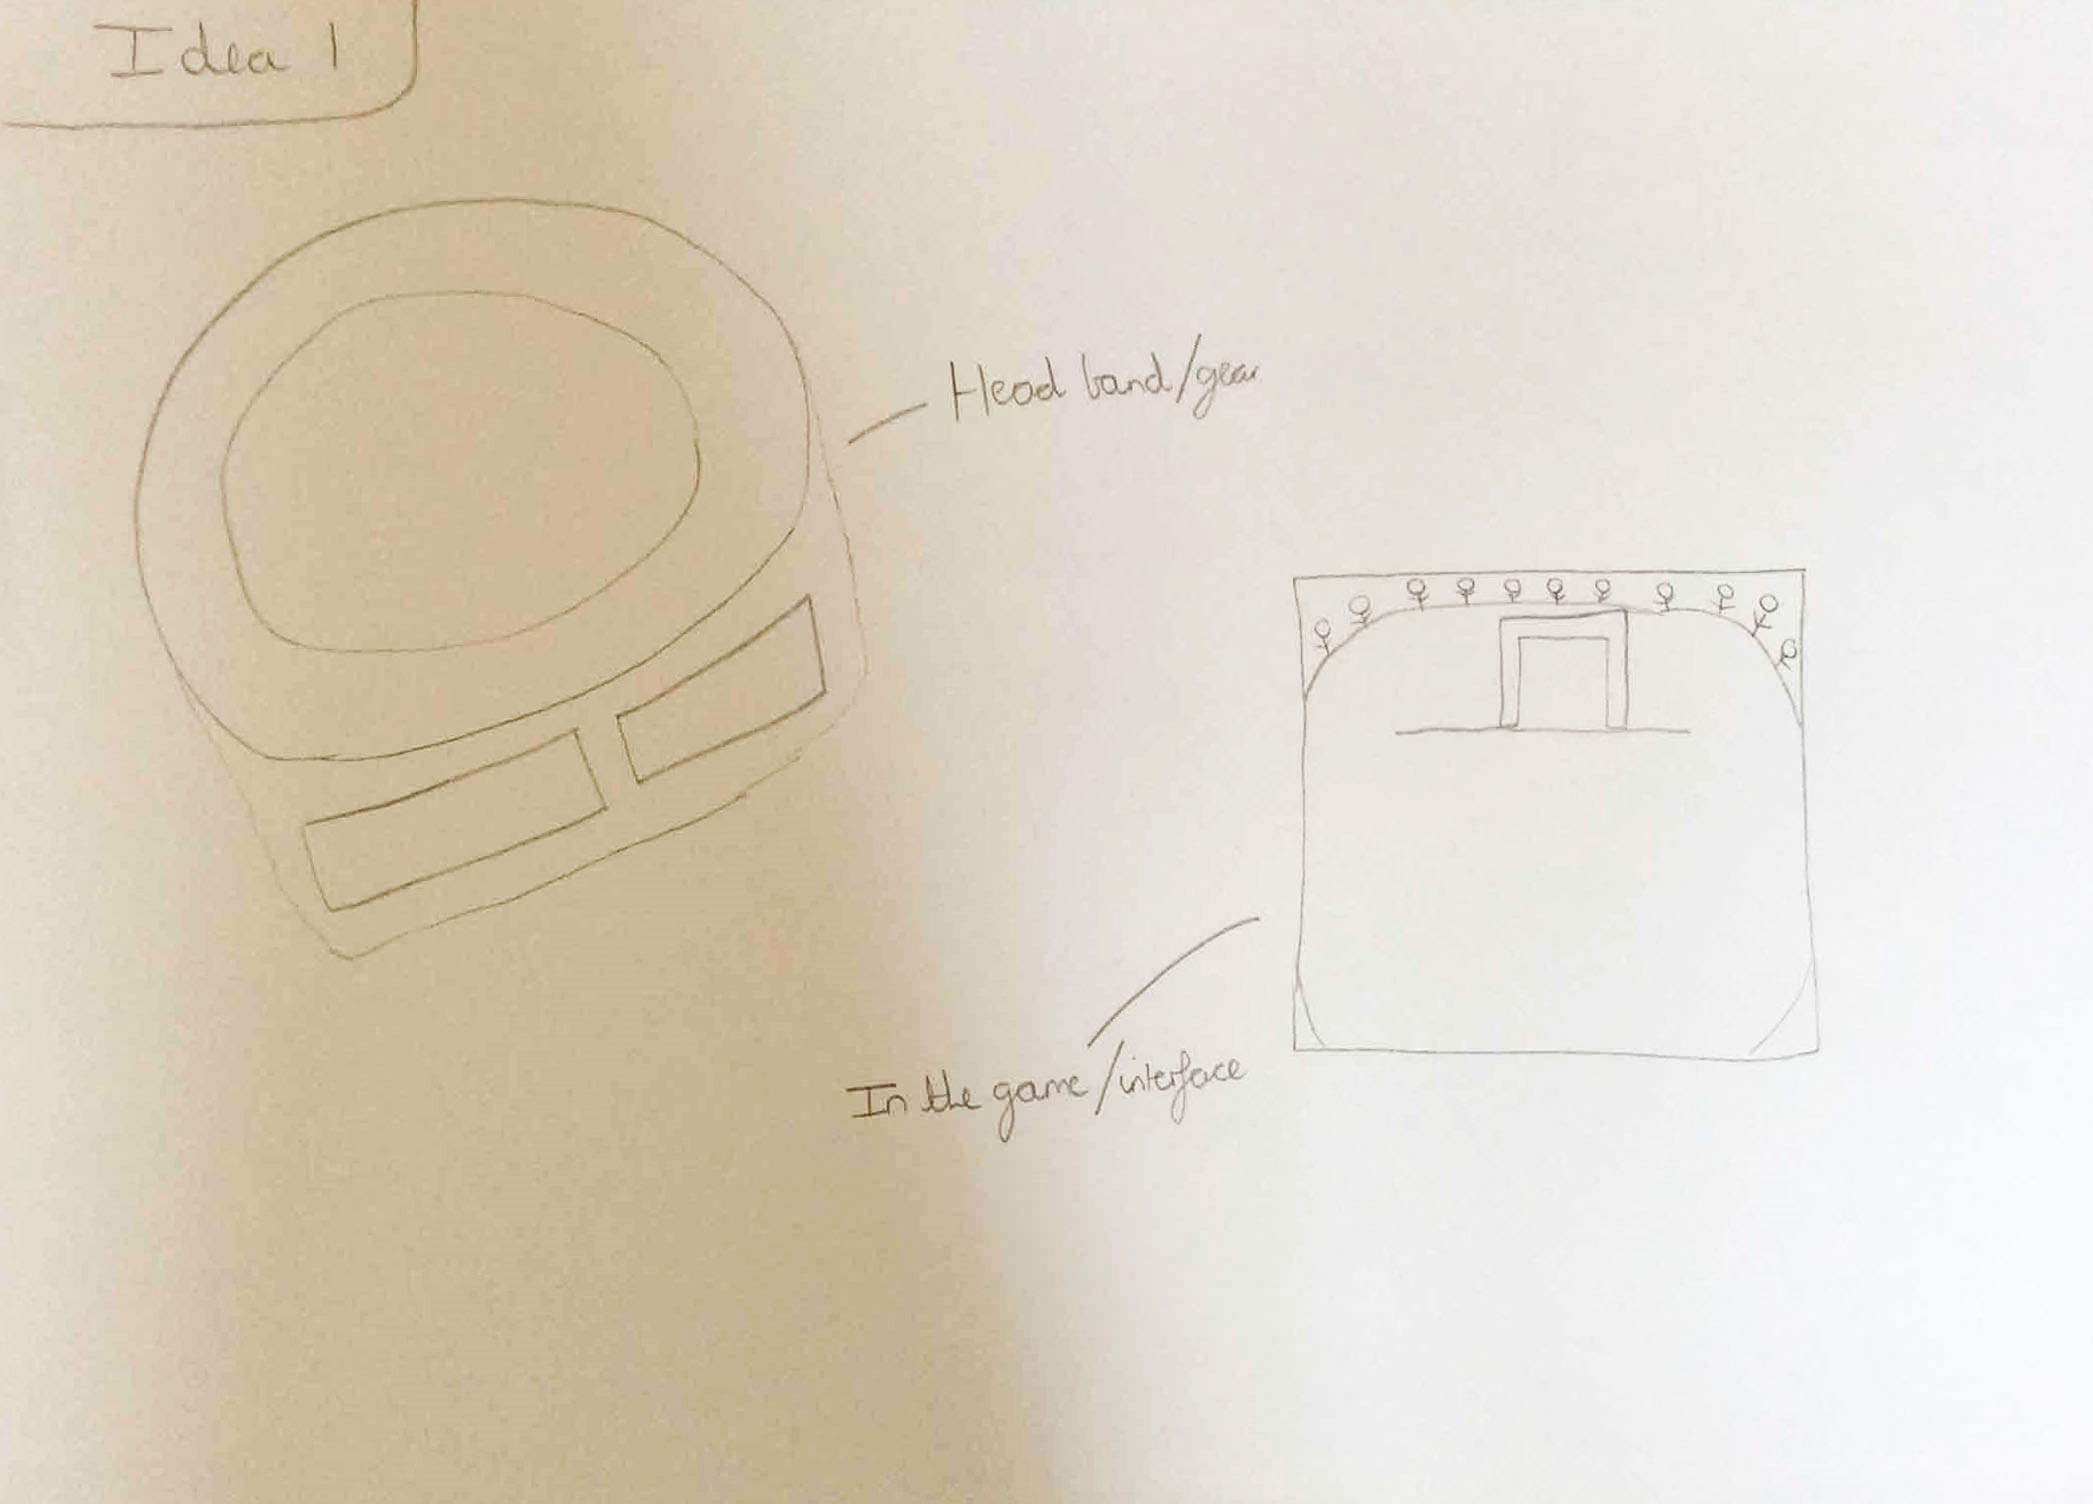
The Visual for Idea 1
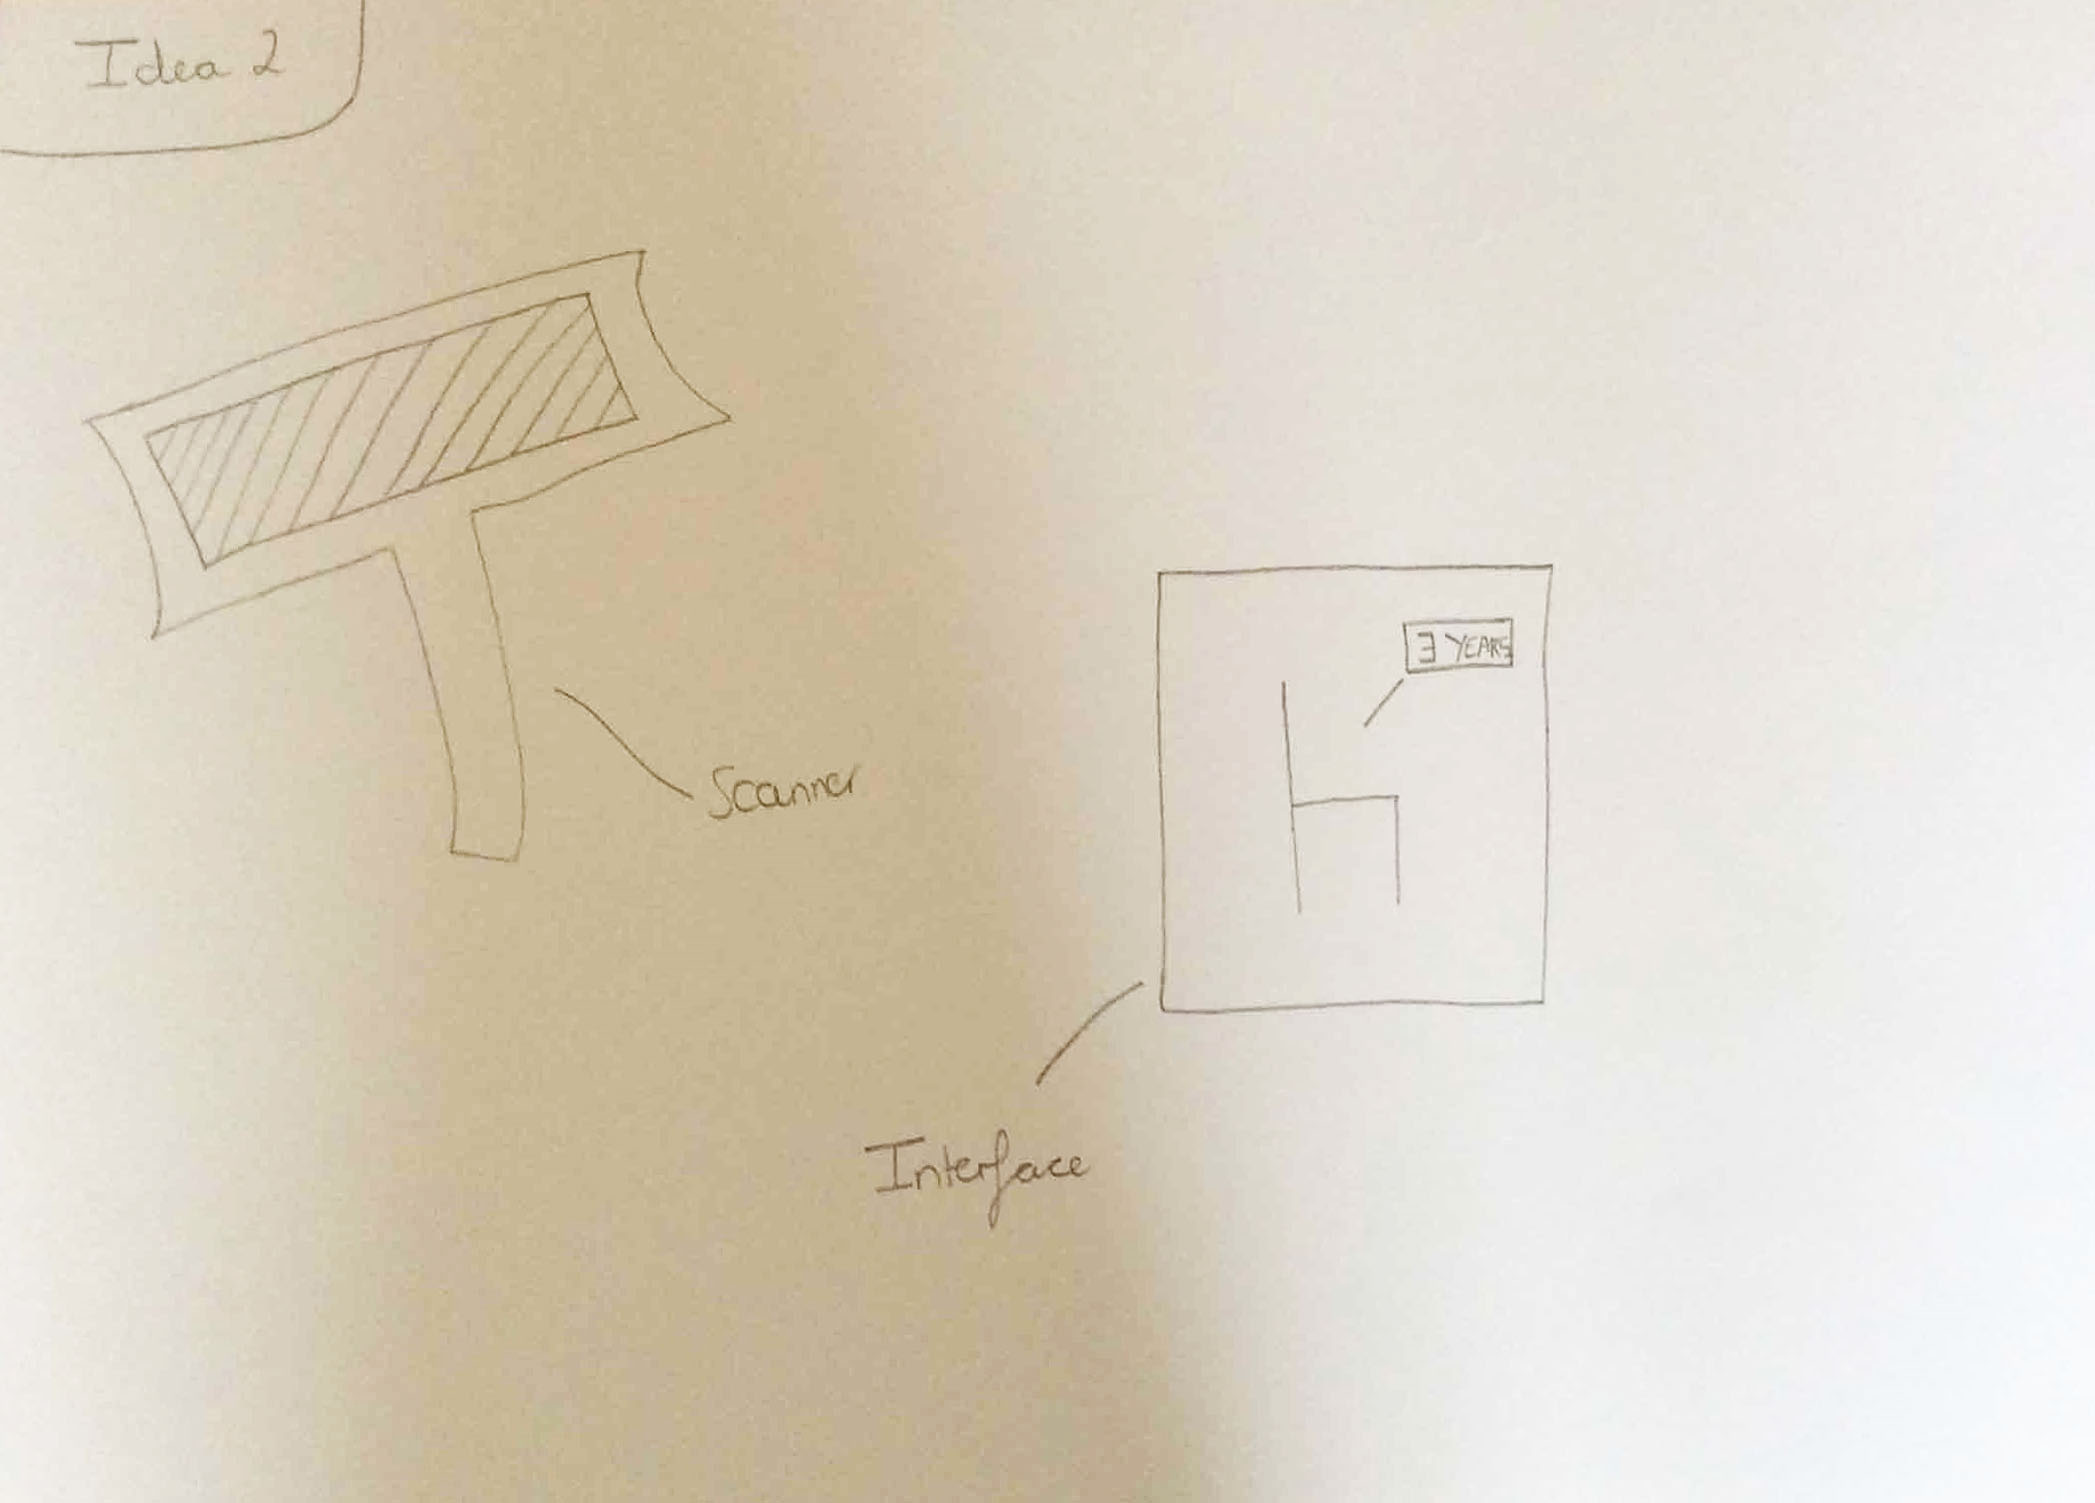
The Visual for Idea 2
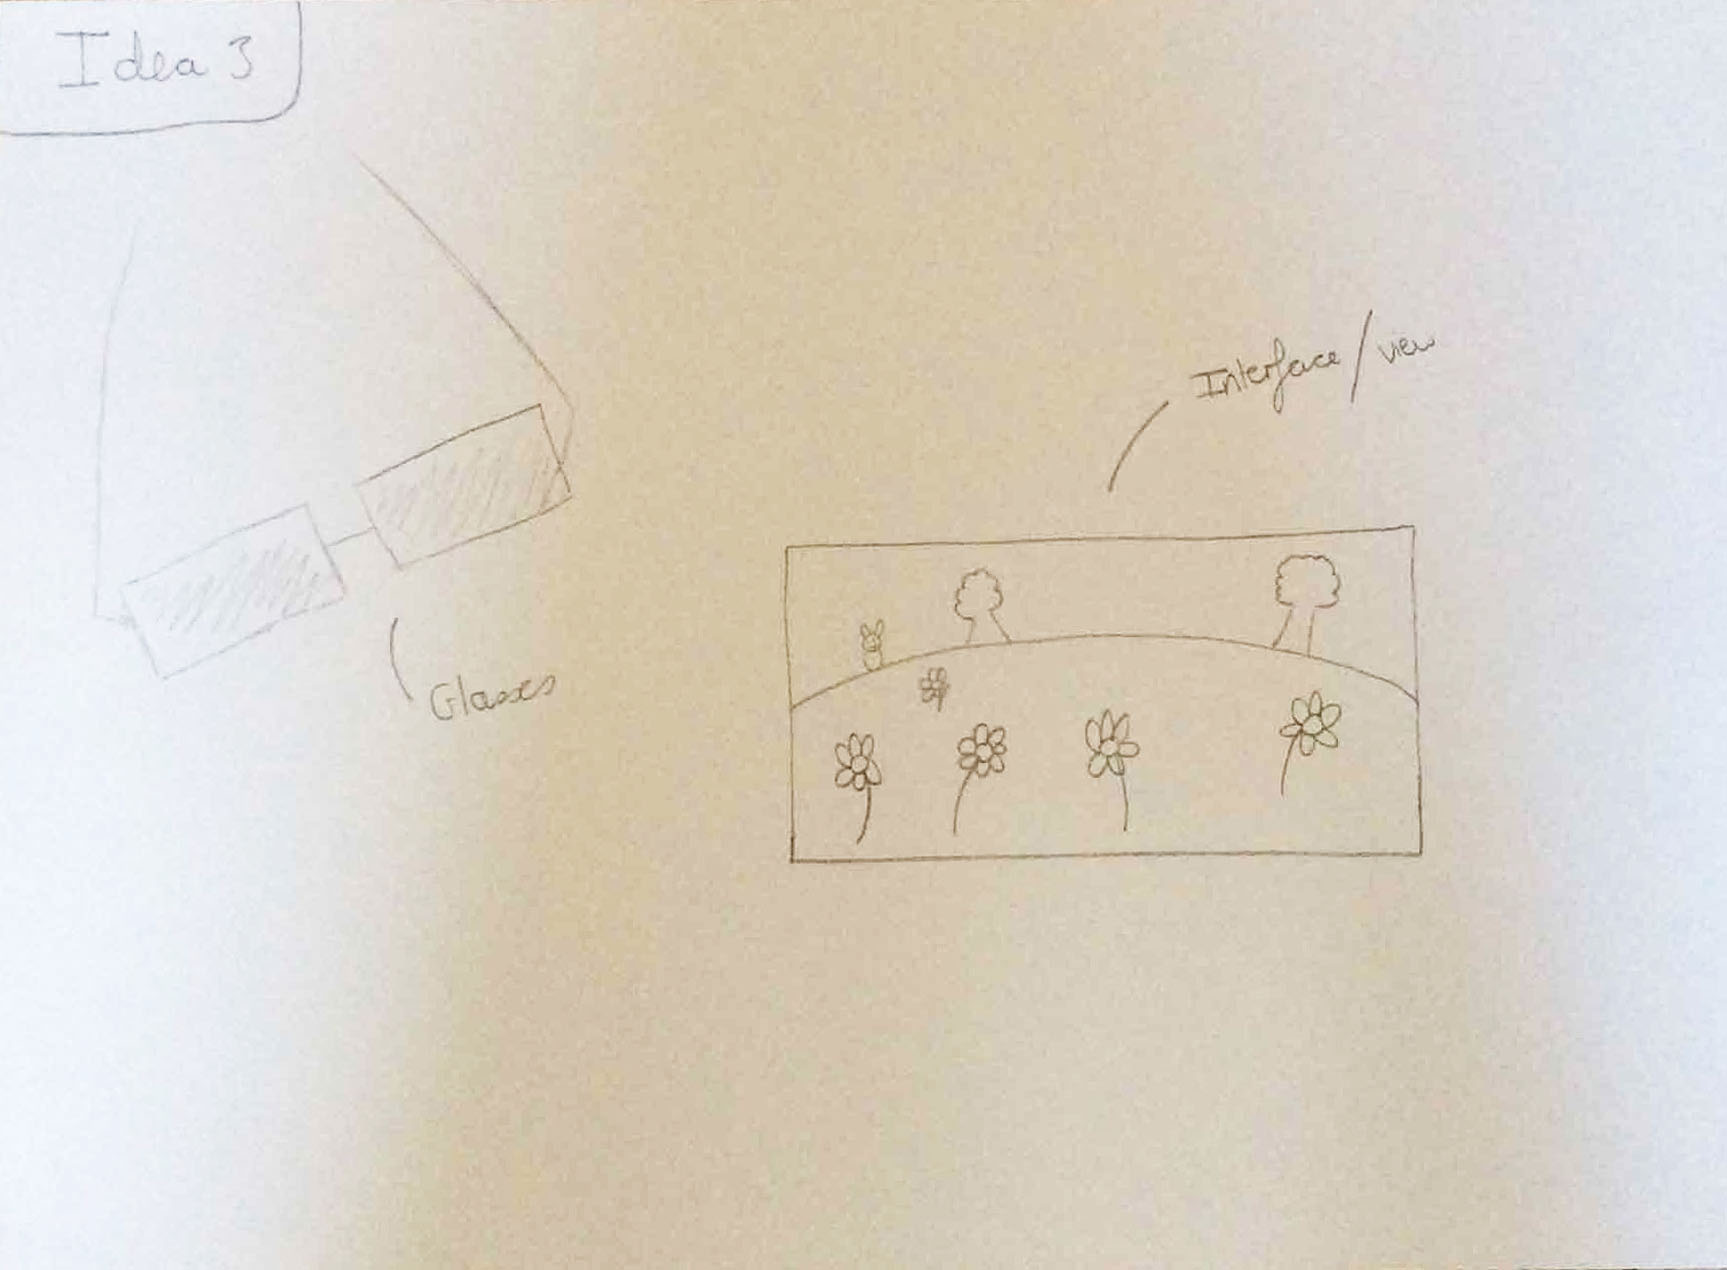
The Visual for Idea 3
The Visual for Idea 4
The Visual for Idea 5
The Visual for Idea 6
Following on from making a decision to go with the ‘Watching a sports event’ context, we then all agreed to go with the idea of ski goggles which did many things e.g. showing your ski route and warning you of dangerous areas (avalanches). We were told that for the ‘Watching a sports event’ context, it could also have been a type of sports device/interactive device which could have been used for sports.
Designing the Ski Goggles
Overview
Following on from the previous stage, we then assigned different roles to different team members and I was assigned the duty of designing the actual ski goggles. So therefore, I undertook some research on the style of ski goggles at that current time.
Undertaking Research
Overview
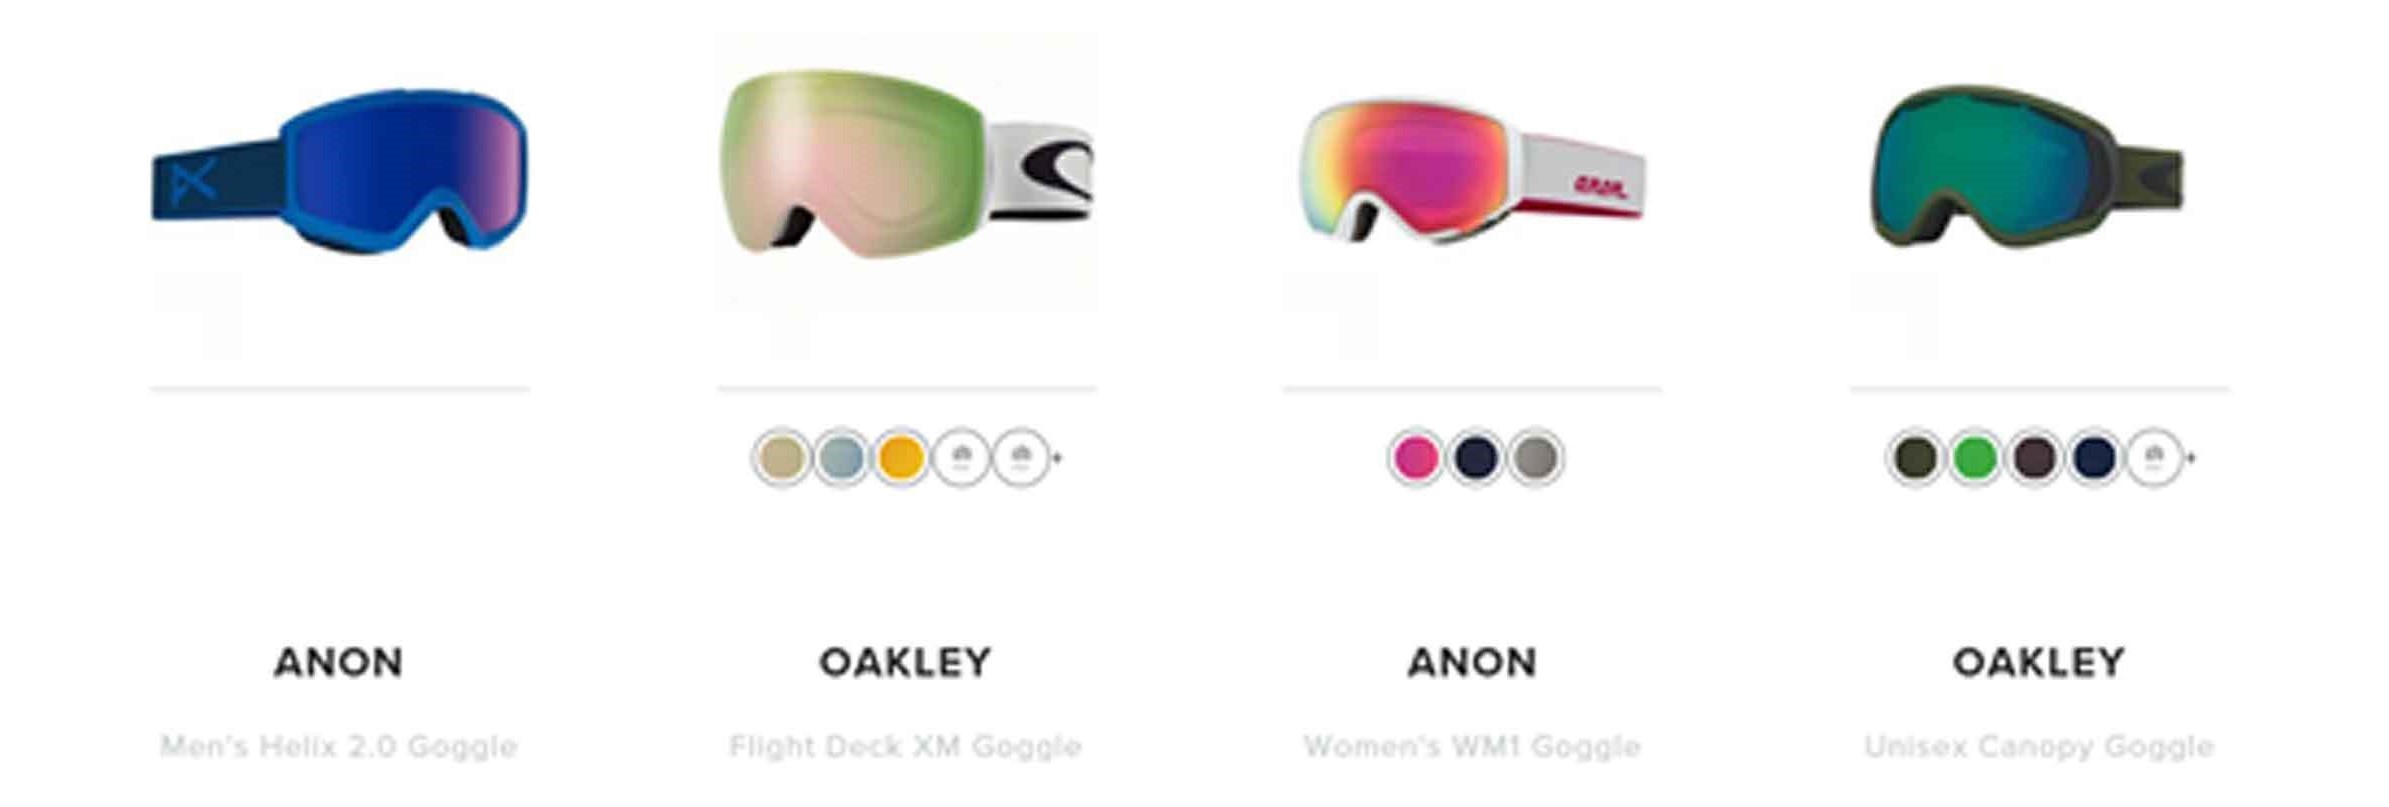
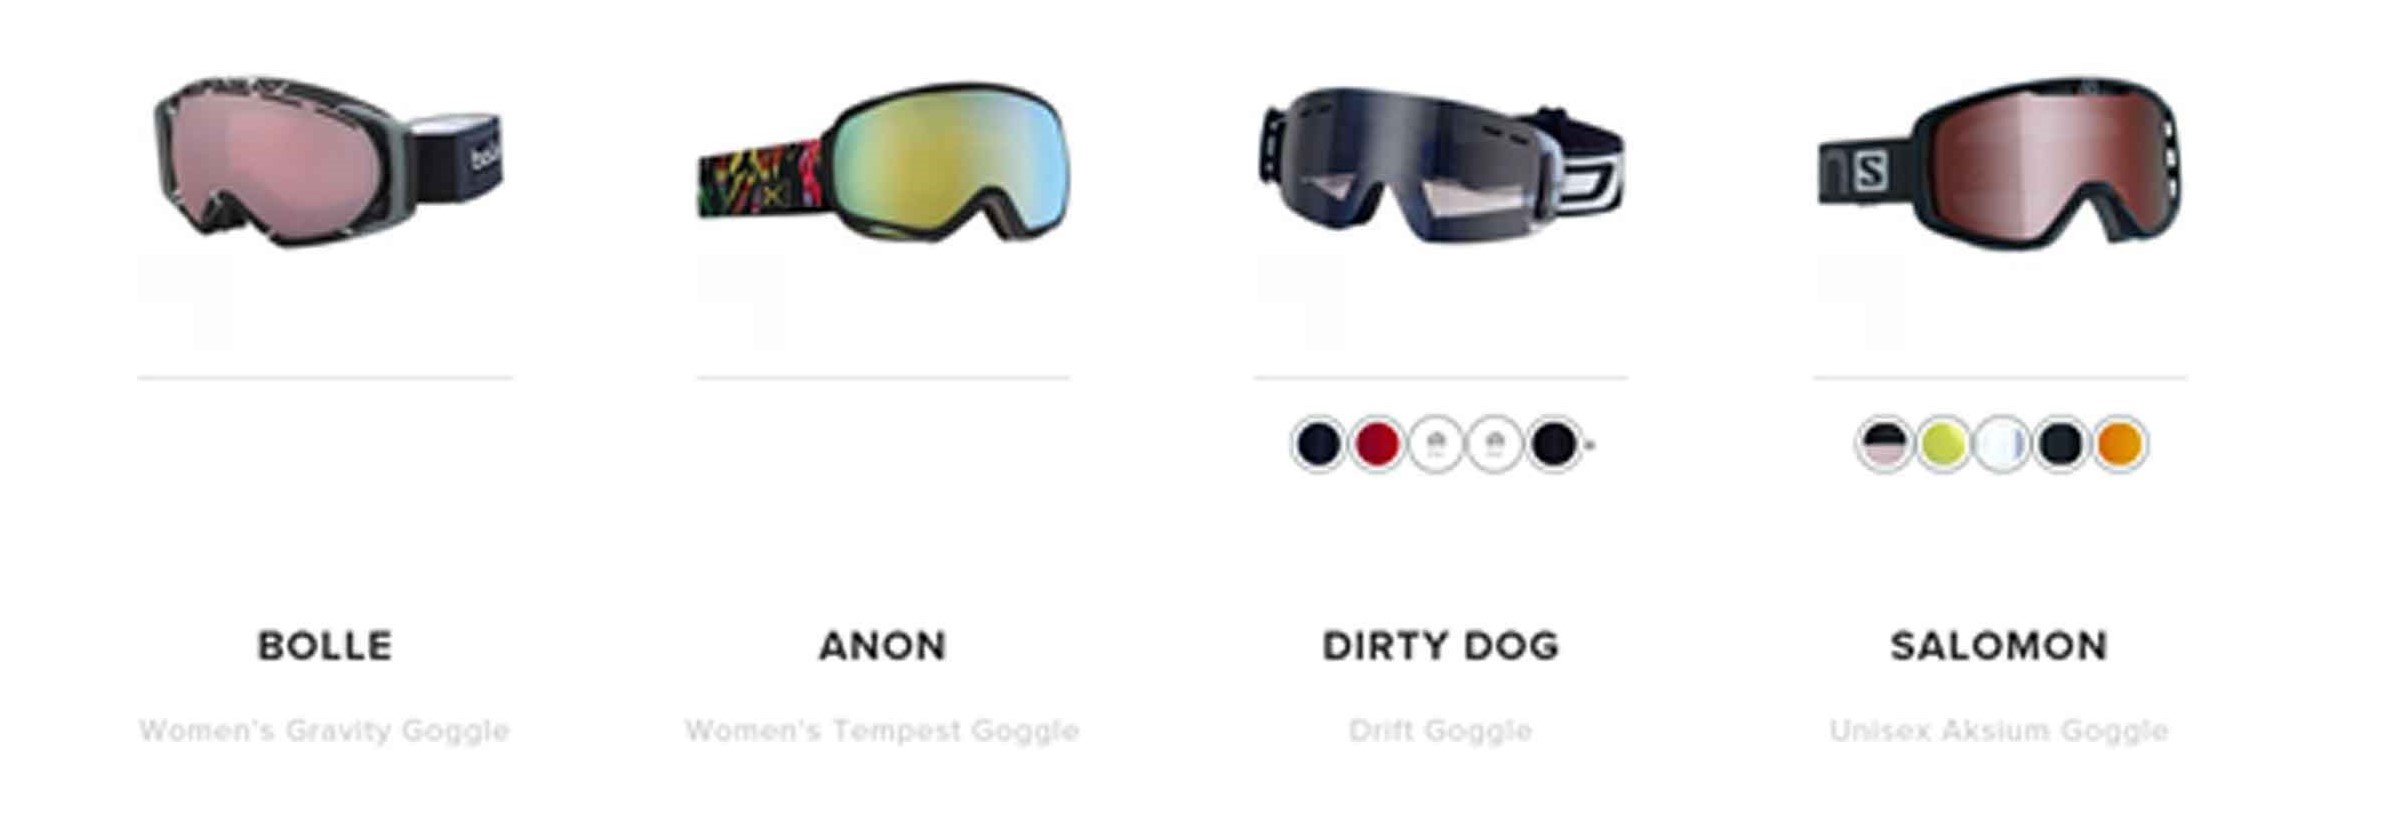
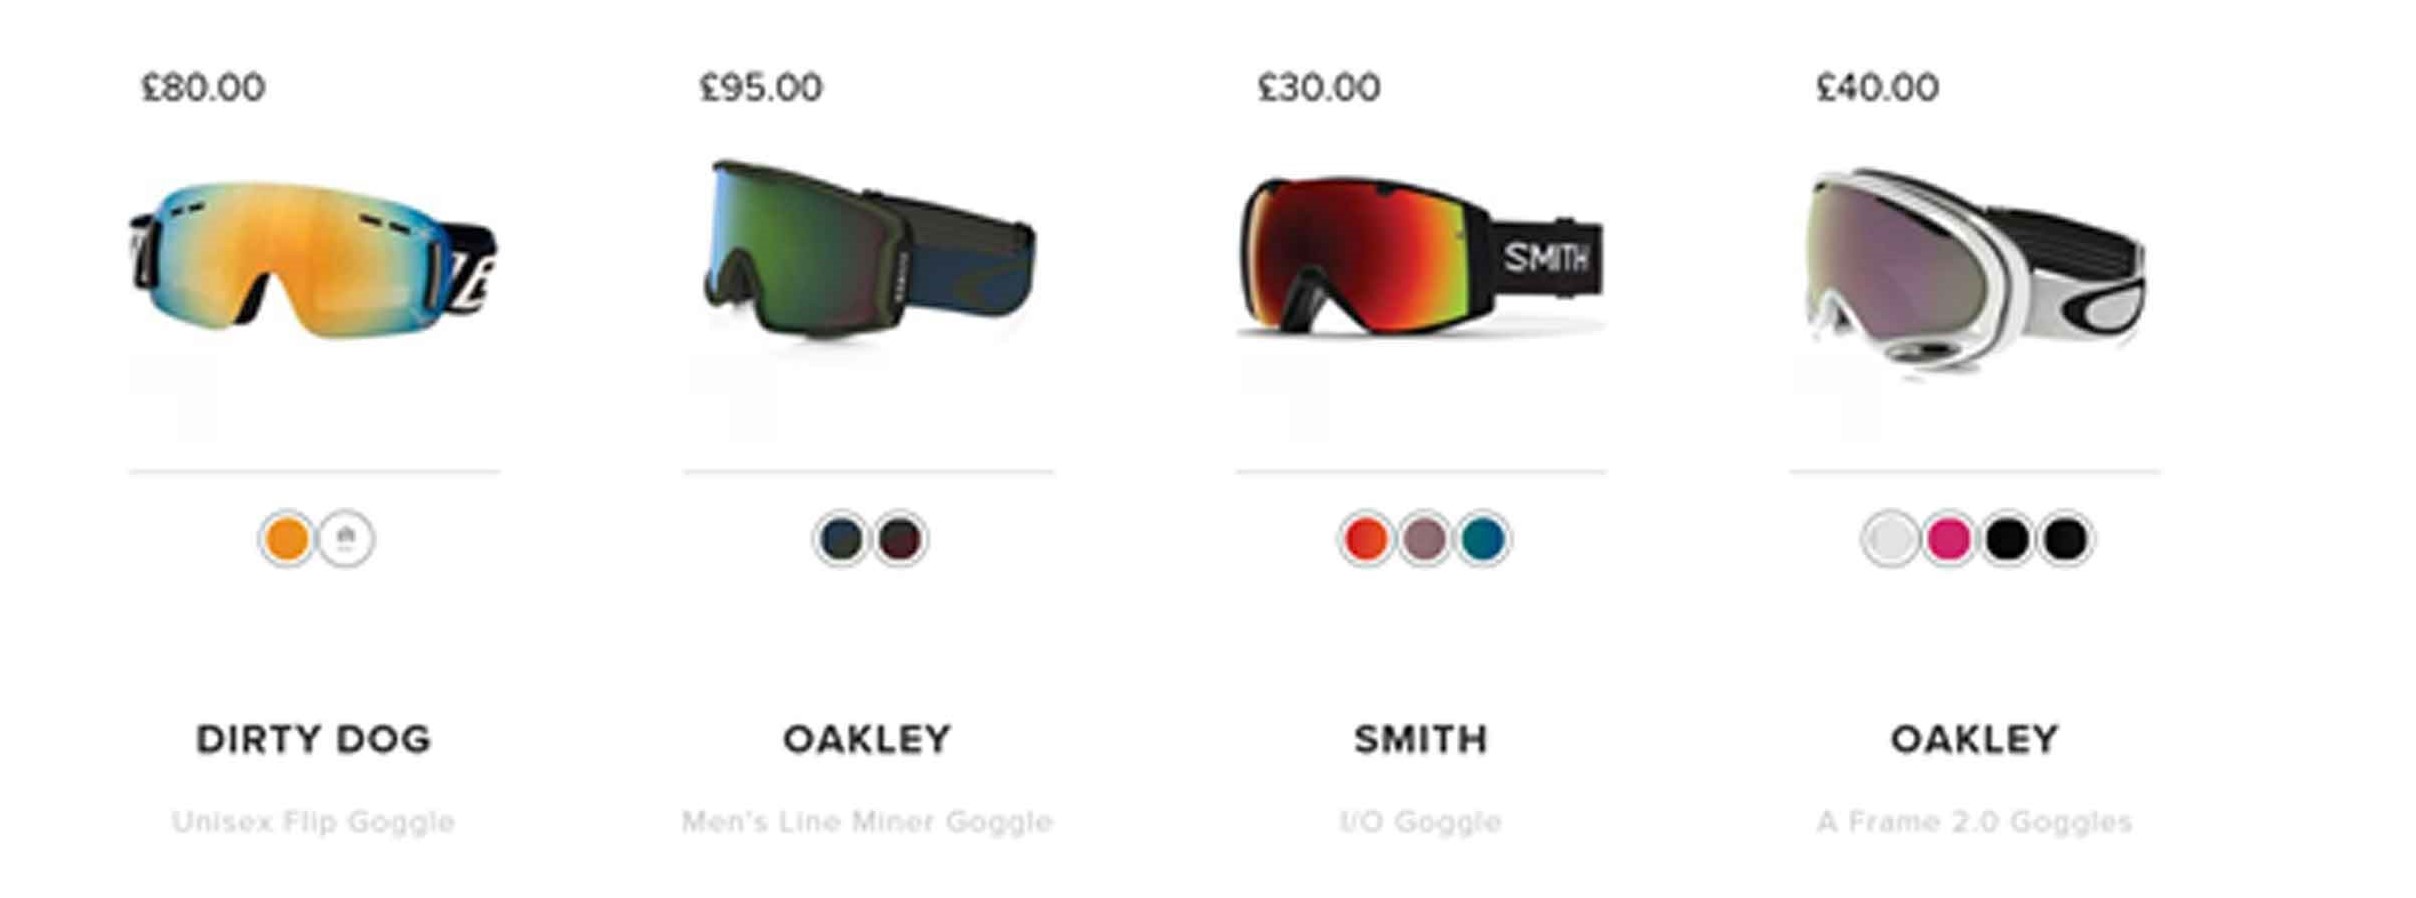
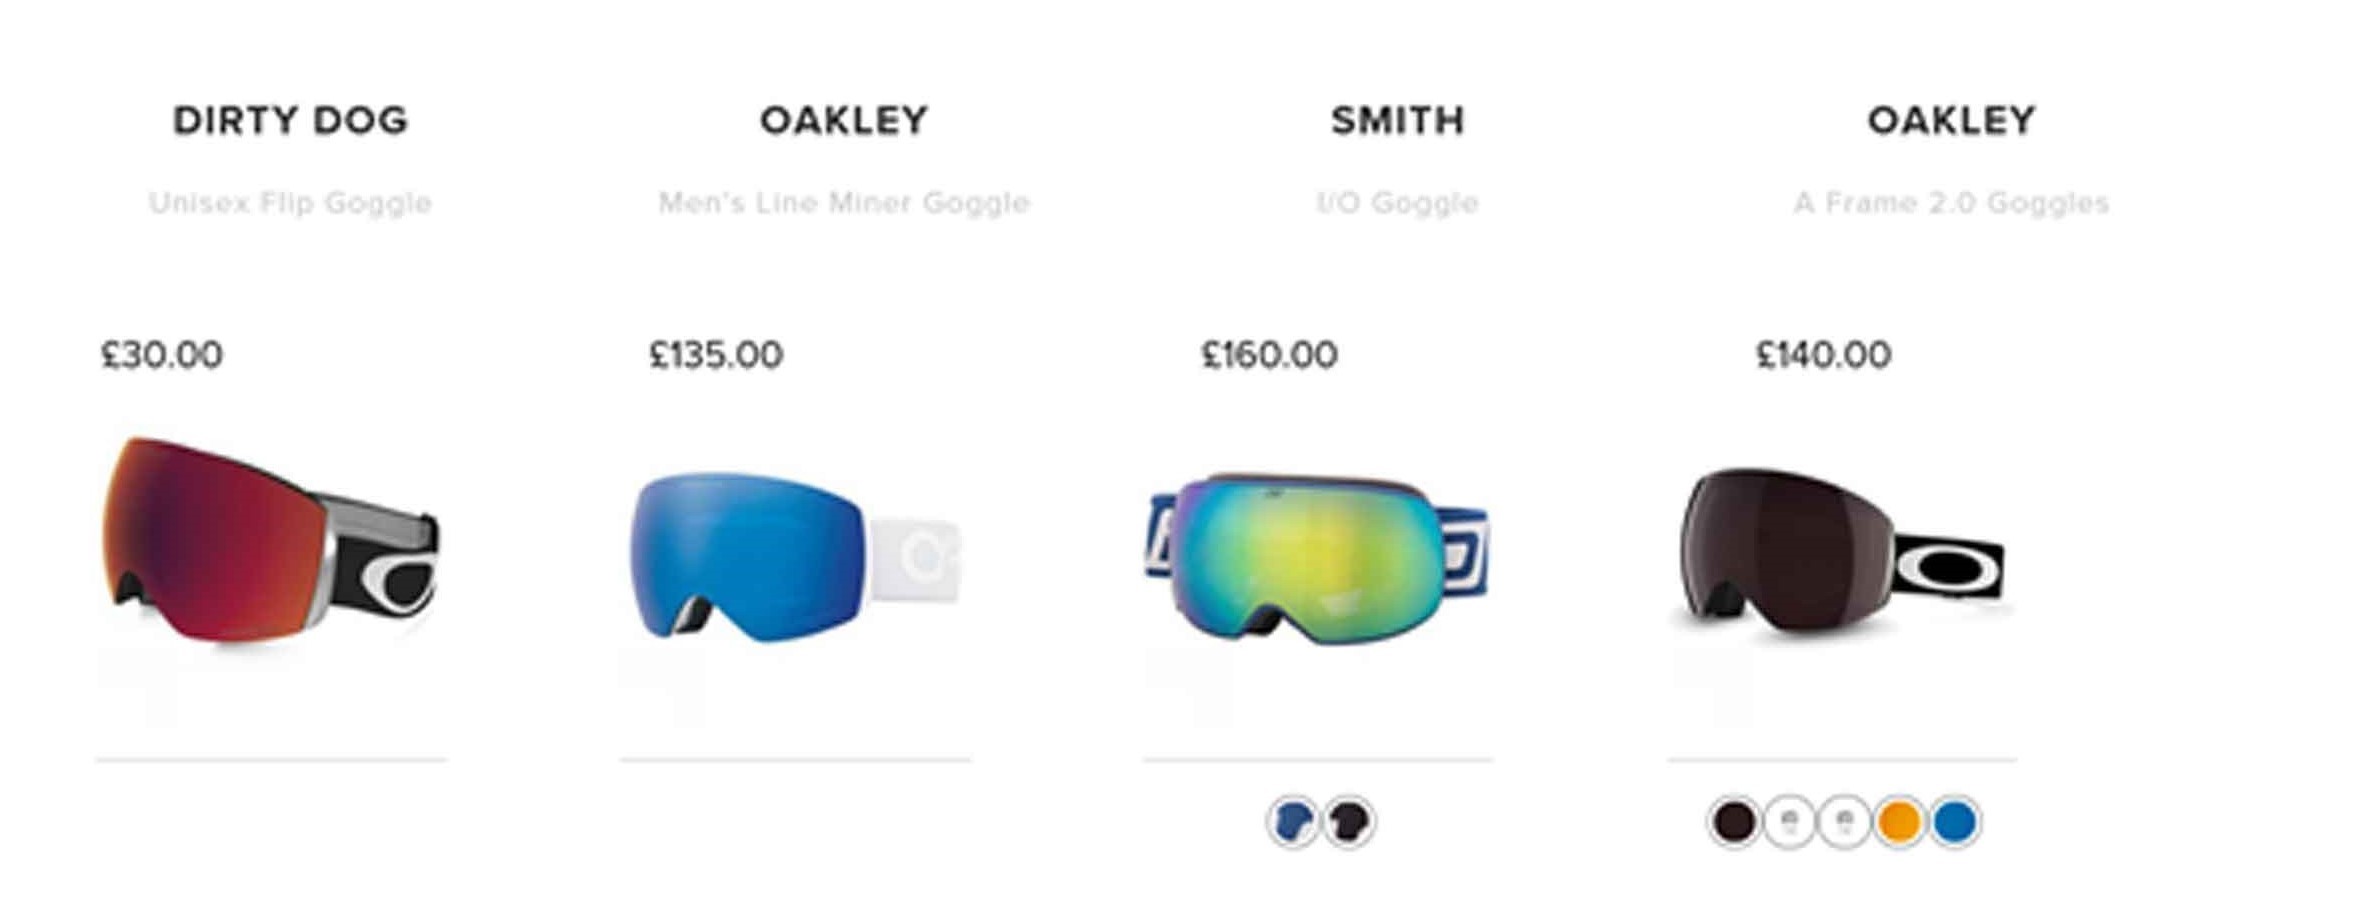
After collecting images of different ski goggles, I then highlighted those that appealed to myself the most. These were the first blue 'Anon' ski goggles, the 'Salomon' ski goggles, the yellow and blue 'Dirty Dog' ski goggles and the second blue 'Oakley' ski goggles below. This was because they were simplistic but also looked very professional and appealing.
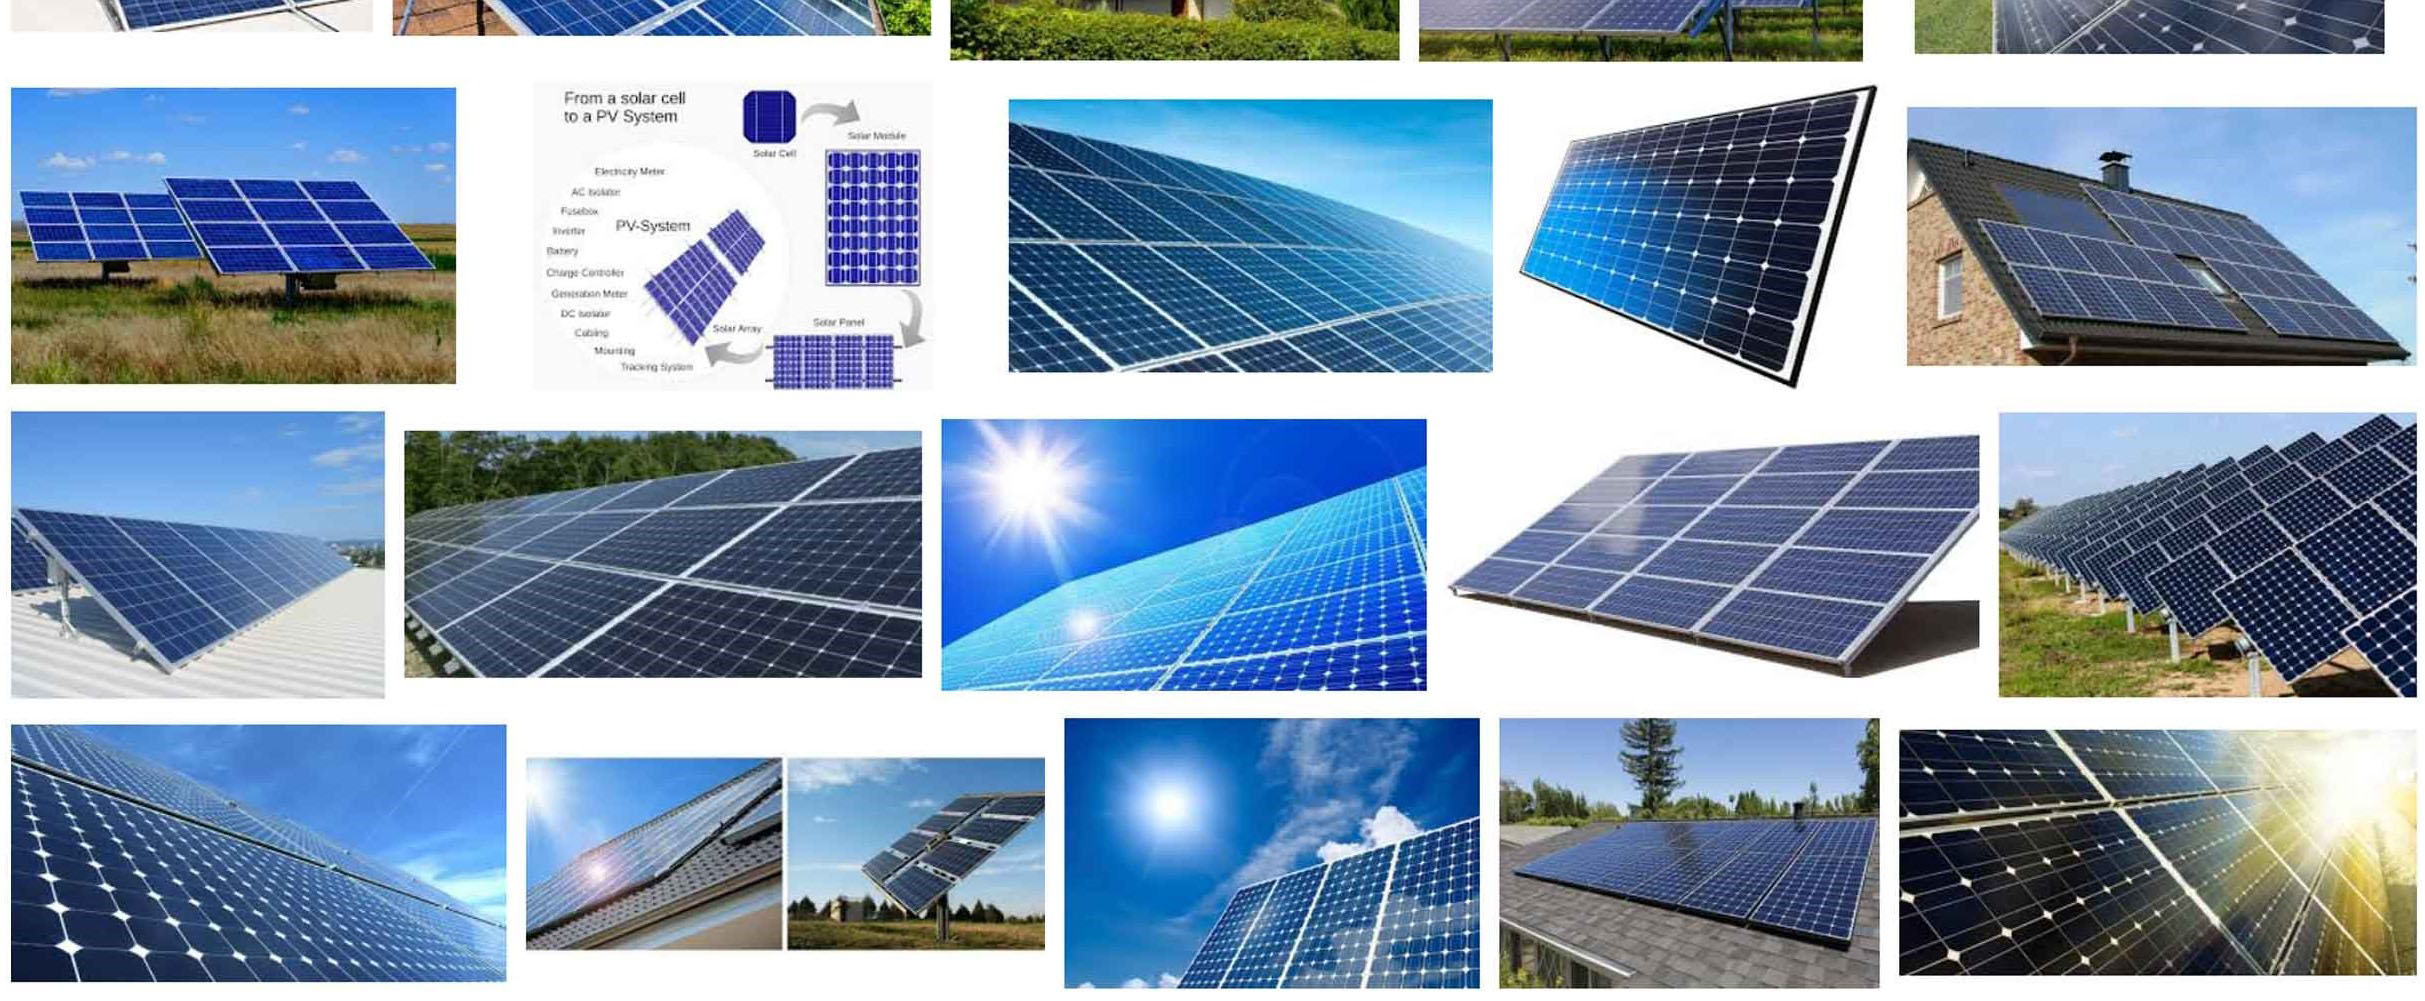
Furthermore, to gain inspiration of how to draw the solar panels and power button for the ski goggles designs on this page, I also undertook some research which can also be seen below.
The Ski Goggles Collected Research
Ski Goggles Research
Ski Goggles Research Continued
Ski Goggles Research Continued
Ski Goggles Research Continued
The Solar Panels and Power Button Collected Research
Solar Panels Research/Inspiration
Power Button Research/Inspiration
Creating Ideas
Overview
After conducting my research, I then started to make a few designs of the types of ski goggles which we could have possibly made. I included some of the features in my designs as well such as the solar panels and power button.
The Actual Ideas
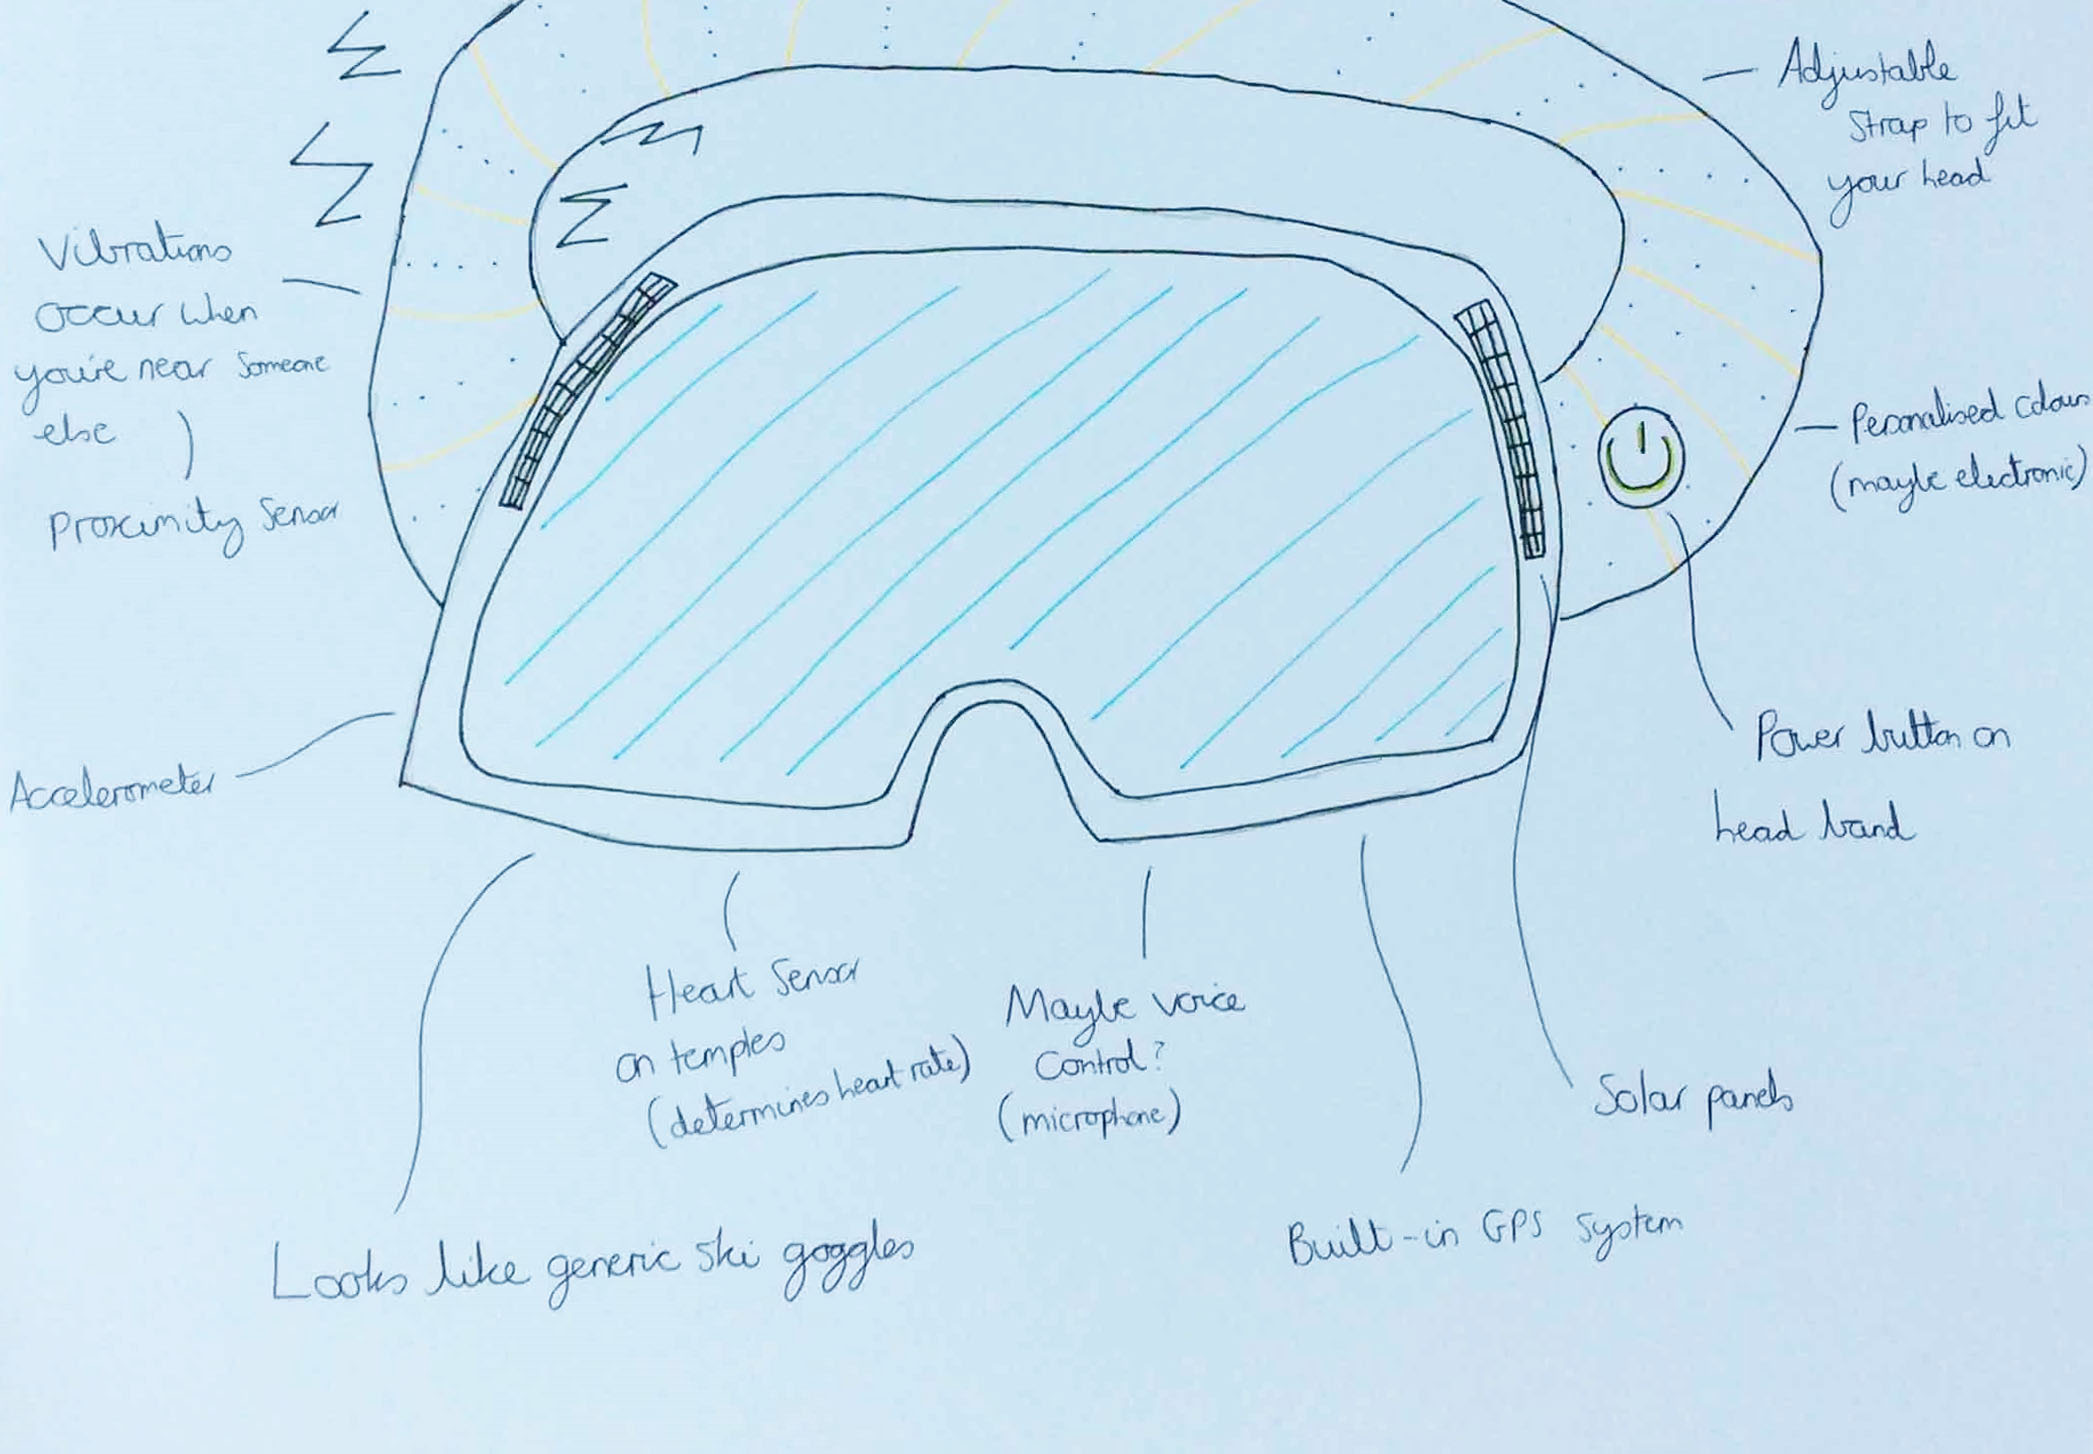
Ski Goggles Idea 1
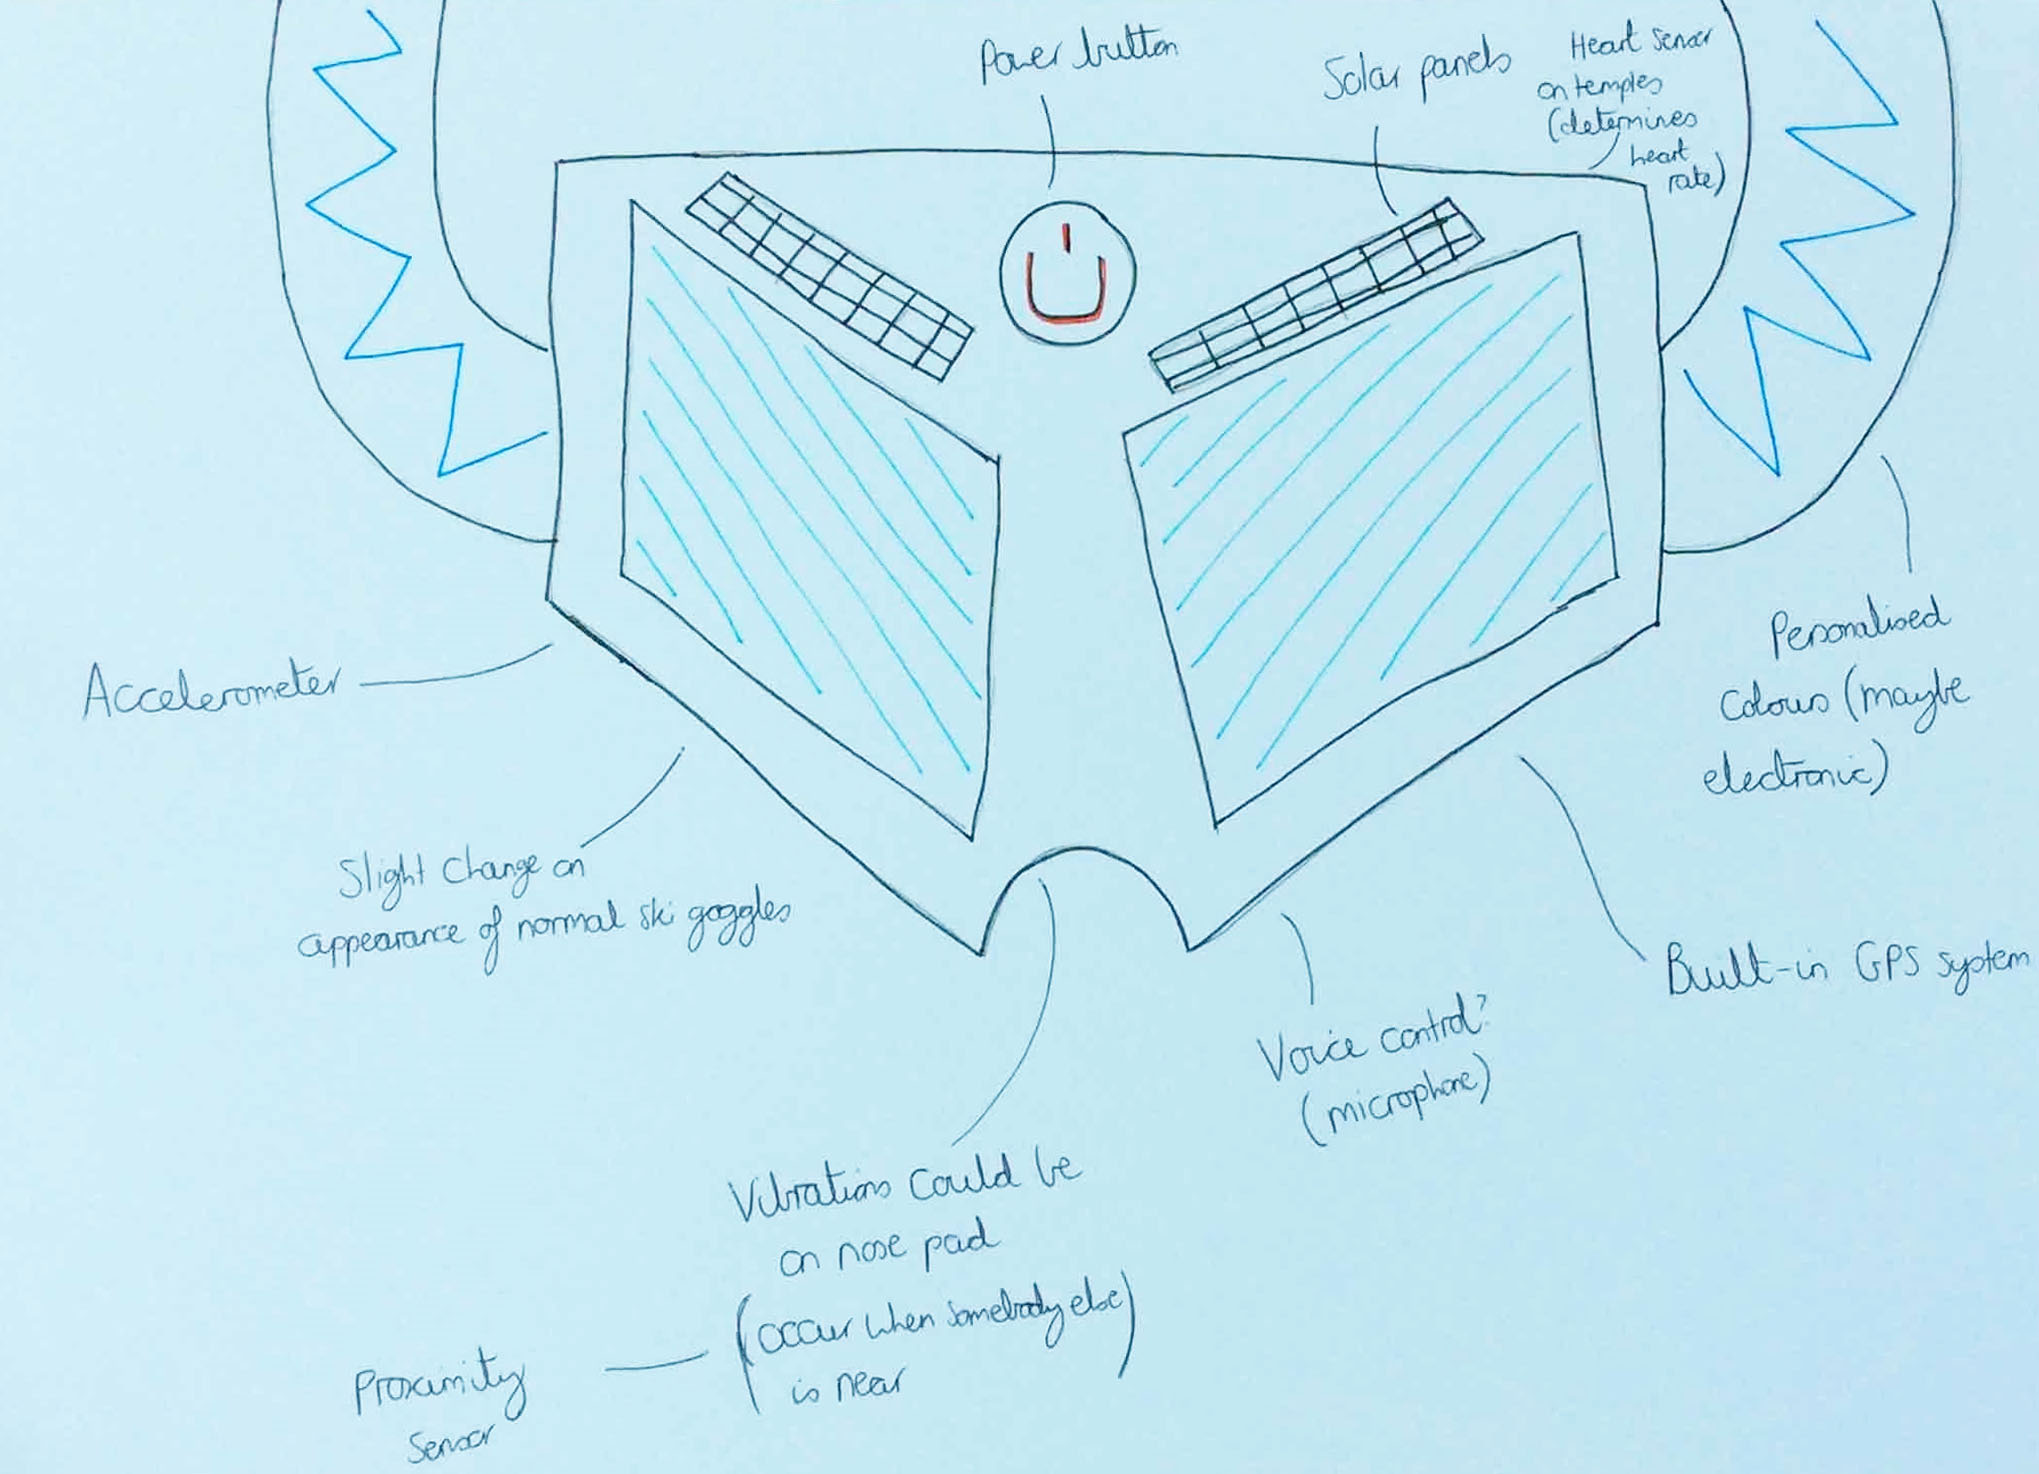
Ski Goggles Idea 2
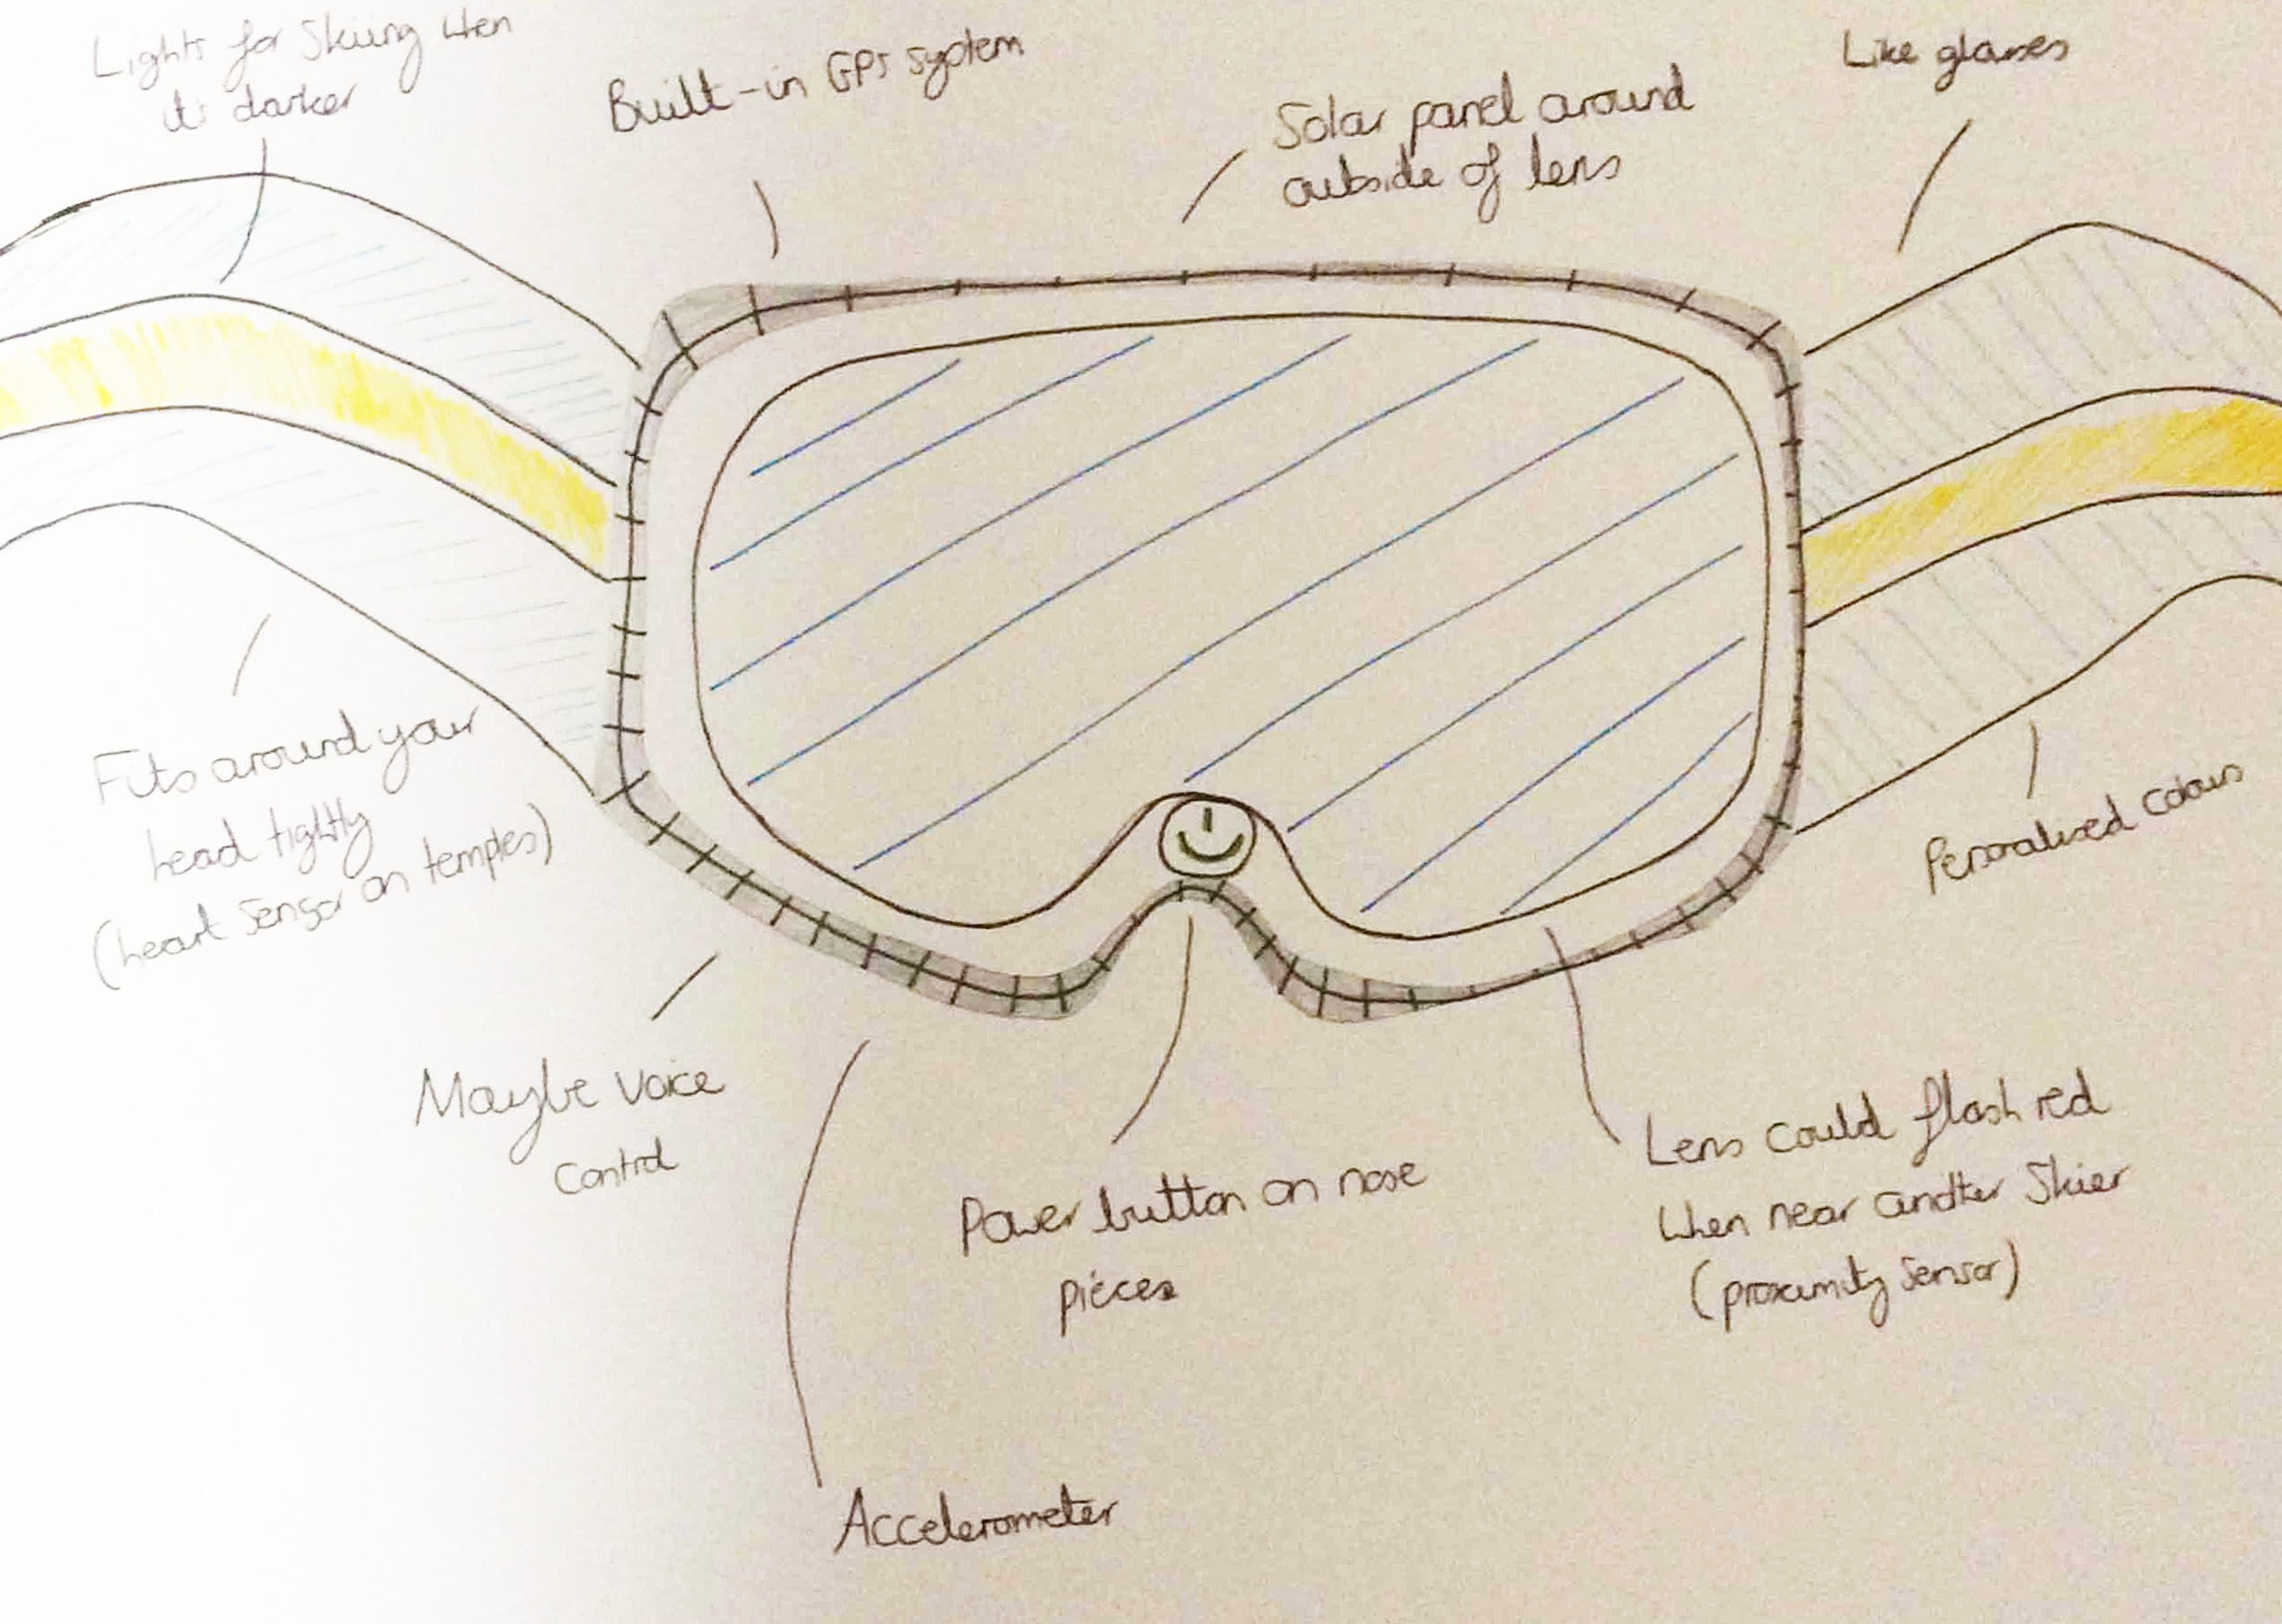
Ski Goggles Idea 3
Justifying Certain Features for the Ski Goggles
Overview
To try and justify why we would have been having some of the features we stated on our goggles, I researched around the main features on the Internet with the information found displayed below.
The Collected Research
From January, over 100 skiers died in the Alps, most from the cause of avalanches (Heil, 2015) -> This tried to justify why we would have had ski goggles which would have alerted the skier to dangerous areas that contained avalanches
Solar energy reduces the amount of pollution created (Solar Power, n.d.) -> This tried to justify why we would have had solar panels on the ski goggles which would have been the main source of power
Oral Presentation (27th February 2017)
Overview
Throughout this project, my group and I were required to create different documents/presentations to demonstrate our ideas. The first related to creating a presentation to showcase our initial ideas with all of us presenting to our lecturers and peers.
The slides I completed for this presentation were slides 2, 4, 6, 7, 11, 12, 18 and 20.
The Actual Presentation Slides
Further Ideas After the Oral Presentation
Overview
It was thought of by another team member that it might have been beneficial to include buttons on the ski goggles which would have allowed the user to set up the device. I personally thought that buttons were better than utilising a touch screen because if the device became damaged and needed to be set up again, then the touchscreen may have not worked. Resulting from coming to an agreement to have buttons on the ski goggles, I drew a couple of ideas/designs of where the buttons could have been placed.
The Buttons Placement Ideas
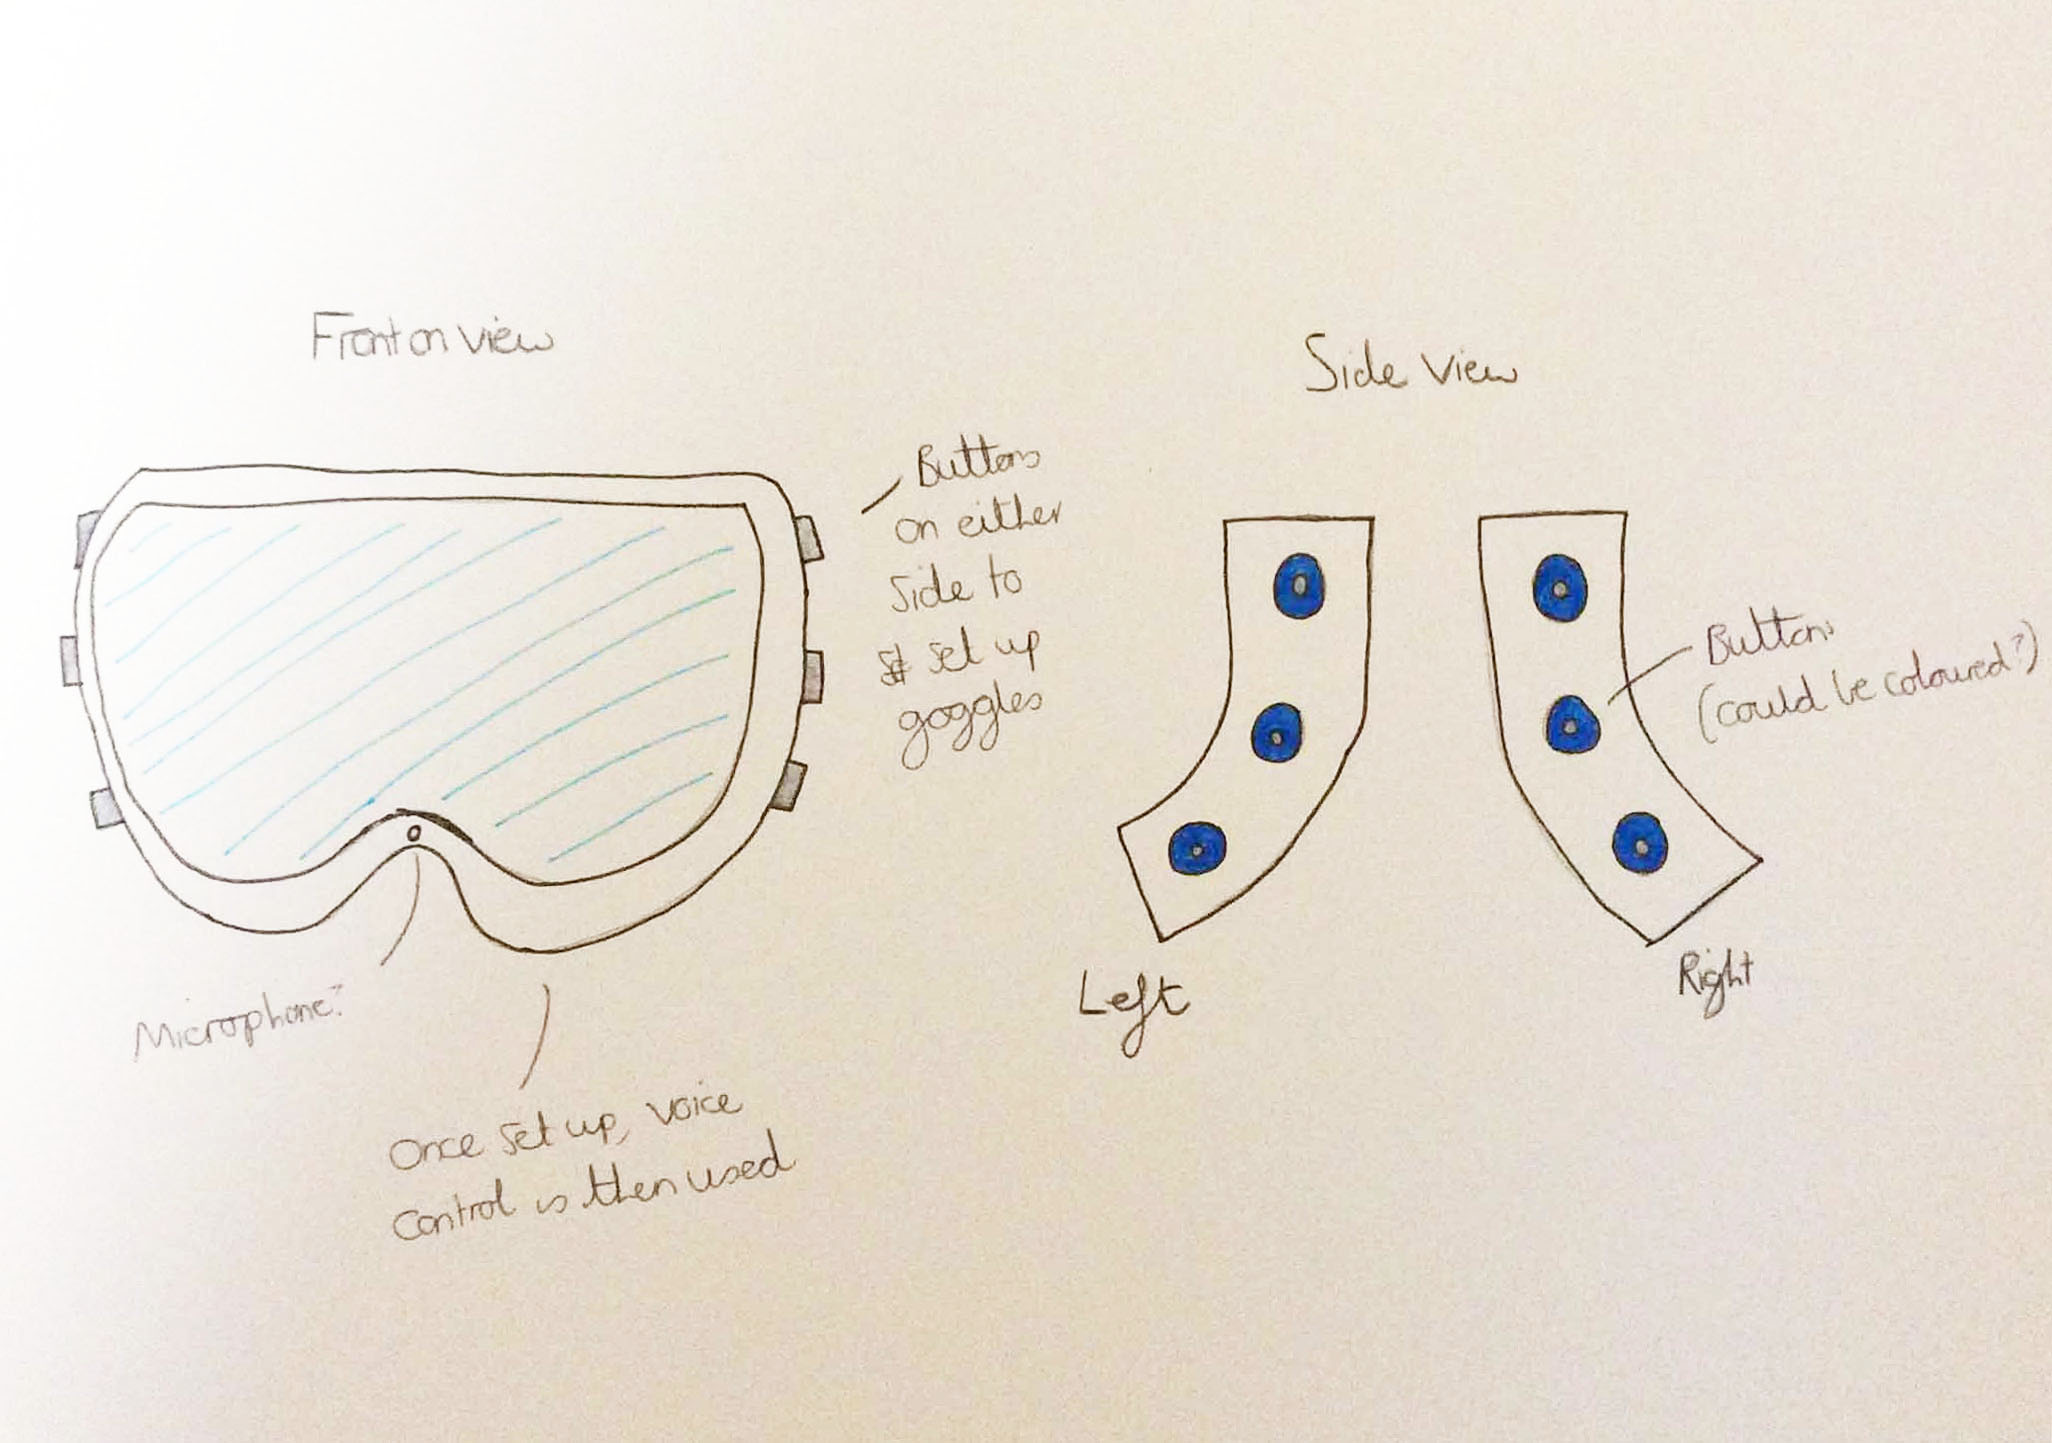
Idea 1 - The Buttons being Situated on the Side of the Goggles
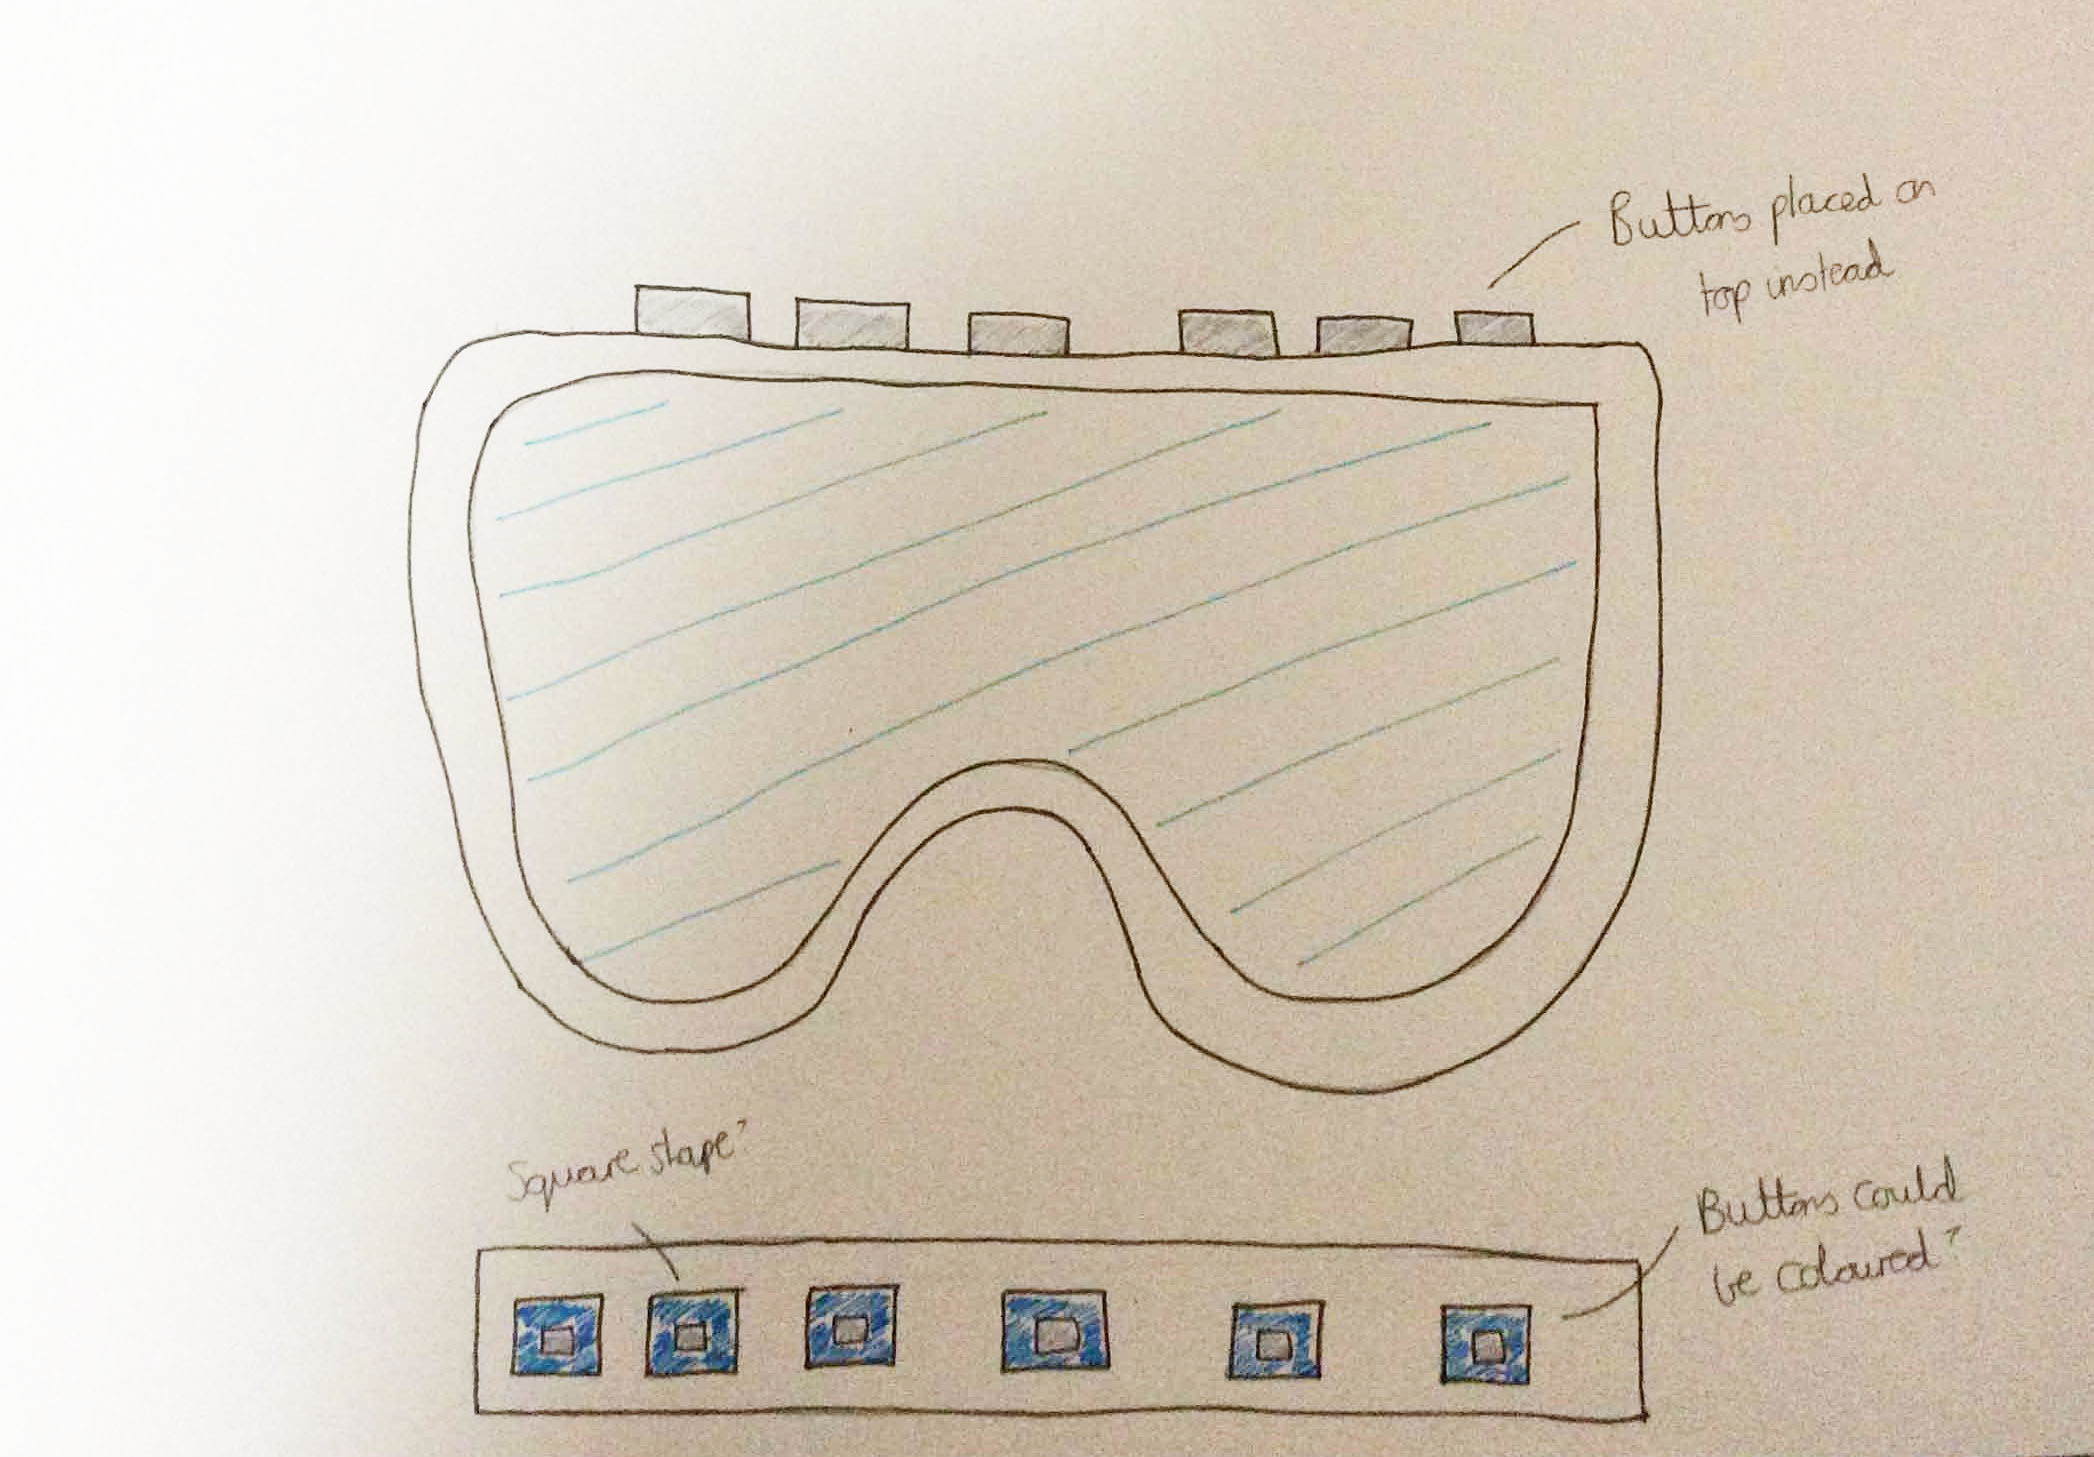
Idea 2 - The Buttons being Situated on the Top of the Goggles
Written Proposal (Due on 3rd March 2017)
Overview
After completing the oral presentation, we were required to submit a written proposal which acted as a written-up form of our initial presentation. The parts will be highlighted below with regards to the sections that I completed.
The Actual Written Proposal Document
Creating the 3D Ski Sensors
Overview
Nearer to the end of the project, it was decided that I would have the role of making the sensors which would have been placed on the skis to sync with the goggles. The purpose of the sensors was that they would have informed the user of what their balance would have been and also the angle at which the skis would have been positioned. This would have therefore helped when jumping over jumps, for example.
Undertaking Research
Overview
Firstly, I viewed some sensors in general online to try to provide myself with an insight of how to design the sensors explained previously. This can be seen below.
The Collected Research
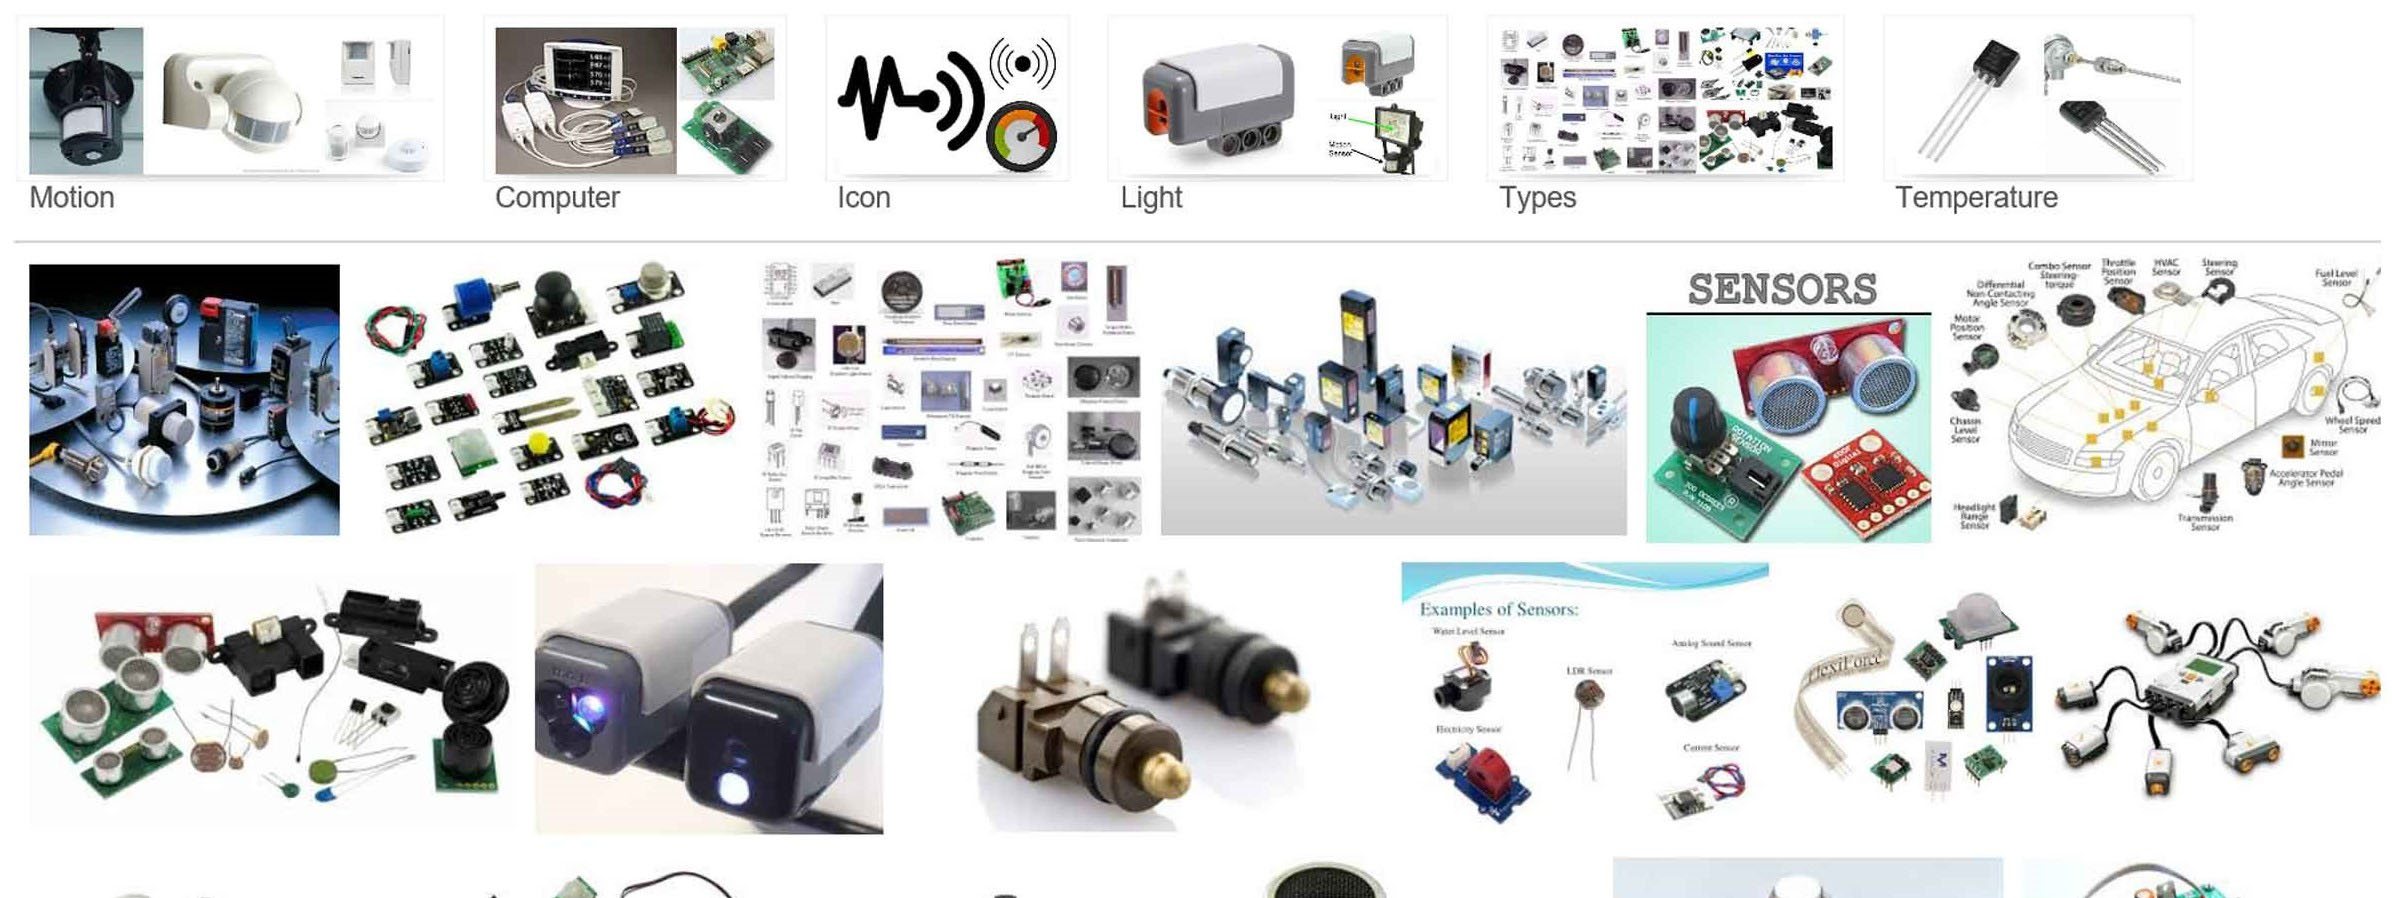
Images of Sensors for Inspiration
Creating the 3D Ski Sensors
Overview
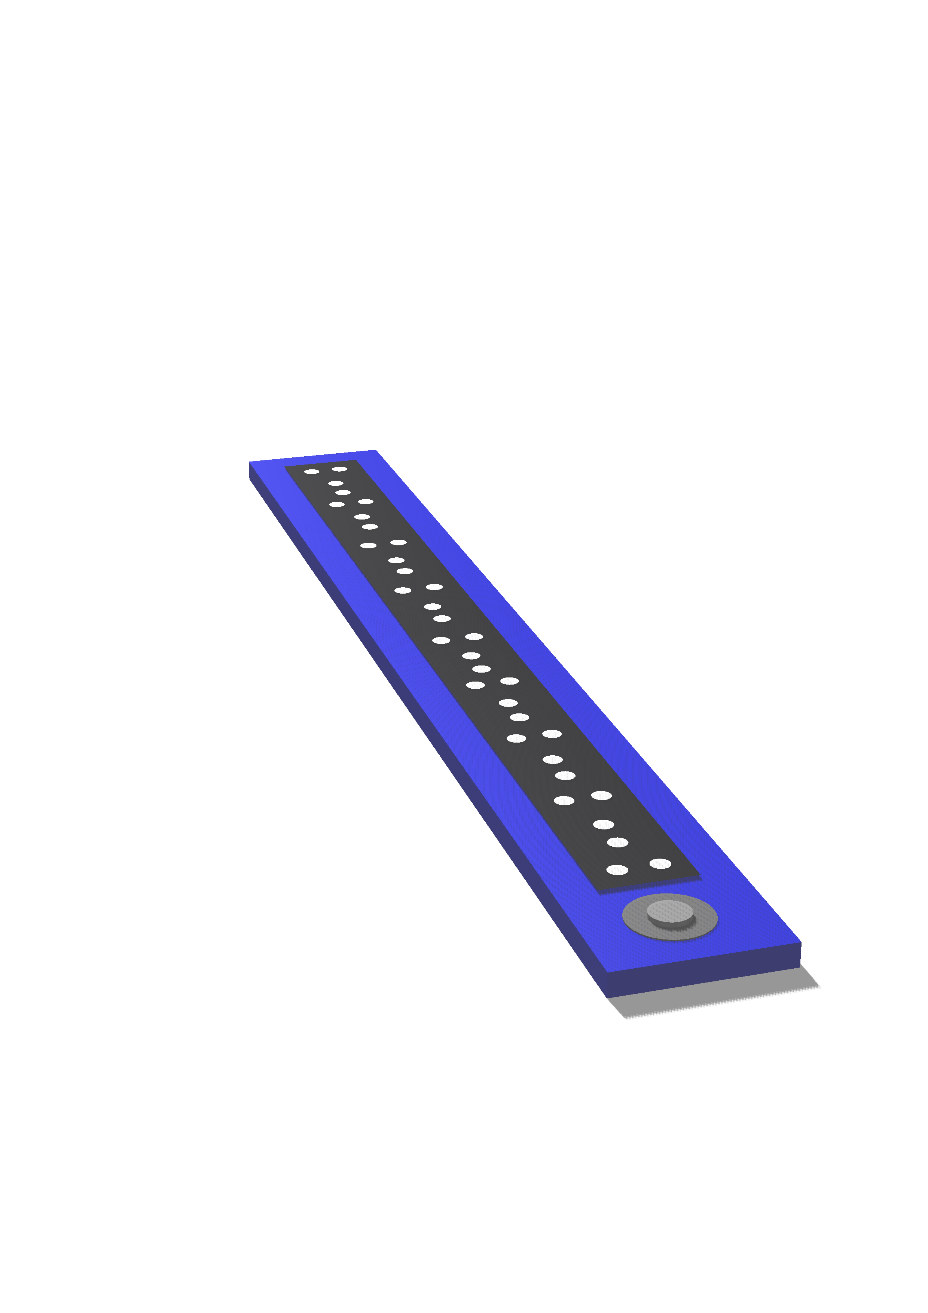
Following on from my research, I realised that the more simplistic, the better. I then utilised the program ‘Cinema 4D’ to make four designs which can be viewed below.
The first two designs were rectangular sensors. Then I thought I would make the edges more curved to match the shape of the skis, creating the third and fourth ideas. I thought I would experiment with two different designs for both rectangular and curved shapes to provide myself with a broader option of the ones I could have chosen from.
We all believed that the curved designs appeared better.
The Created Ski Sensors Designs
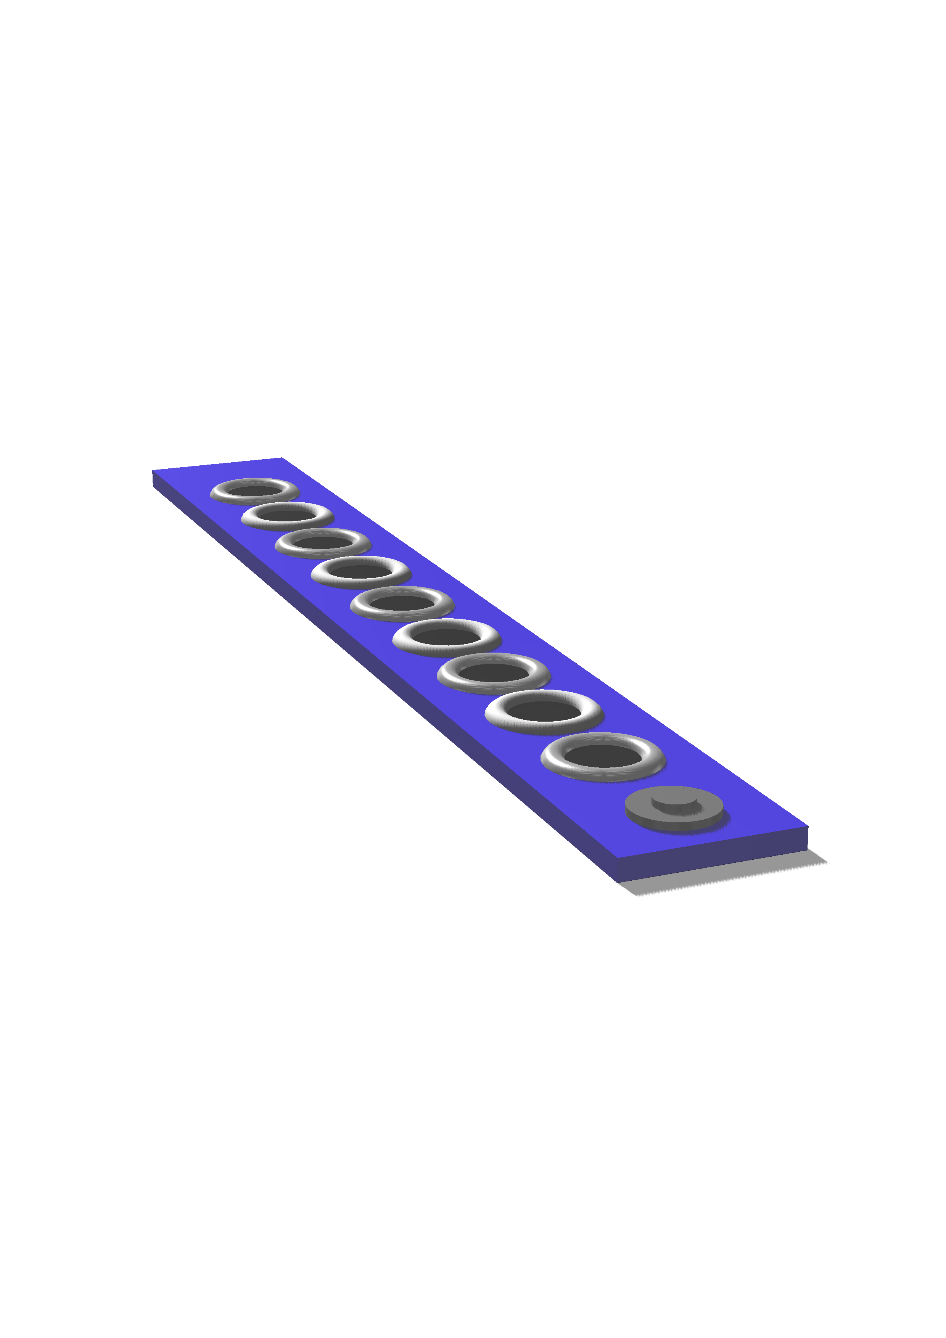
The First Rectangular Sensor Design
The Second Rectangular Sensor Design
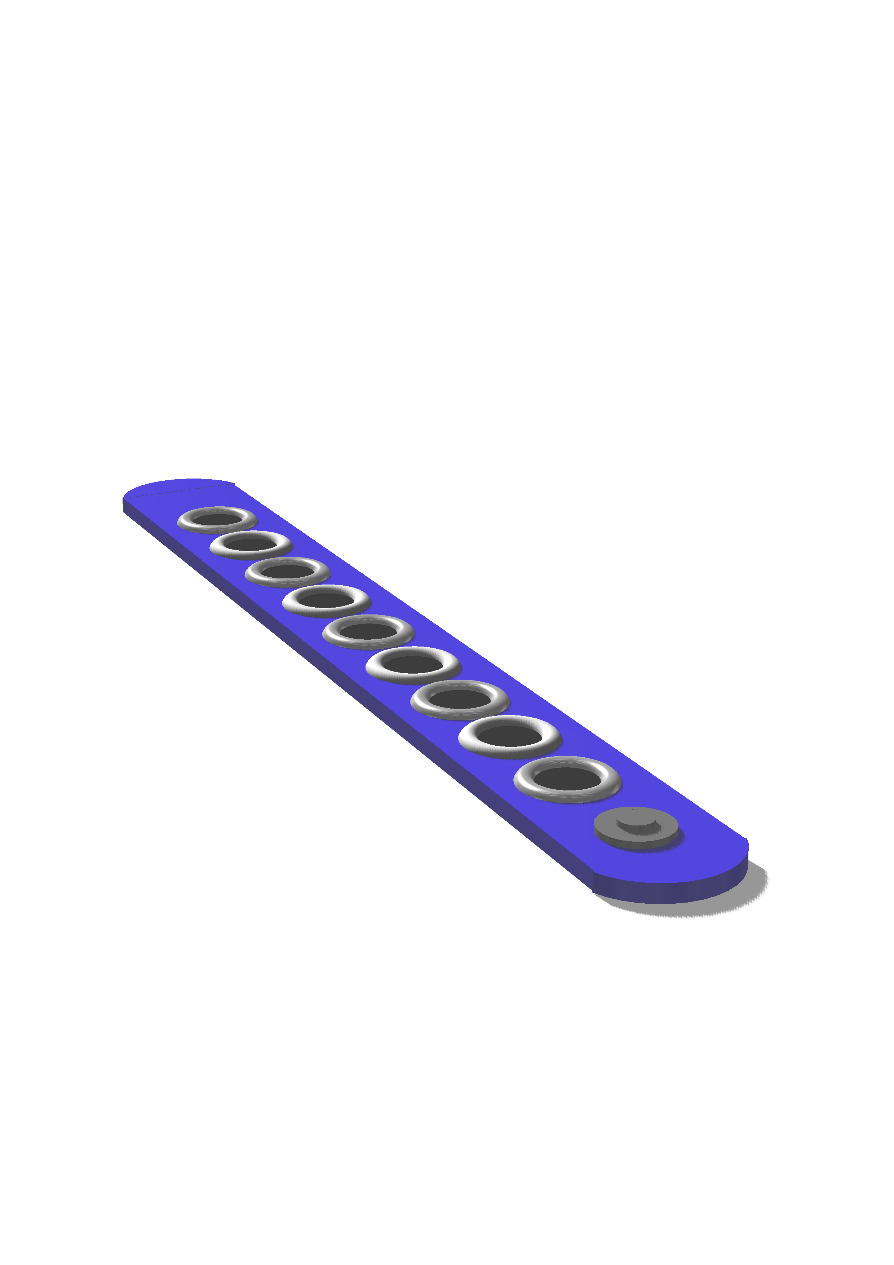
The First Rounded Sensor Design
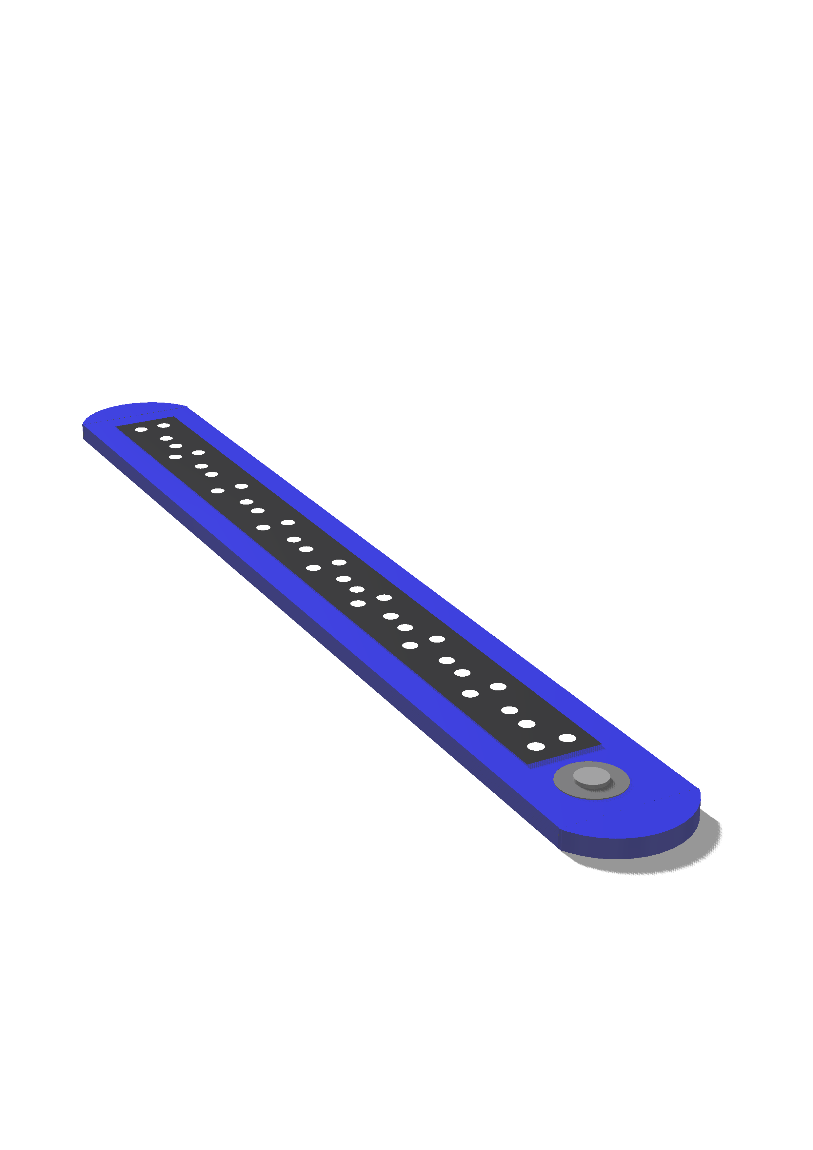
The Second Rounded Sensor Design
Creating Final Versions
Overview
After creating the previously shown designs, we decided as a group that we preferred the curved edges with the second design of this chosen. This was because some of the features on the first design appeared to be quite crude and unprofessional. Therefore, I rendered the idea we liked and added annotation to it to explain some of the features on the sensors.
Following on from producing the final render, we made a decision as a group to 3D print our ski sensors. I was assigned the role of completing this task. Overall, I was satisfied with the end result. Some of the features which were shown on the diagram of the 3D render didn't appear but the main thing was that the shape was there along with the button which would have been used to sync with the goggles.
The Final Rendered Design
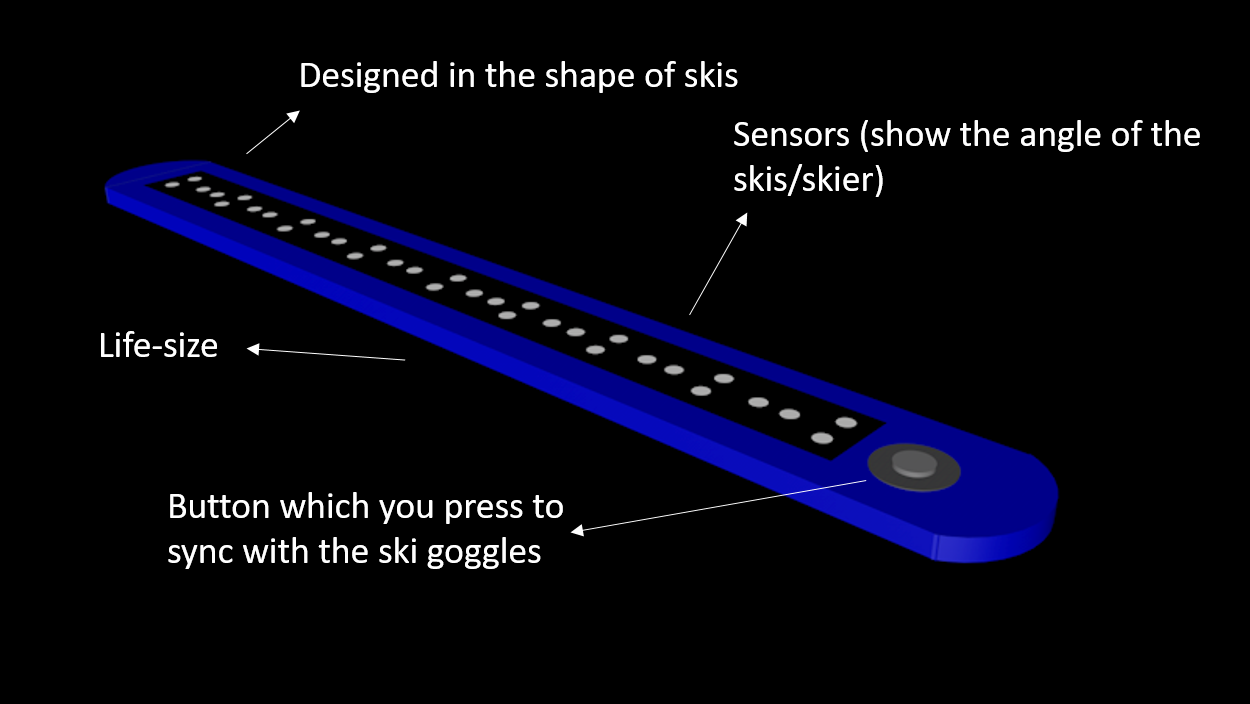
The Final Rendered Sensors Design
The 3D Printed Version of the Ski Sensors
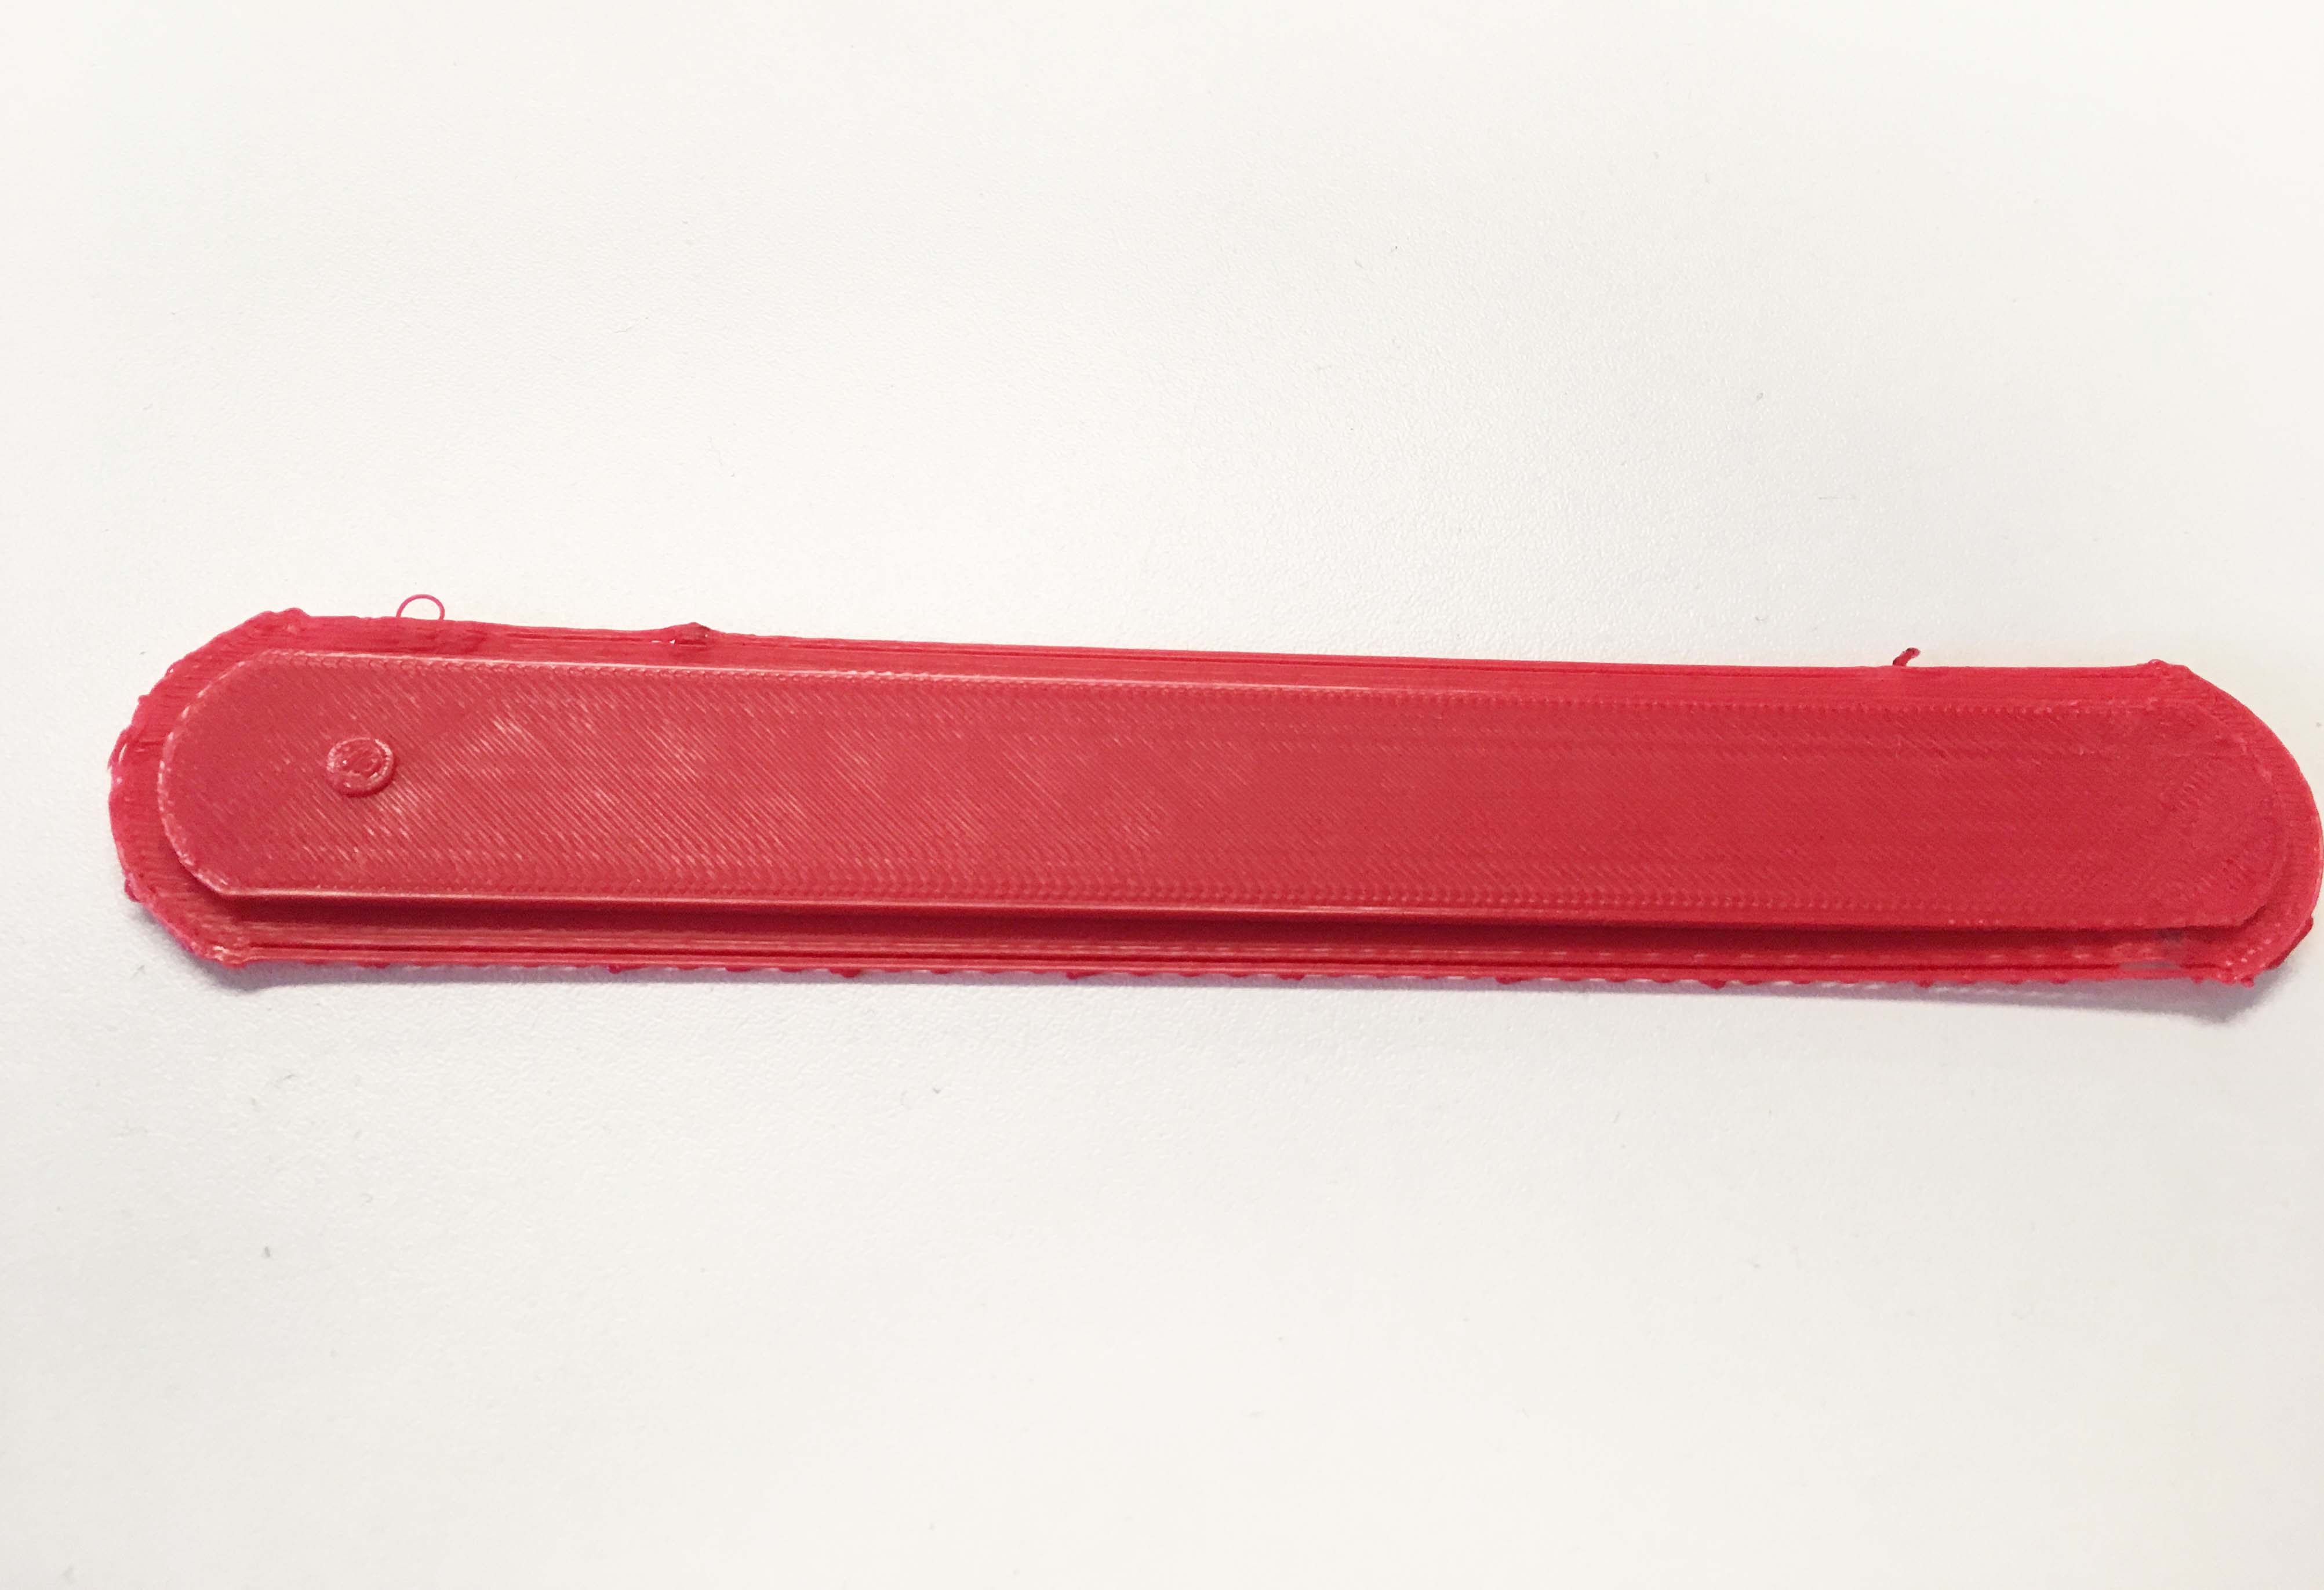
The 3D Printed Version of the Final Rendered Sensors
The Final Device and Interface
Overview
As has already been shown previously, I created the sensors which would have fitted onto the skis. Other members of my group were assigned the roles of making the interface and the actual ski goggles which can be viewed below.
With regards to the interface for the ski goggles, there were multiple options to choose from and many features to the interface. The user would have been firstly greeted by ‘Welcome’ and then they would have been taken to the main screens.
The Final Ski Goggles
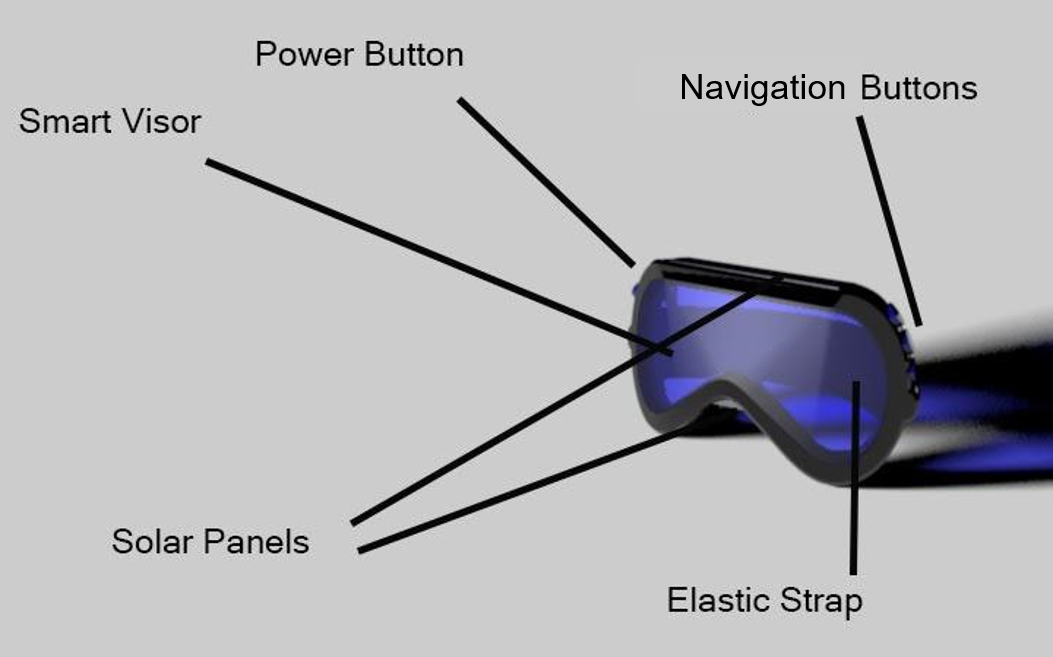
The Final Ski Goggles Model with Annotation
The Final Interface Designs
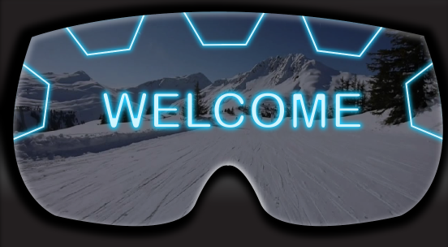
Welcome Screen
Welcome Screen Continued with Logo
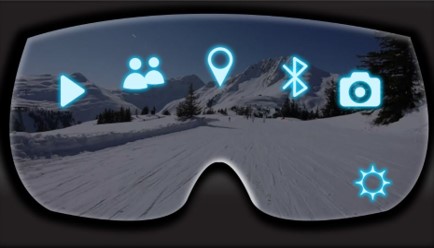
Menu Screen
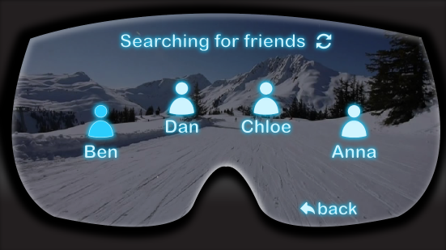
Searching for Friends Screen
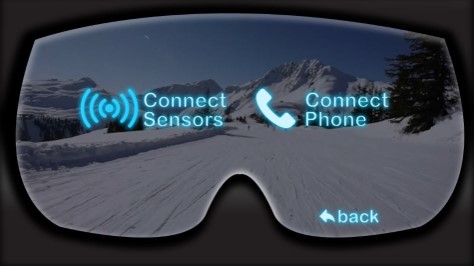
Settings Screen 1
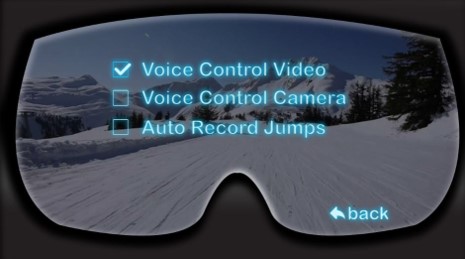
Settings Screen 2
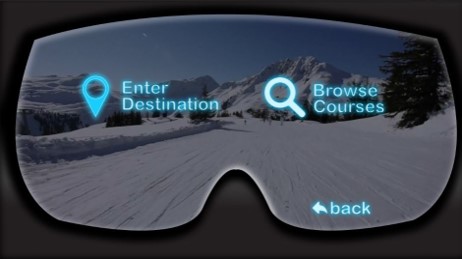
Finding Courses/Routes Screen
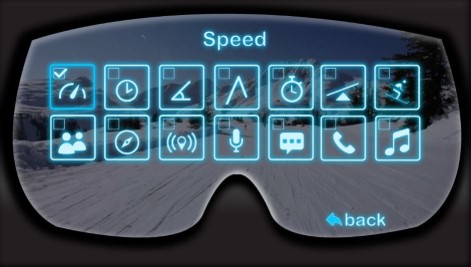
Selecting Items to Display Whilst in Use Screen
There are also a couple of videos in the final section of this page. These were produced by other members of the group to showcase our final ideas. These were a video of the interface being used and a video promoting the ski goggles as a product.
Final Outcome Presentation (13th March 2017)
Overview
To conclude our mobile device project, we had to present our final outcome to the lecturers and the rest of the class.
The slides I completed were slides 4, 13 and 14.
The Actual Presentation Slides
References for this Project
Overview
As explained previously on this page, below is a document which contains the references for this project.
References Document