Brief
"Produce a stylised 2D/3D character which demonstrates a movement animation."
Overview
As part of my first semester of my second year, I was required to create either a stylised 2D or 3D character demonstrating animation. Although at first I wanted to create a 3D animated character, I then decided to produce a 2D animated character as I believed I would be able to achieve more in the timescale set for this project.
I decided to create a 2D monkey called 'Mono Chimp' that jumped up and down on a branch inbetween two trees.
As well as creating the animated character, I needed to ensure that there was a story/context to the character, with an example being to demonstrate awareness of his/her role in a certain industry (e.g. a game).
As this was an individual project, I therefore undertook the roles of being a designer of the character as well as an animator using the software ‘Adobe Illustrator’ to create the character assets and ‘Adobe After Effects’ to achieve the final animation through importing these assets. The animation was achieved through aspects such as ‘puppet pins’.
All of the processes for this project can be viewed on this page.
For a more detailed process, I have included a document situated at the bottom of the page.
Sketches and Ideas
Creating Moodboards to Gain Inspiration
Overview
To start the project, I first of all created some moodboards on 'Pinterest'. The first moodboard displayed a range of characters, relating to different archetypes. The second related to my character inspiration with regards to the appearance. The third demonstrated the types of environments my character would have travelled through and the final moodboard displayed story inspiration.
The Created Moodboards
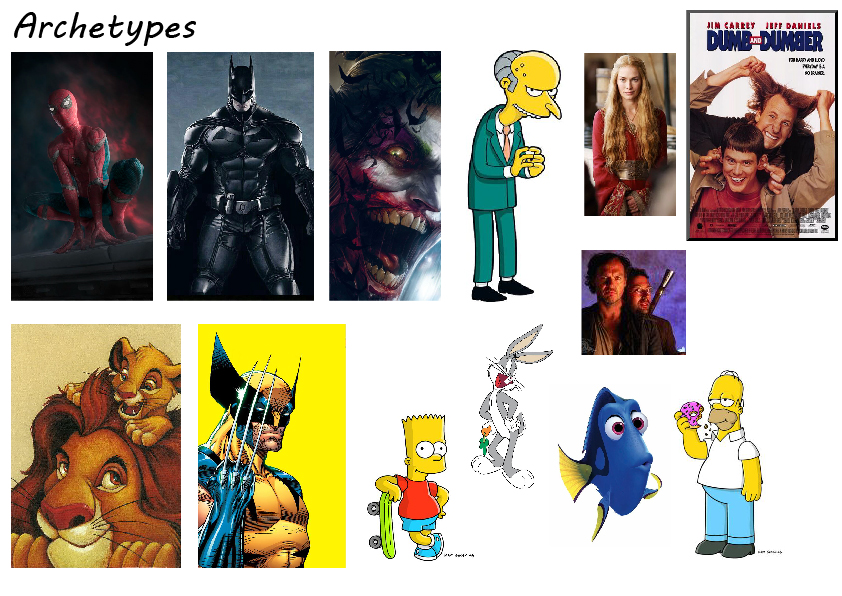
Moodboard 1 - Archetypes
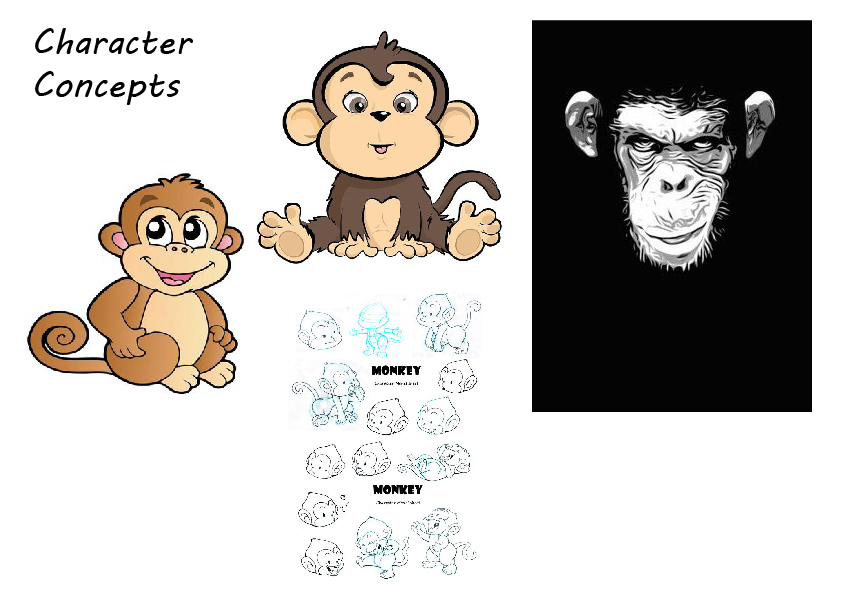
Moodboard 2 - Character Concepts
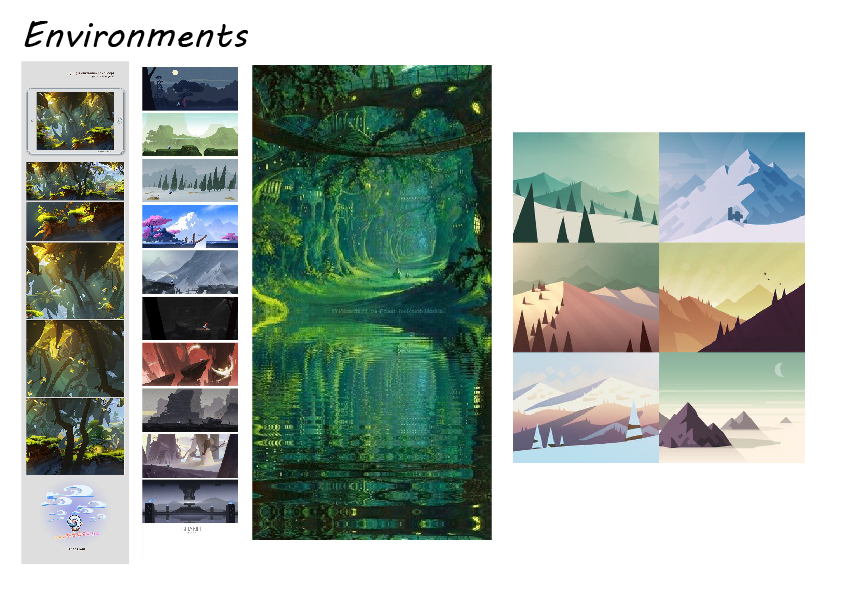
Moodboard 3 - Environments
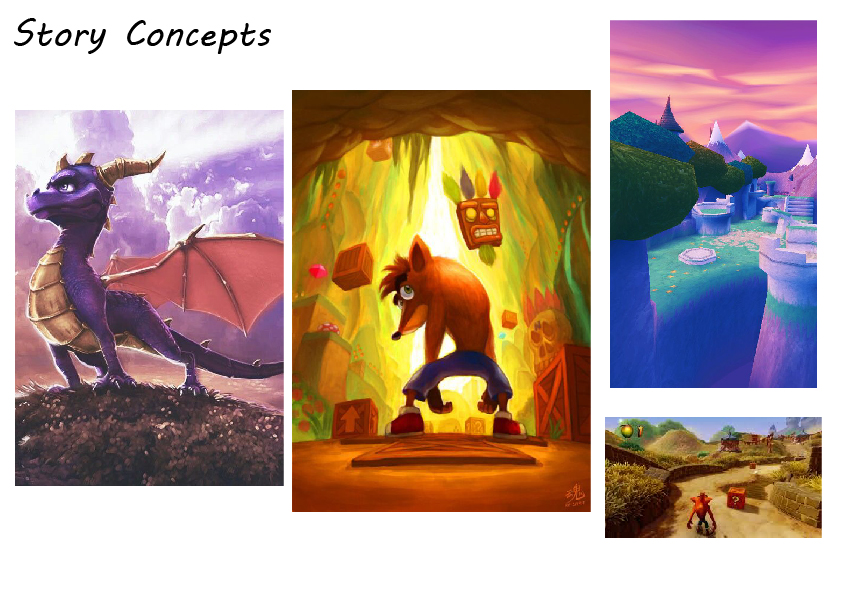
Moodboard 4 - Story Concepts
Character Development
Brainstorming Character Ideas
Overview
After collecting together different images in relation to archetypes from 'Pinterest', I then produced some ideas for my character archetype which are evident in the mindmap shown below.
The Brainstormed Character Ideas
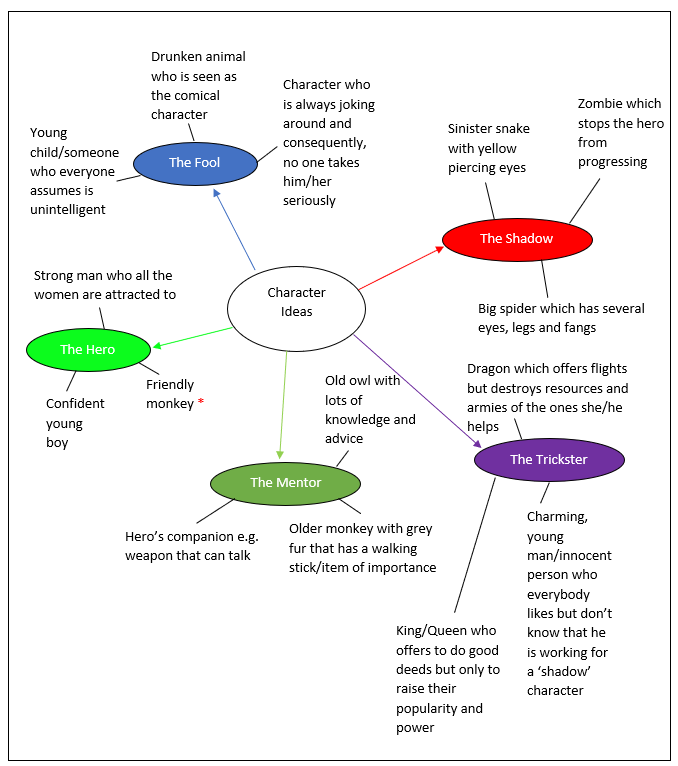
Brainstorming Character Ideas
Character Ideas Sketches
Overview
After the previous task, I then chose to draw characters, one from each archetype. I decided to choose to develop the 'Hero' archetype monkey as my favourite animals were monkeys which would have meant that I would have had more passion with this character.
The Sketched Ideas
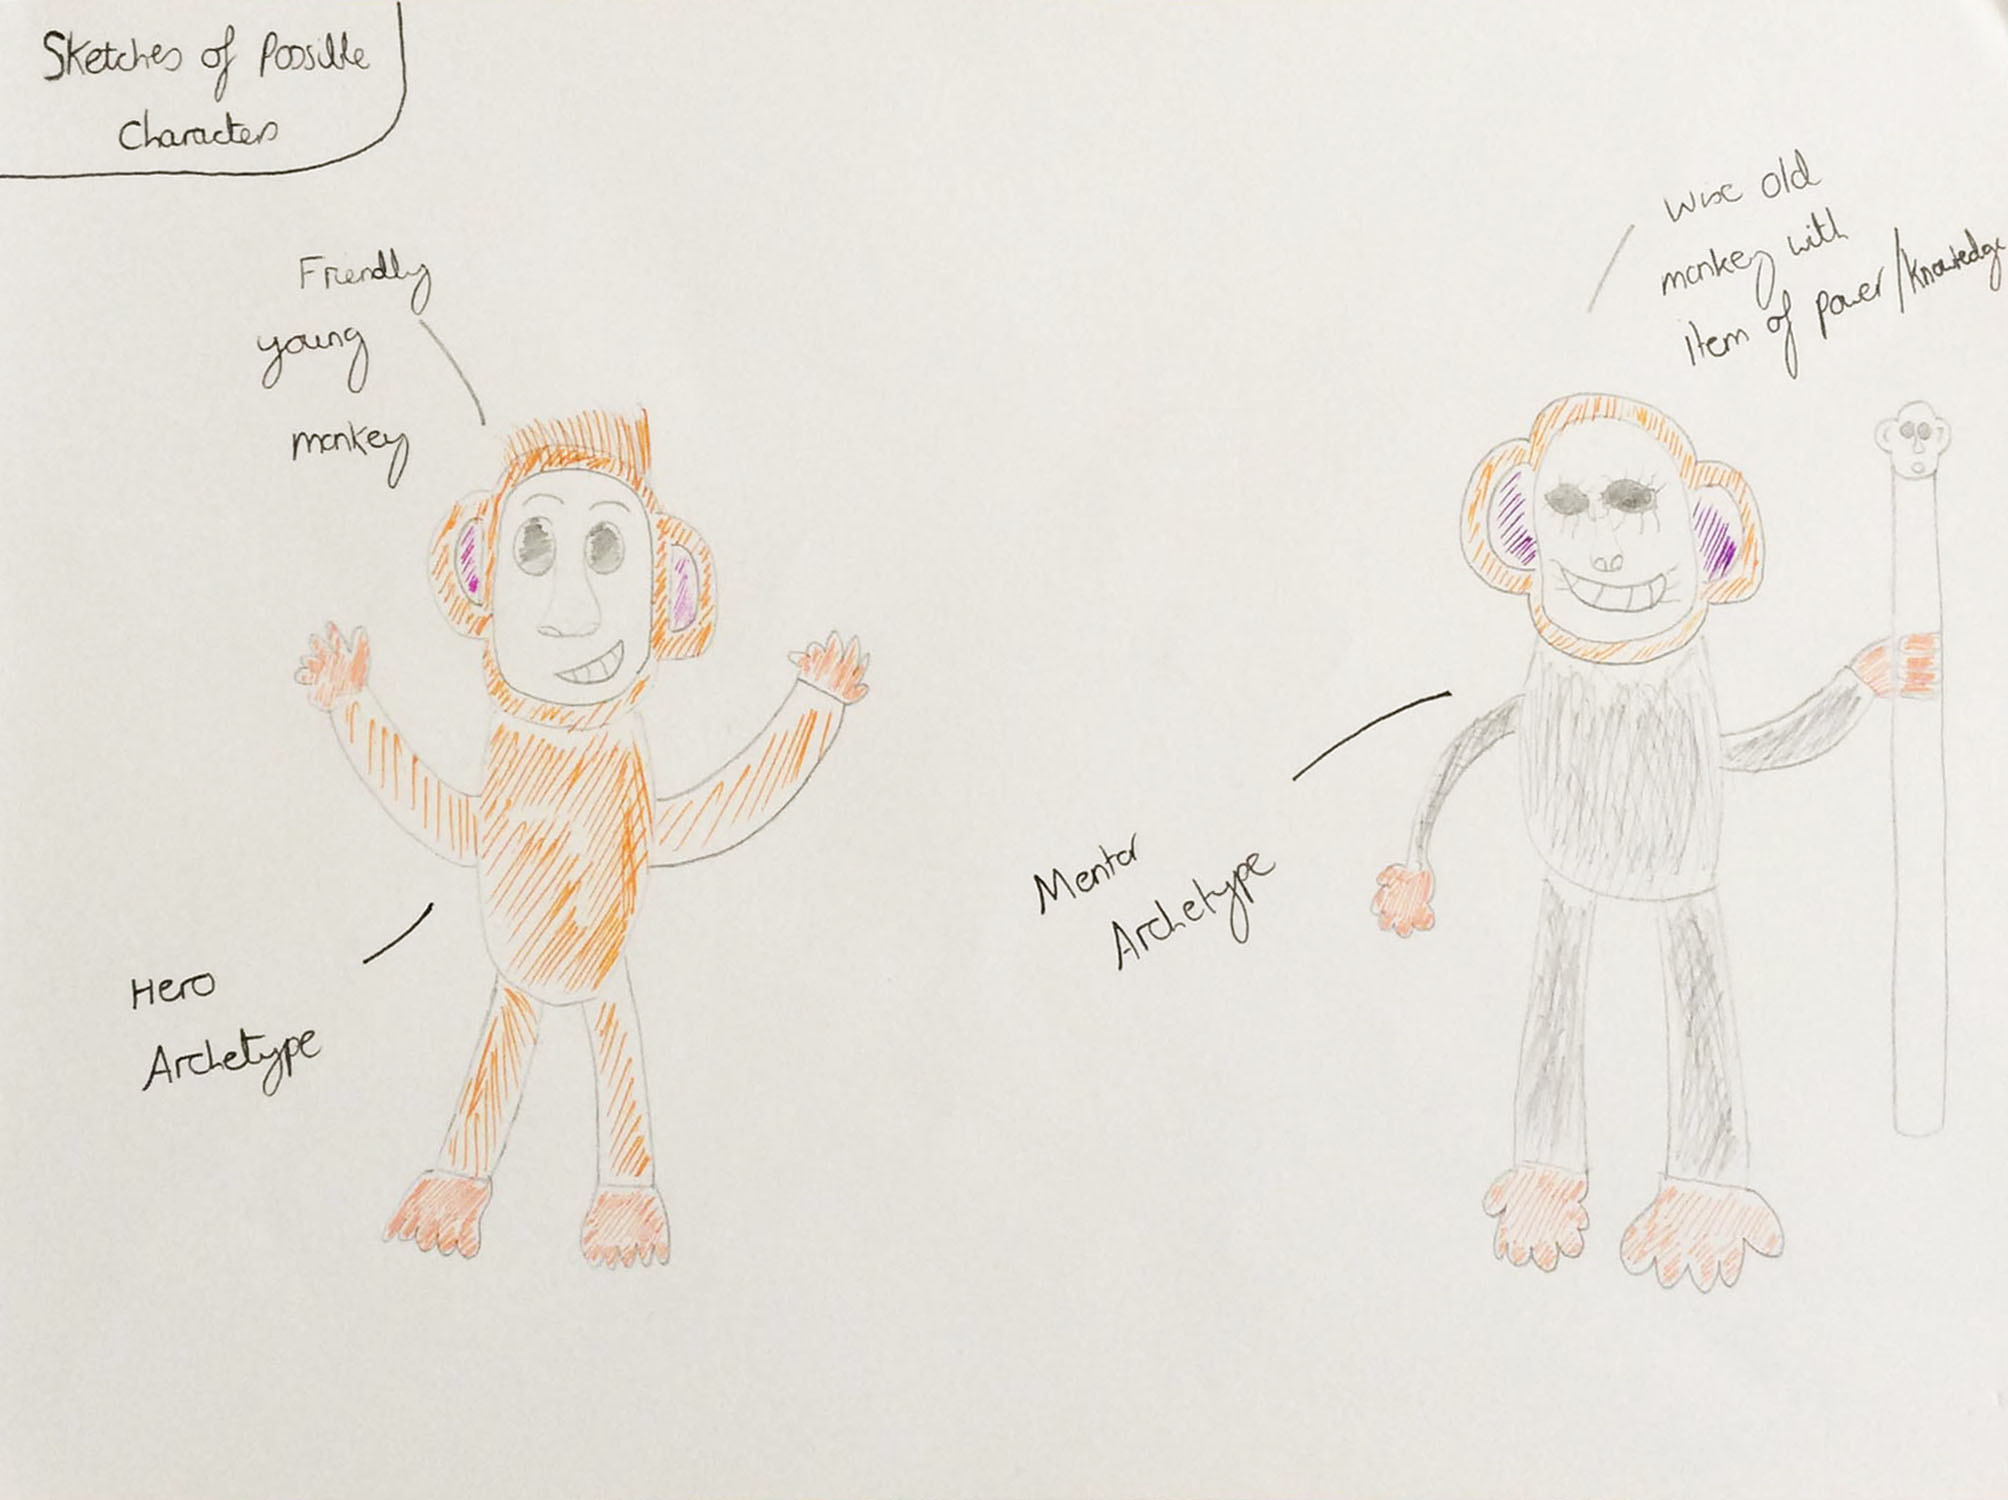
Sketches of Possible Characters
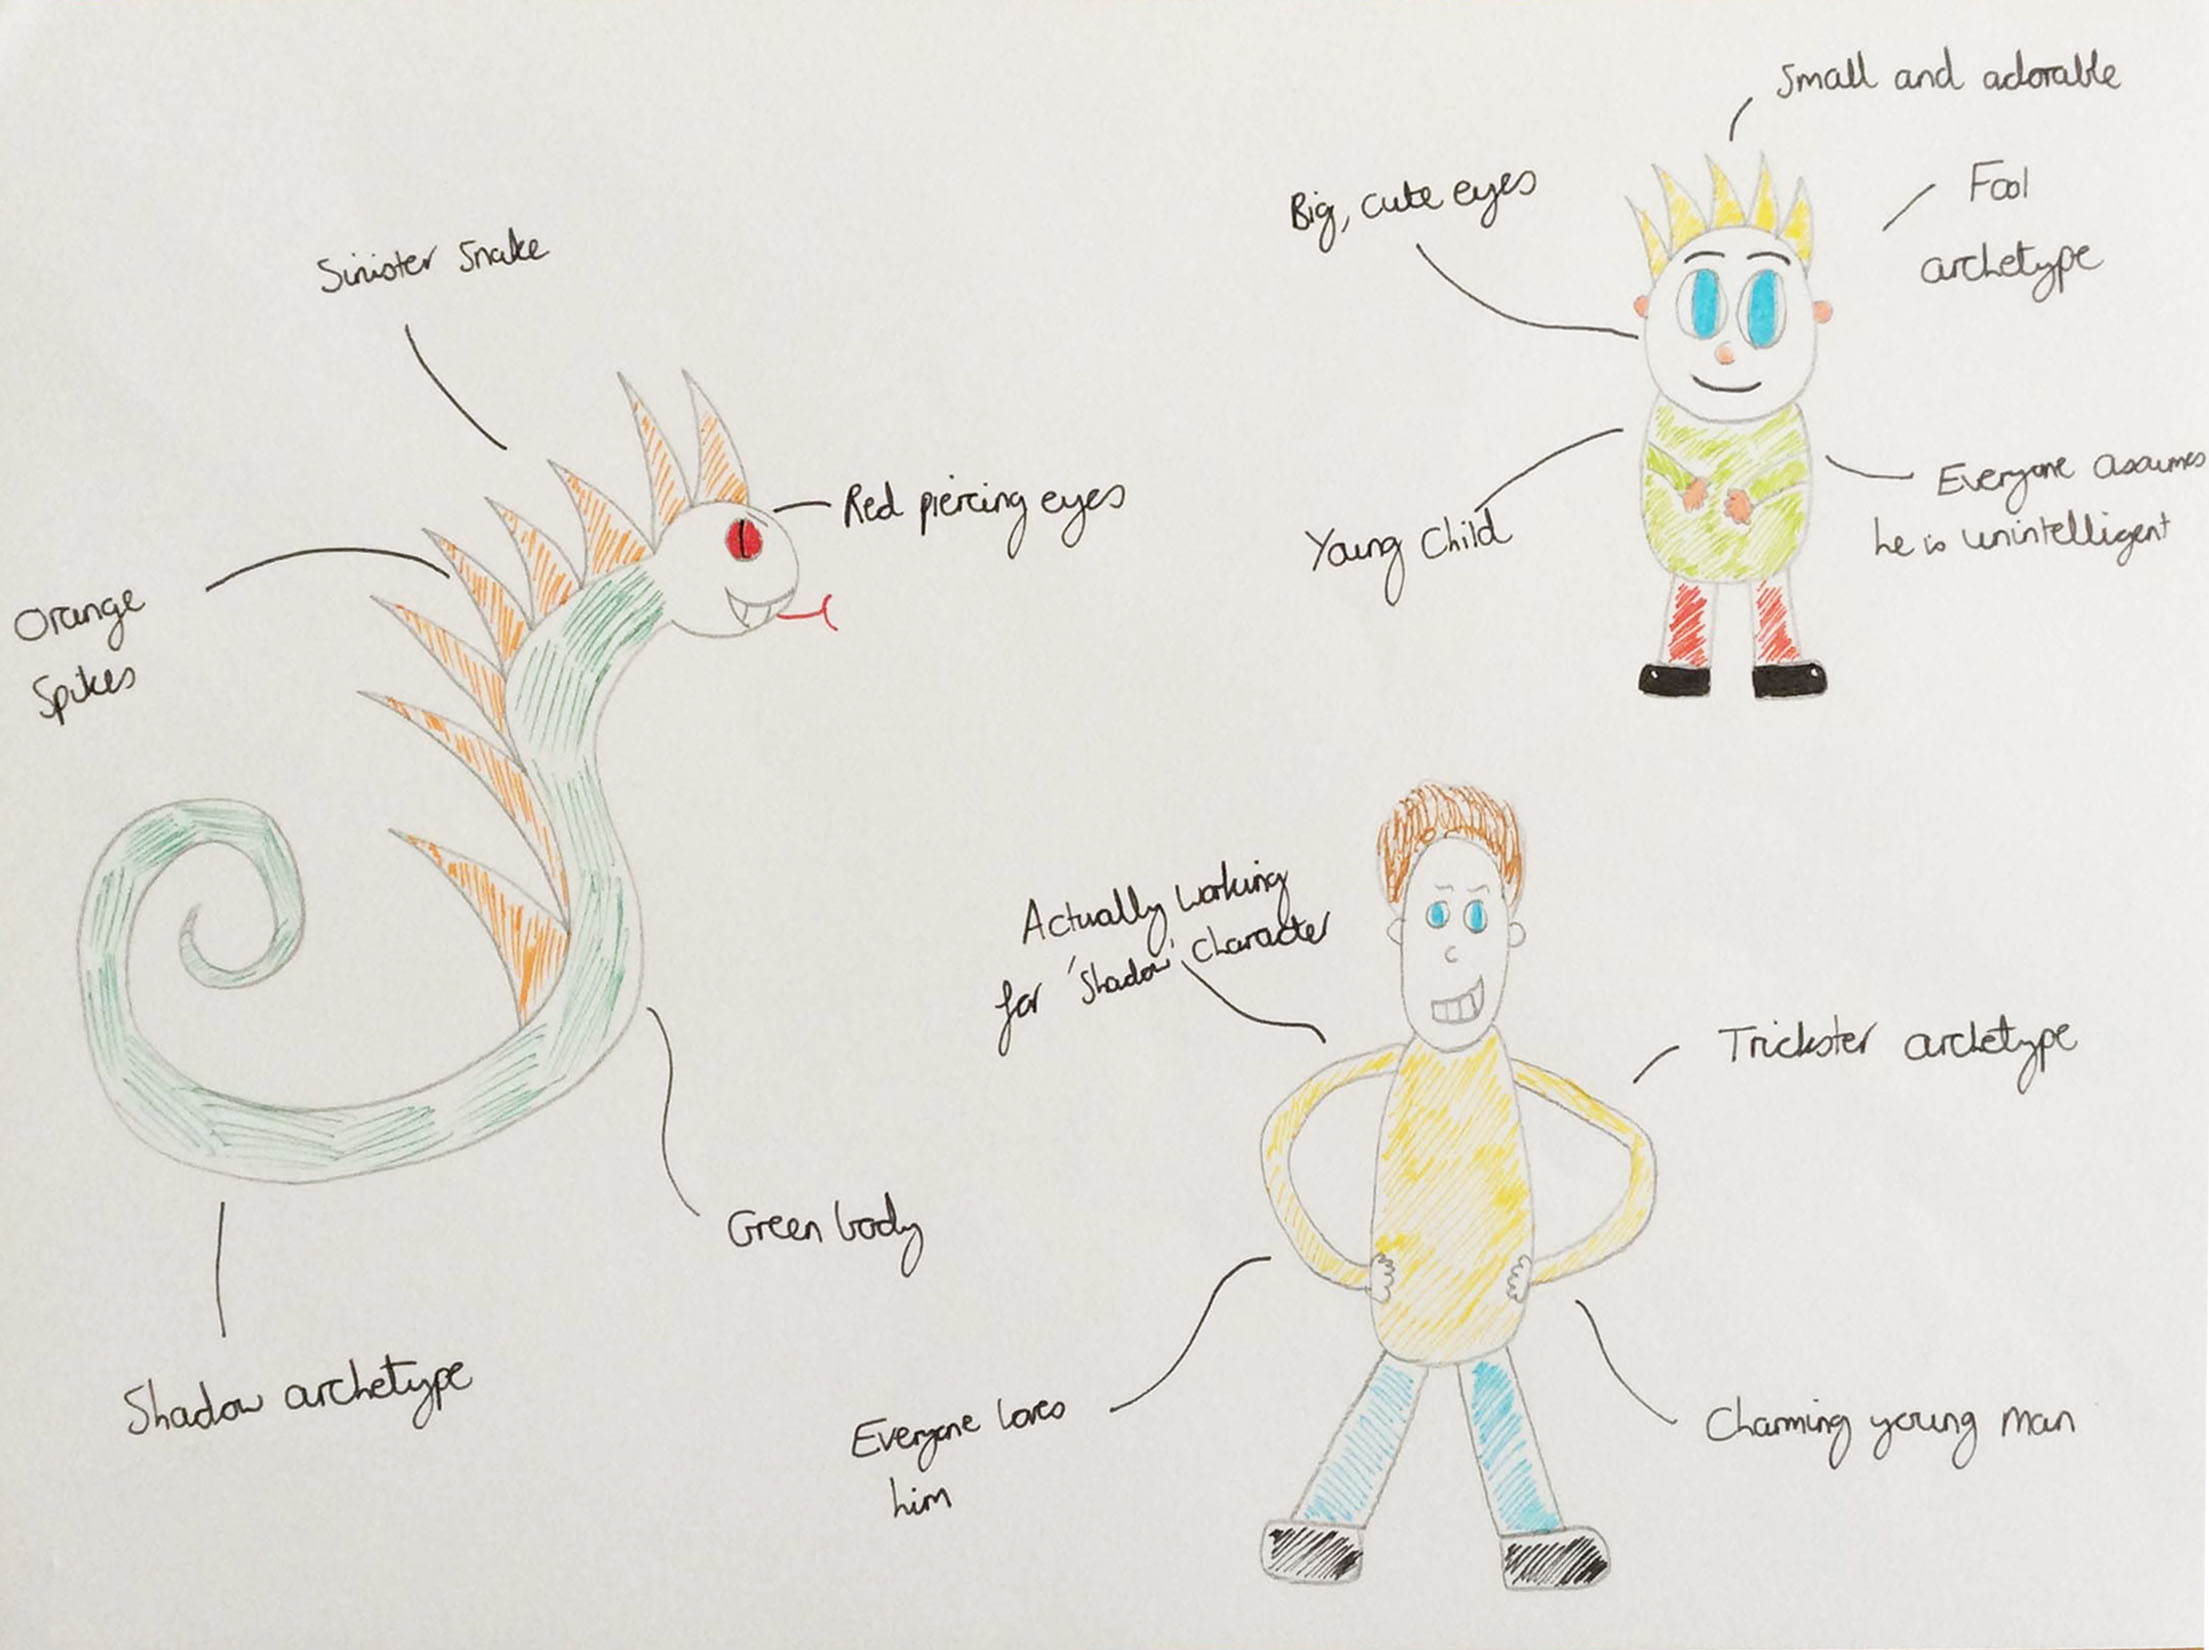
Sketches of Possible Characters Continued
Creating Digital Designs in 'Adobe Illustrator'
Overview
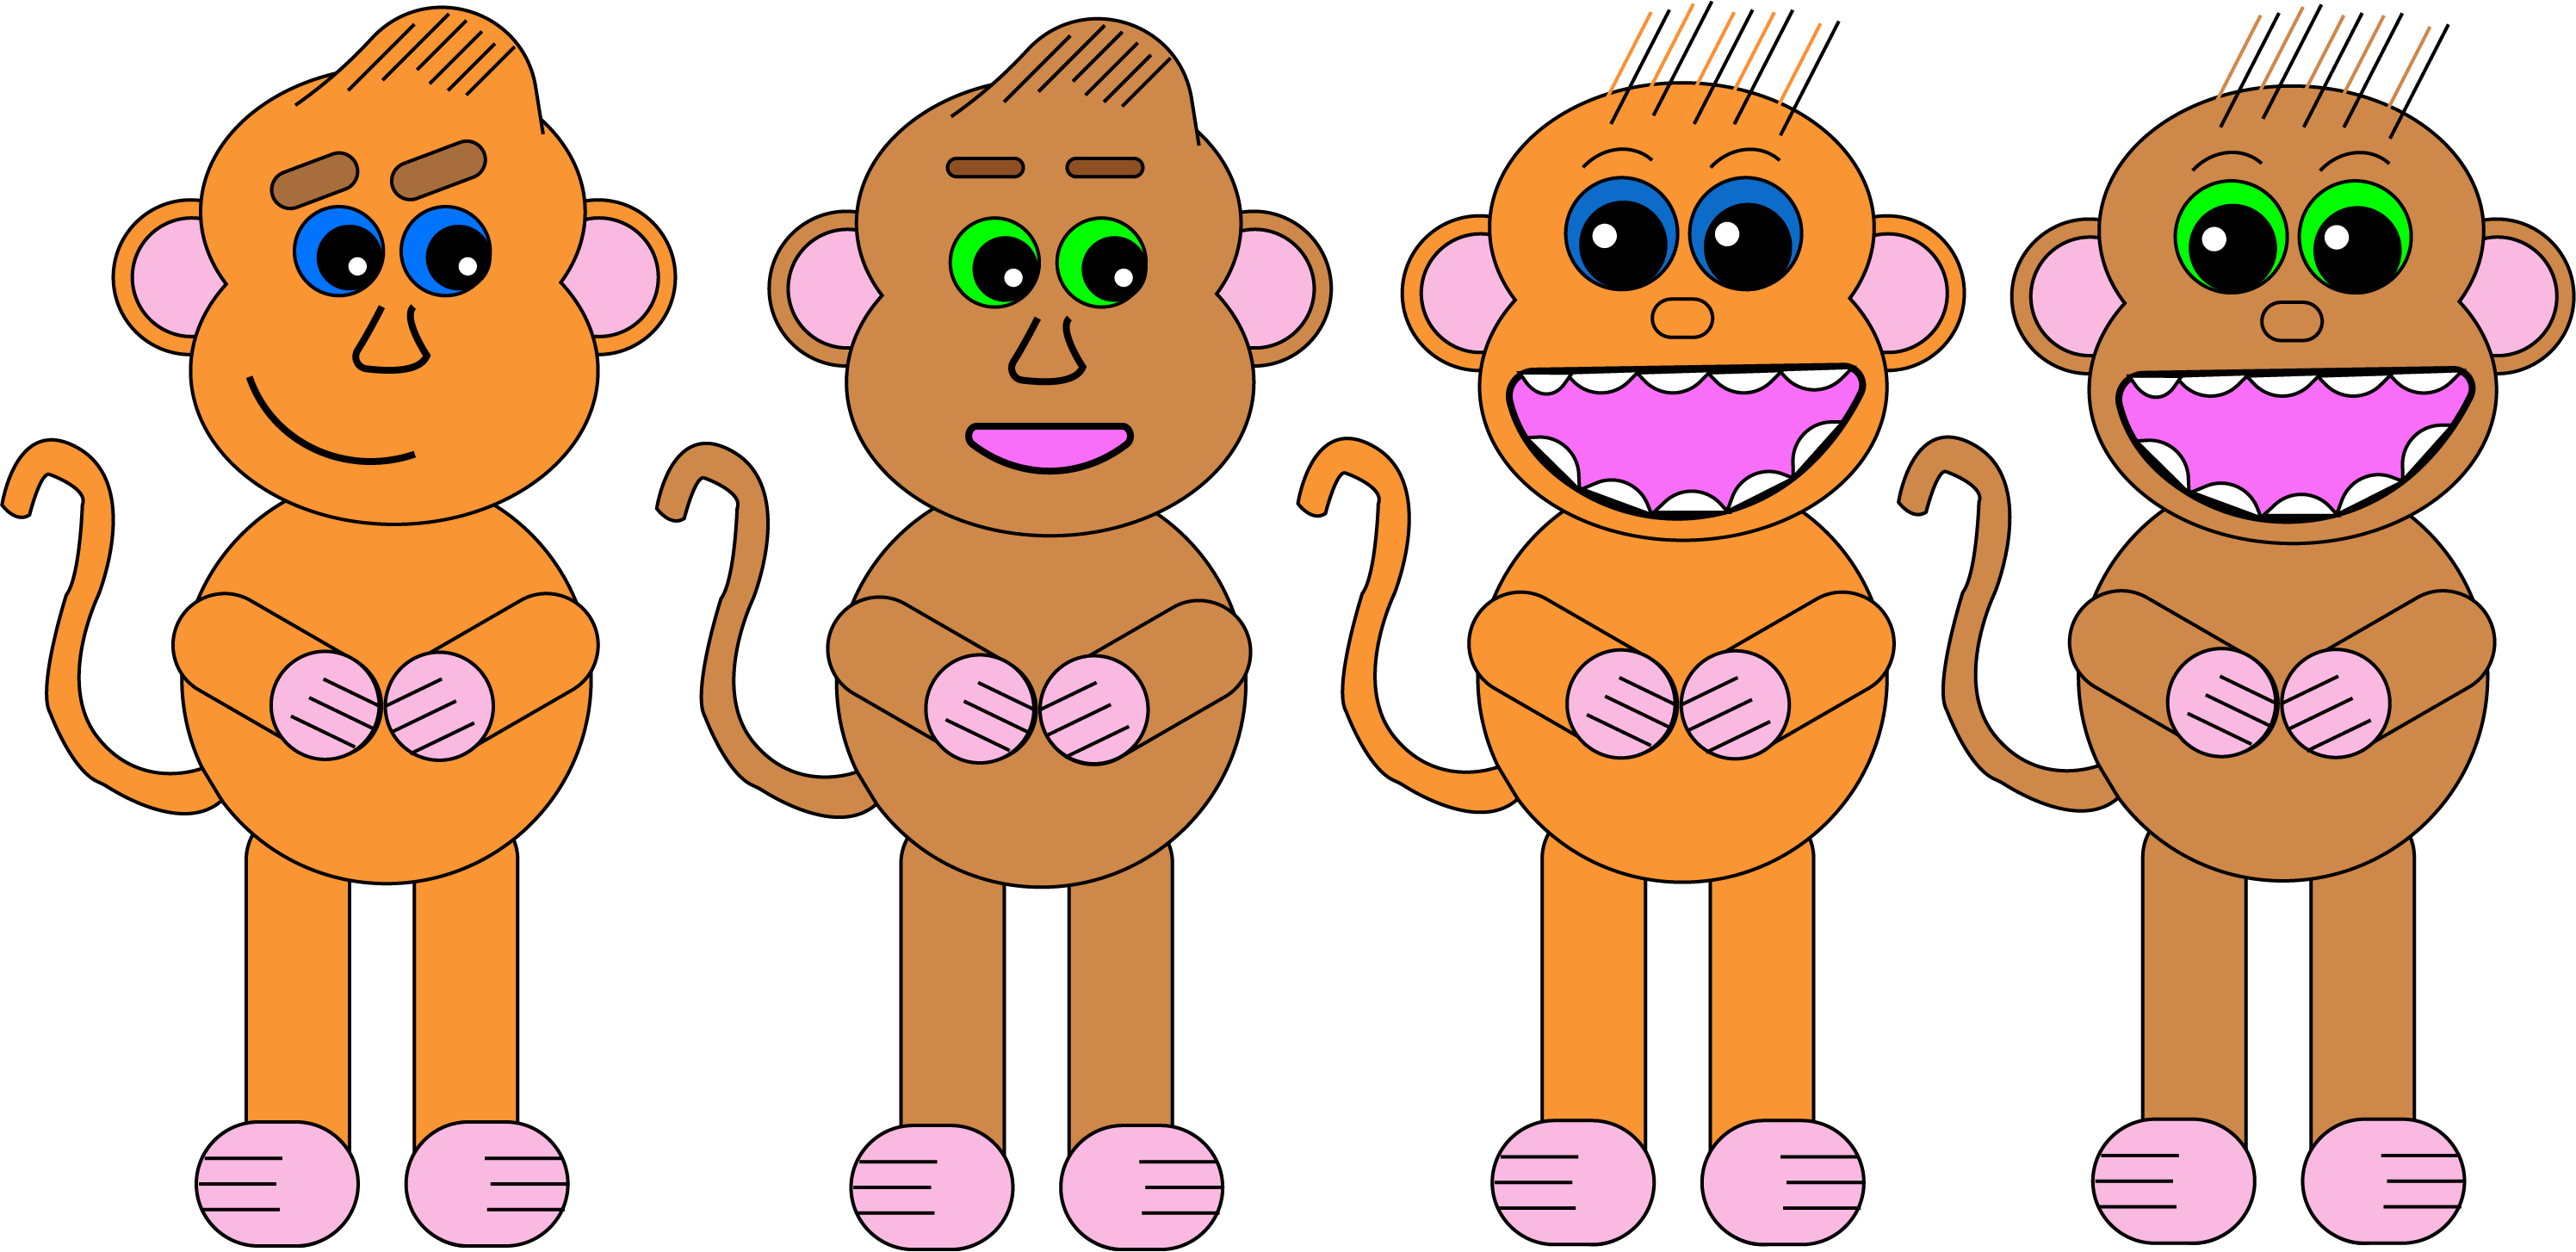
Following on from producing sketches, I then started to create a range of designs on 'Adobe Illustrator' to think of how the monkey could have appeared. I took inspiration from the character concepts shown previously, focusing more on the first two images. I then added some faces to the designs for the monkeys to have appeared more realistic.
The Actual Digital Monkey Designs
Digital Designs in 'Adobe Illustrator' - Without Faces
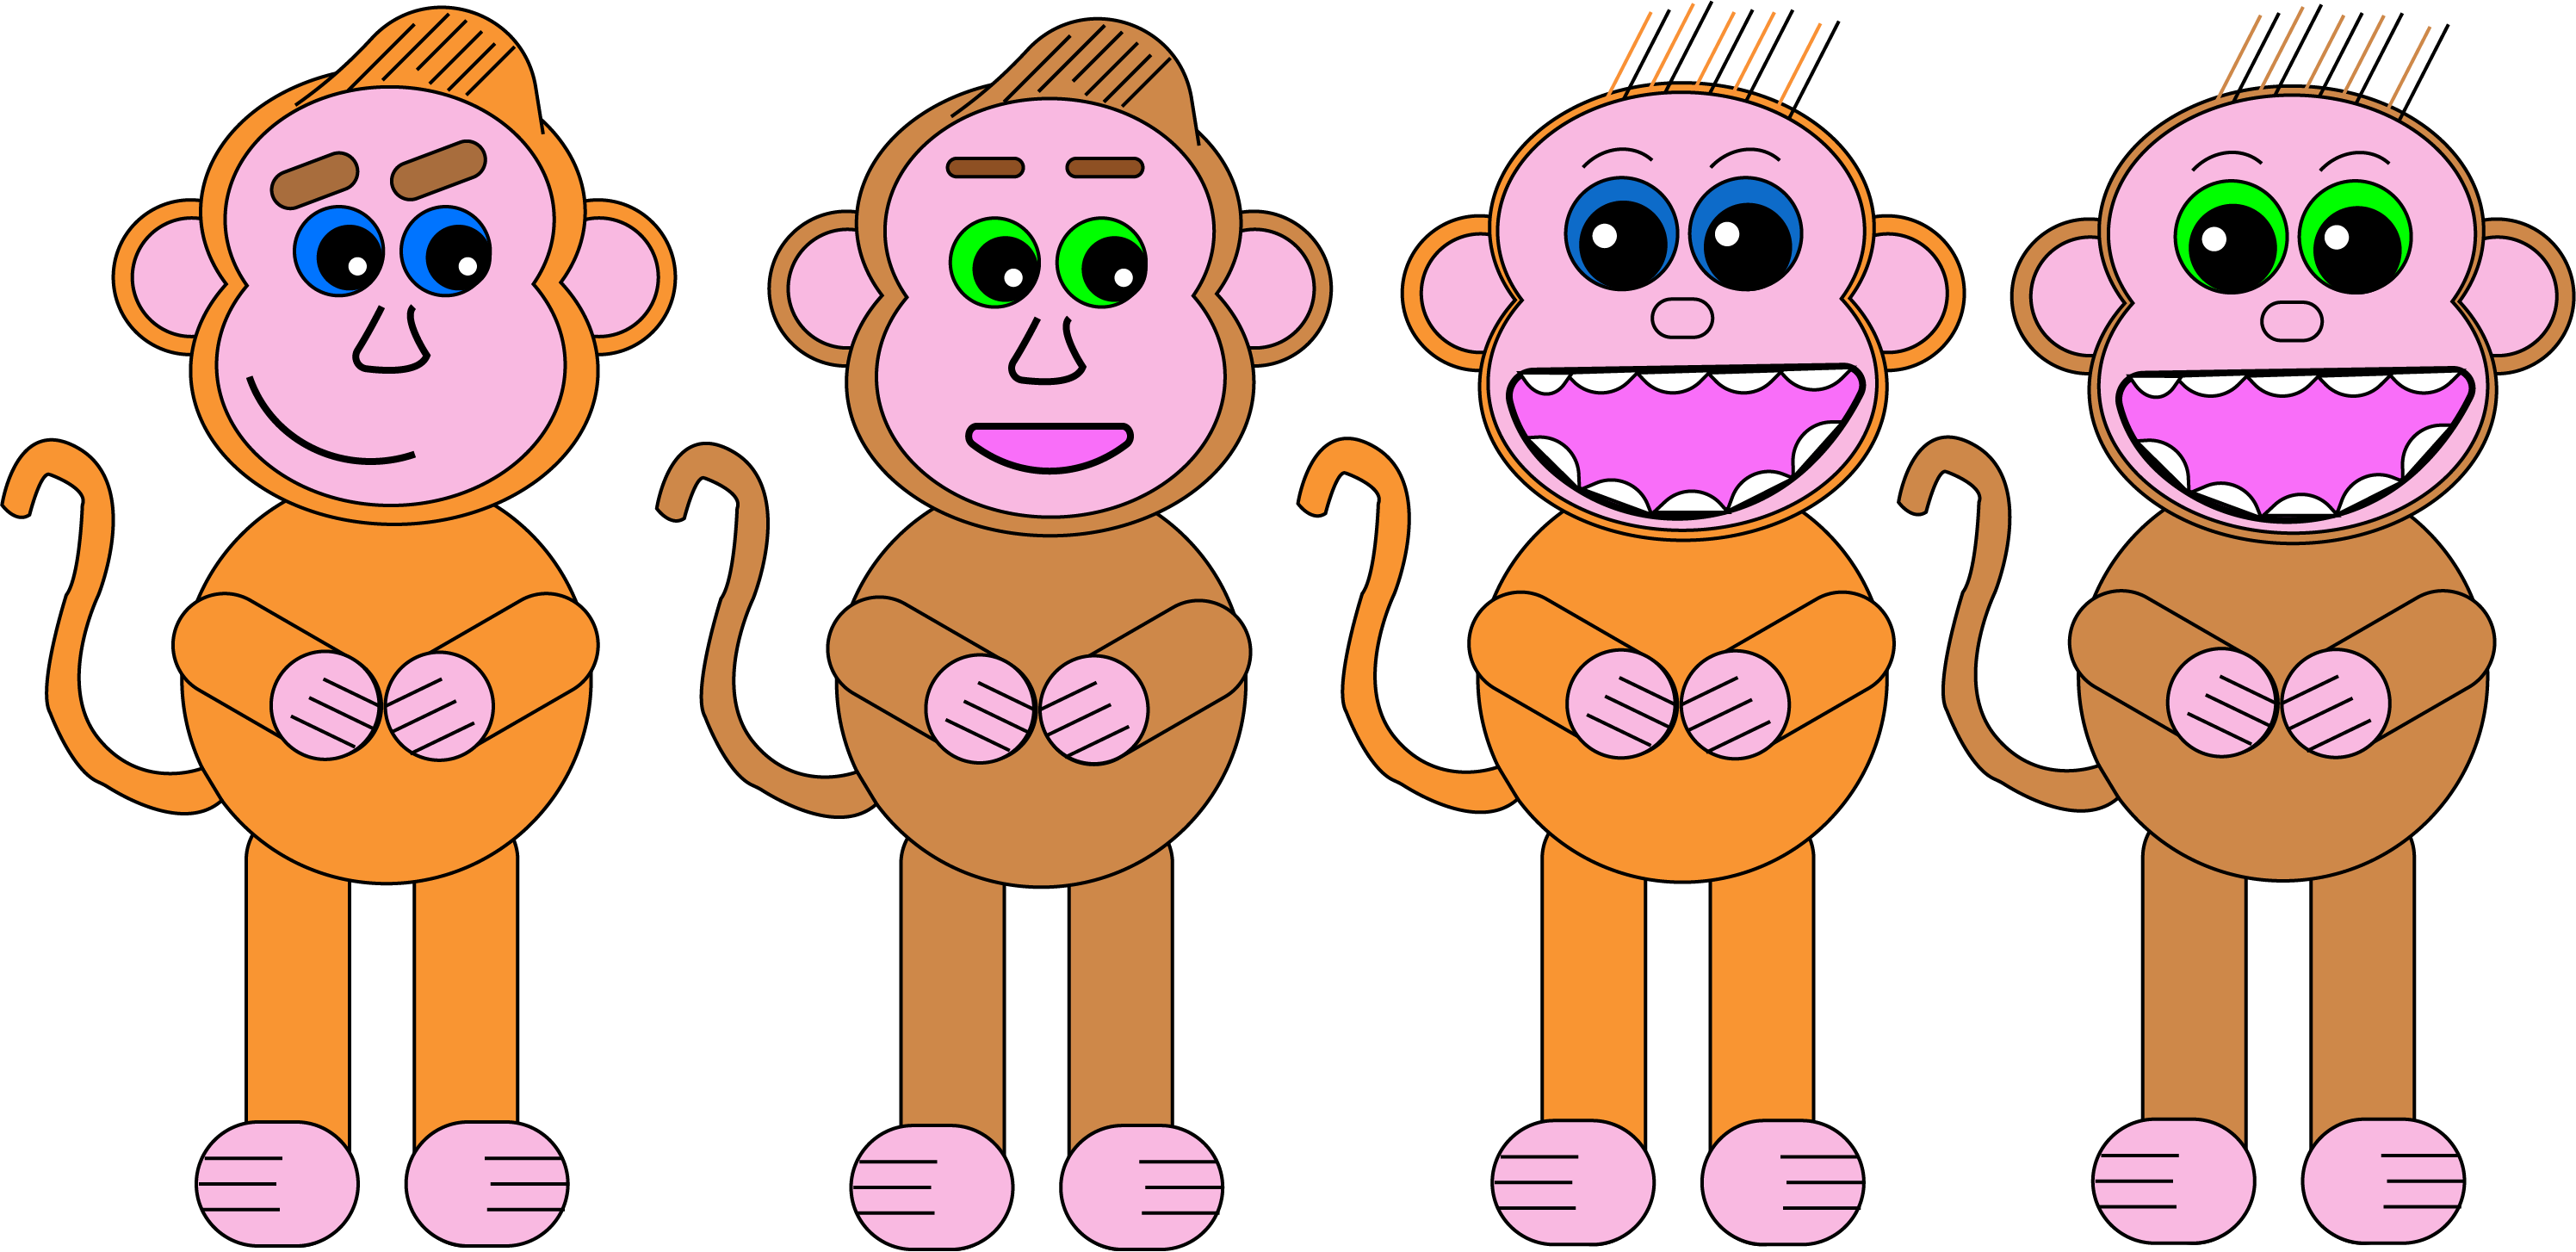
Digital Designs in 'Adobe Illustrator' - With Faces
The Chosen Character/Design
Overview
After creating digital designs, I decided to choose the first monkey design as this reflected the calm, cool, friendly nature of the character I wanted to create. The designs with bigger faces weren't chosen due to the fact that their faces didn't appear like those of a monkey. The design to the right of the chosen idea wasn't chosen due to the fact that the monkey didn't appear calm and cool enough. After the animation process began, I soon realised it would have been better if the monkey had had more joints. Therefore, I added more joints and the final character design can be seen below.
The Actual Chosen Character

The Final Character - Before Adding More Joints
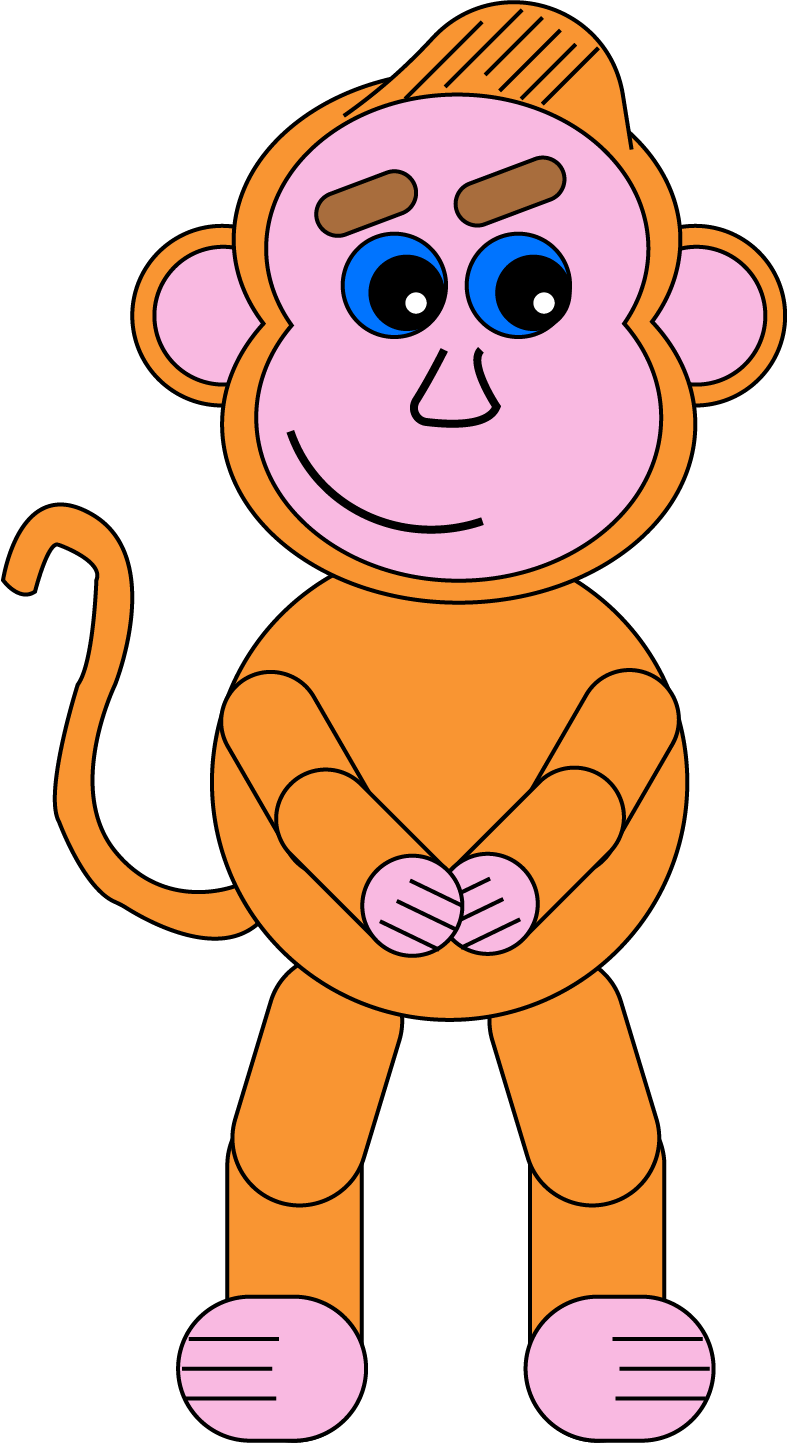
The Final Character - After Adding More Joints
Title Screen Ideas for the Game
Overview
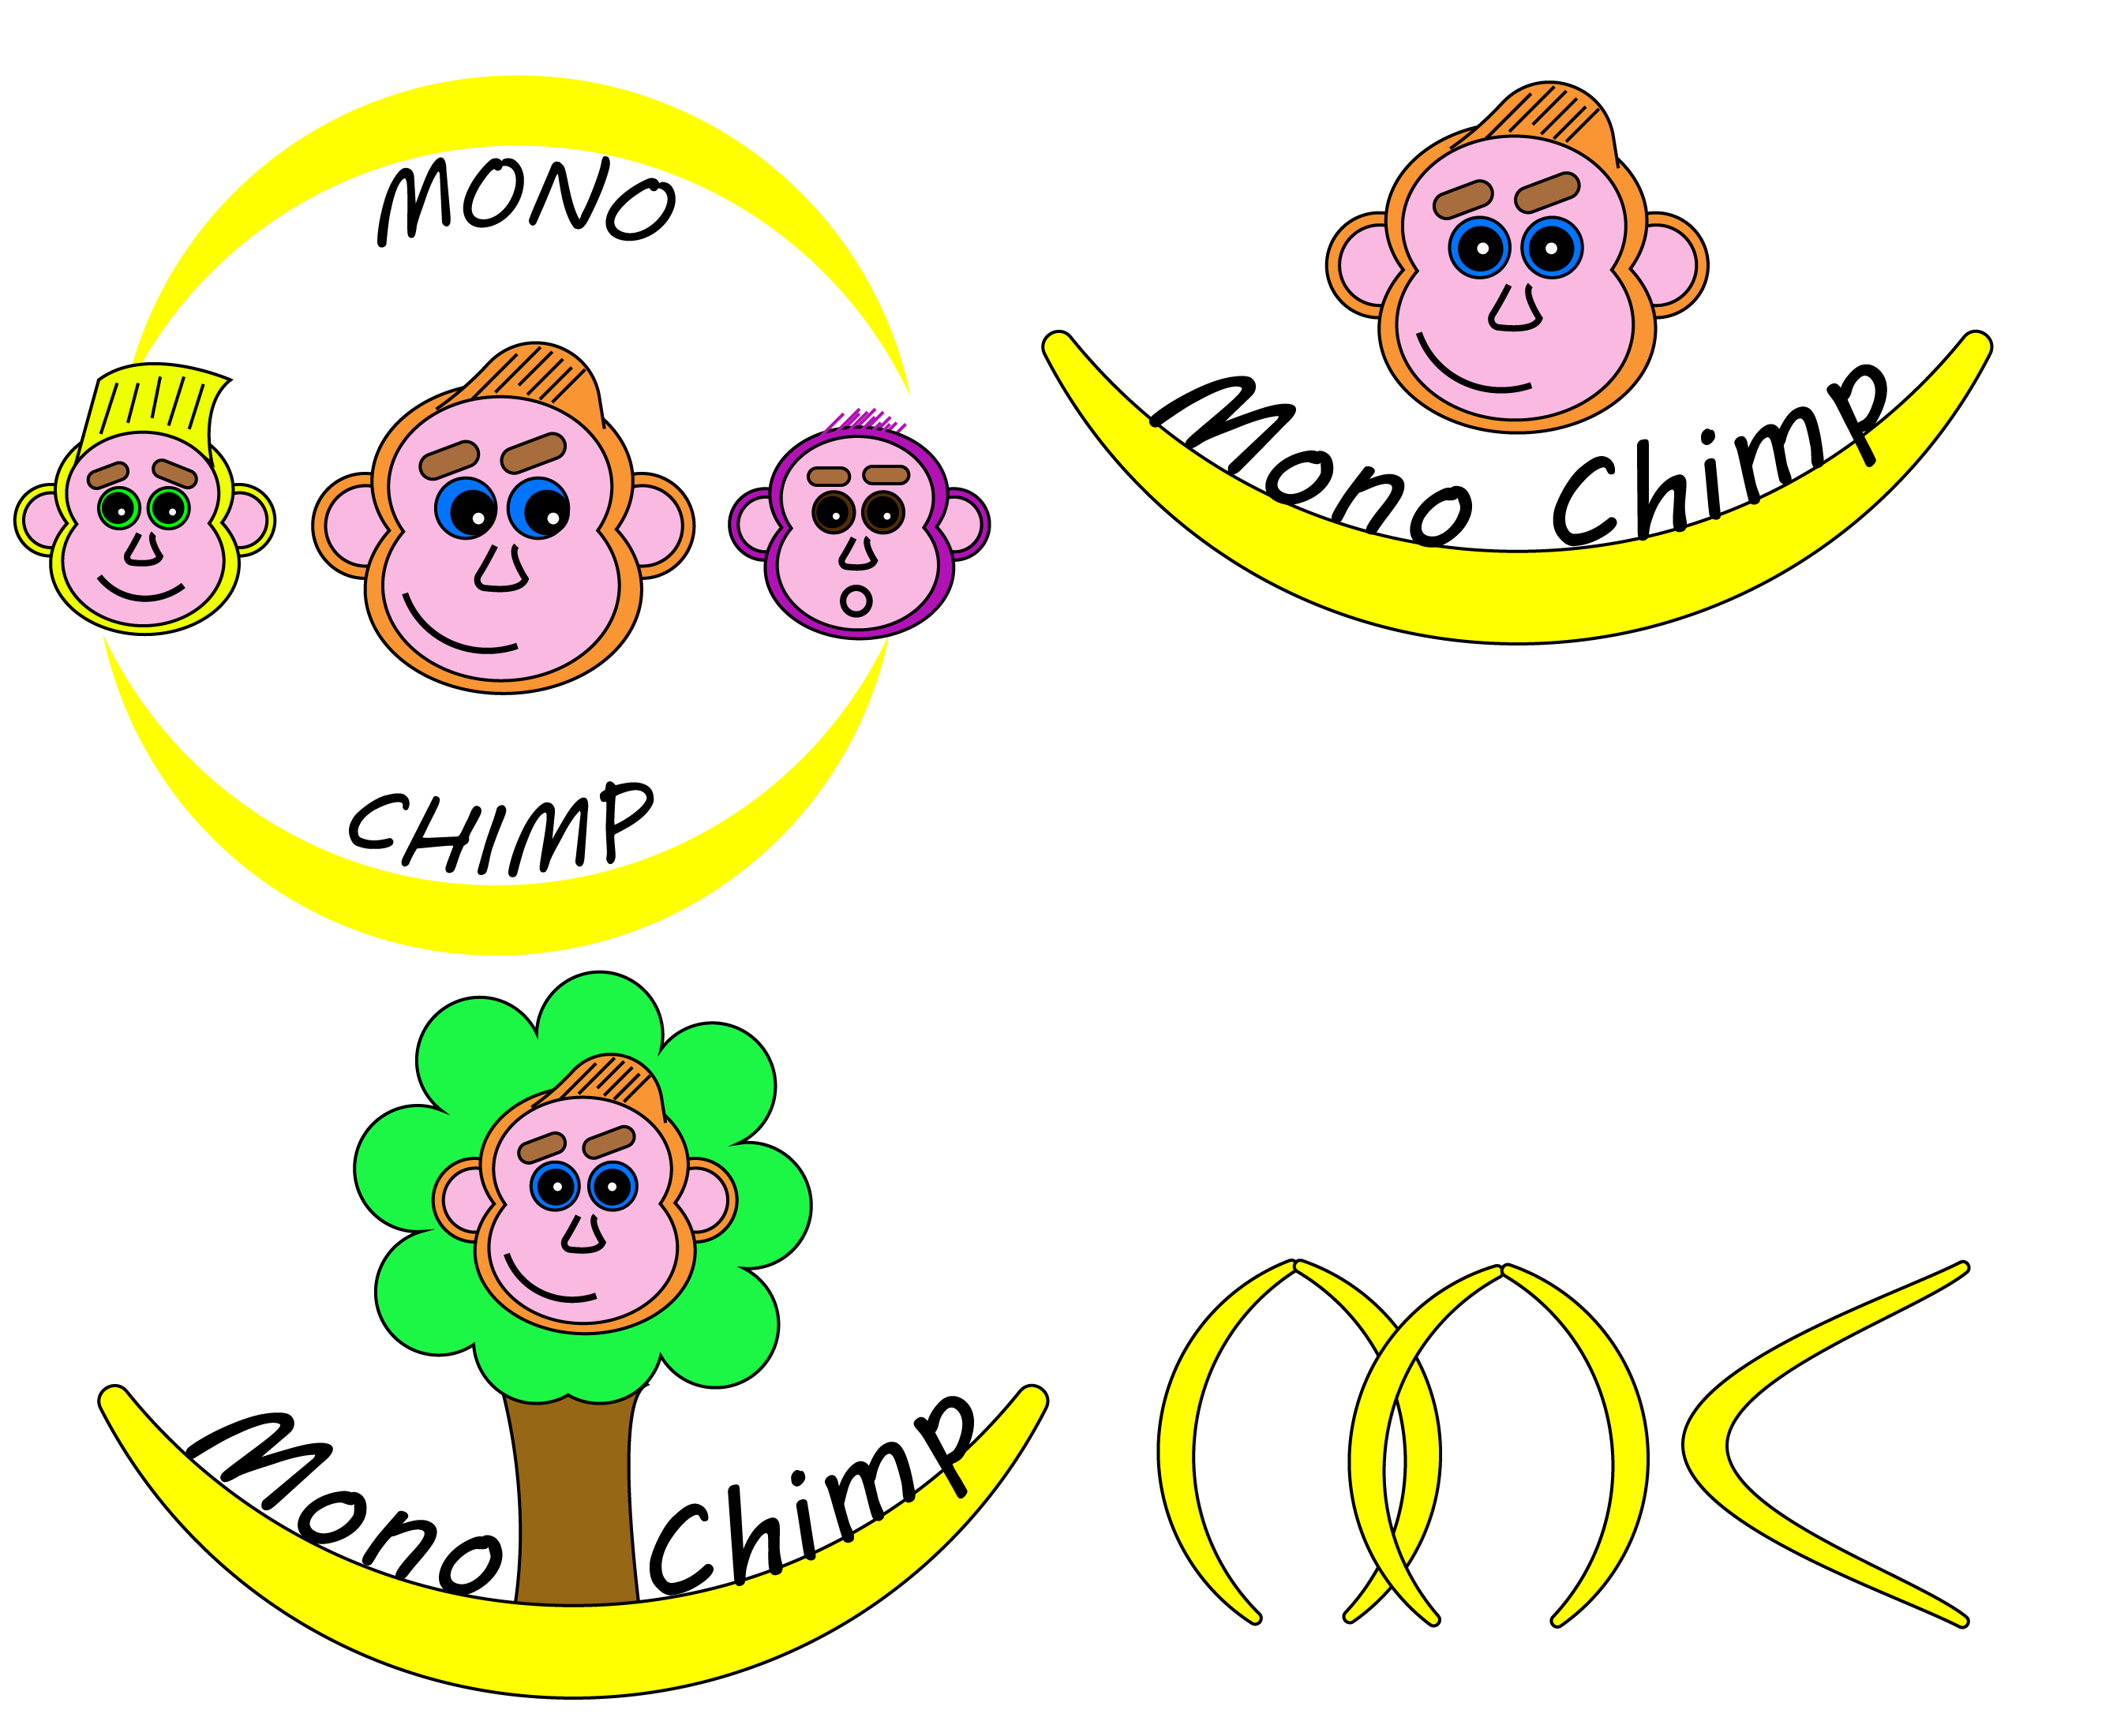
Before thinking about title screens, I decided to choose the male gender for my character and I then produced a list of names. These consisted of 'Monkio', 'Swingy/Swingio', 'Timpy' and 'Mono Chimp'. I decided to choose 'Mono Chimp' as this appealed to myself the most as well as it being simplistic. As I had decided my character would have been for a game setting, I undertook some visual research on title screens in order to create some designs. I understood that they were minimalistic, clear and bold. I tried to implement these aspects into my ideas. Aspects relating to a monkey were included, as will be evident with the bananas. If I were to choose one for the game, it would have been the top left design as this reflected 'Mono Chimp's' friendly and likeable nature with his friends.
With regards to the story of the game and the role of 'Mono Chimp', this can be viewed in the pitch bible at the end of this page.
The Collected Research
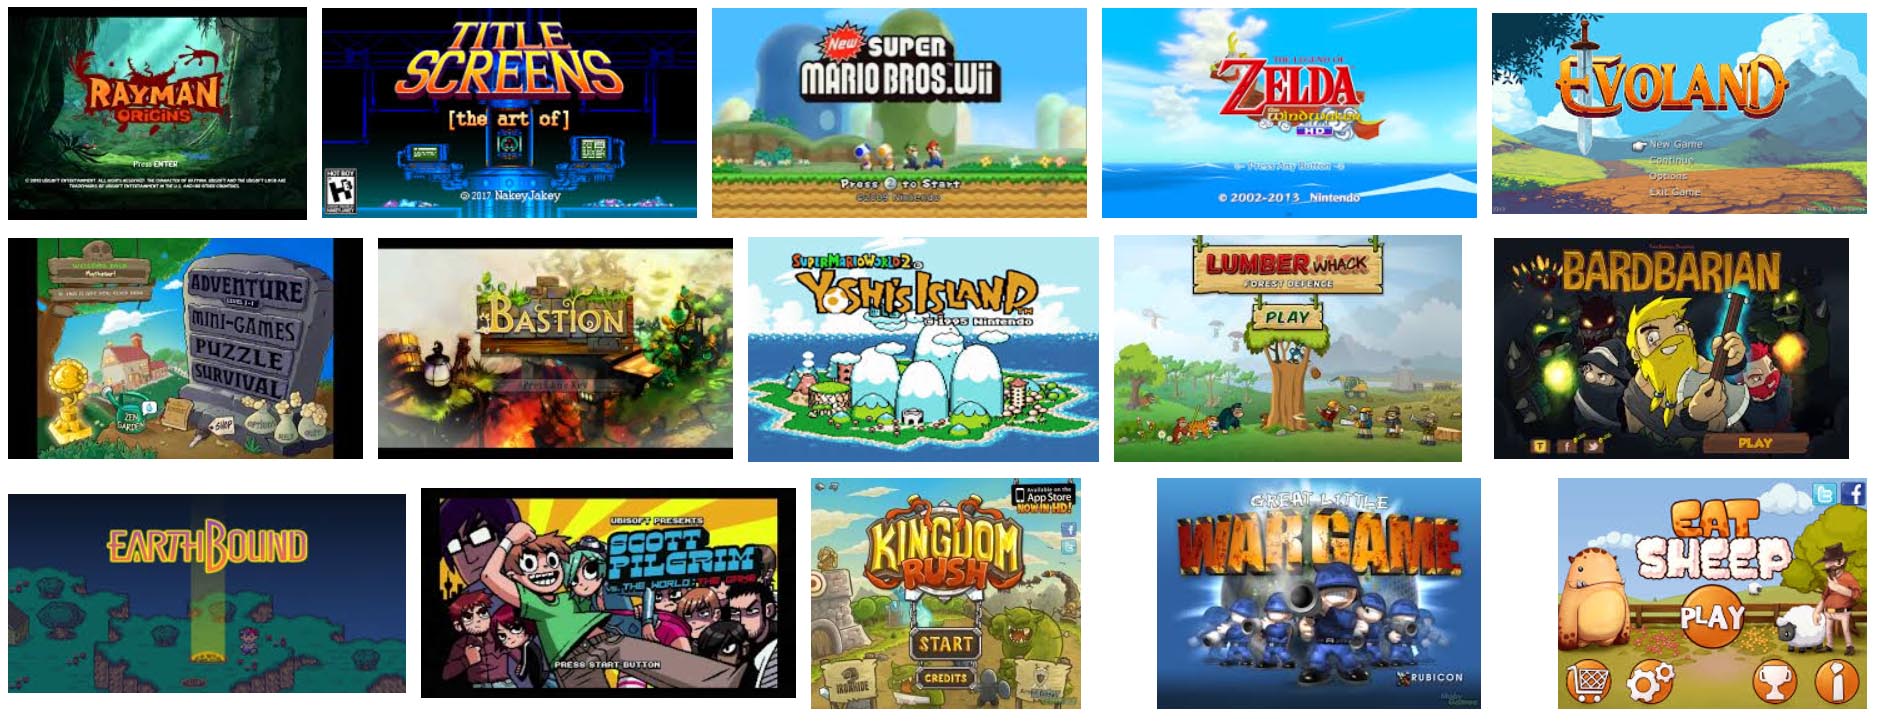
Title Screens Research
The Actual Title Screen Ideas/Designs
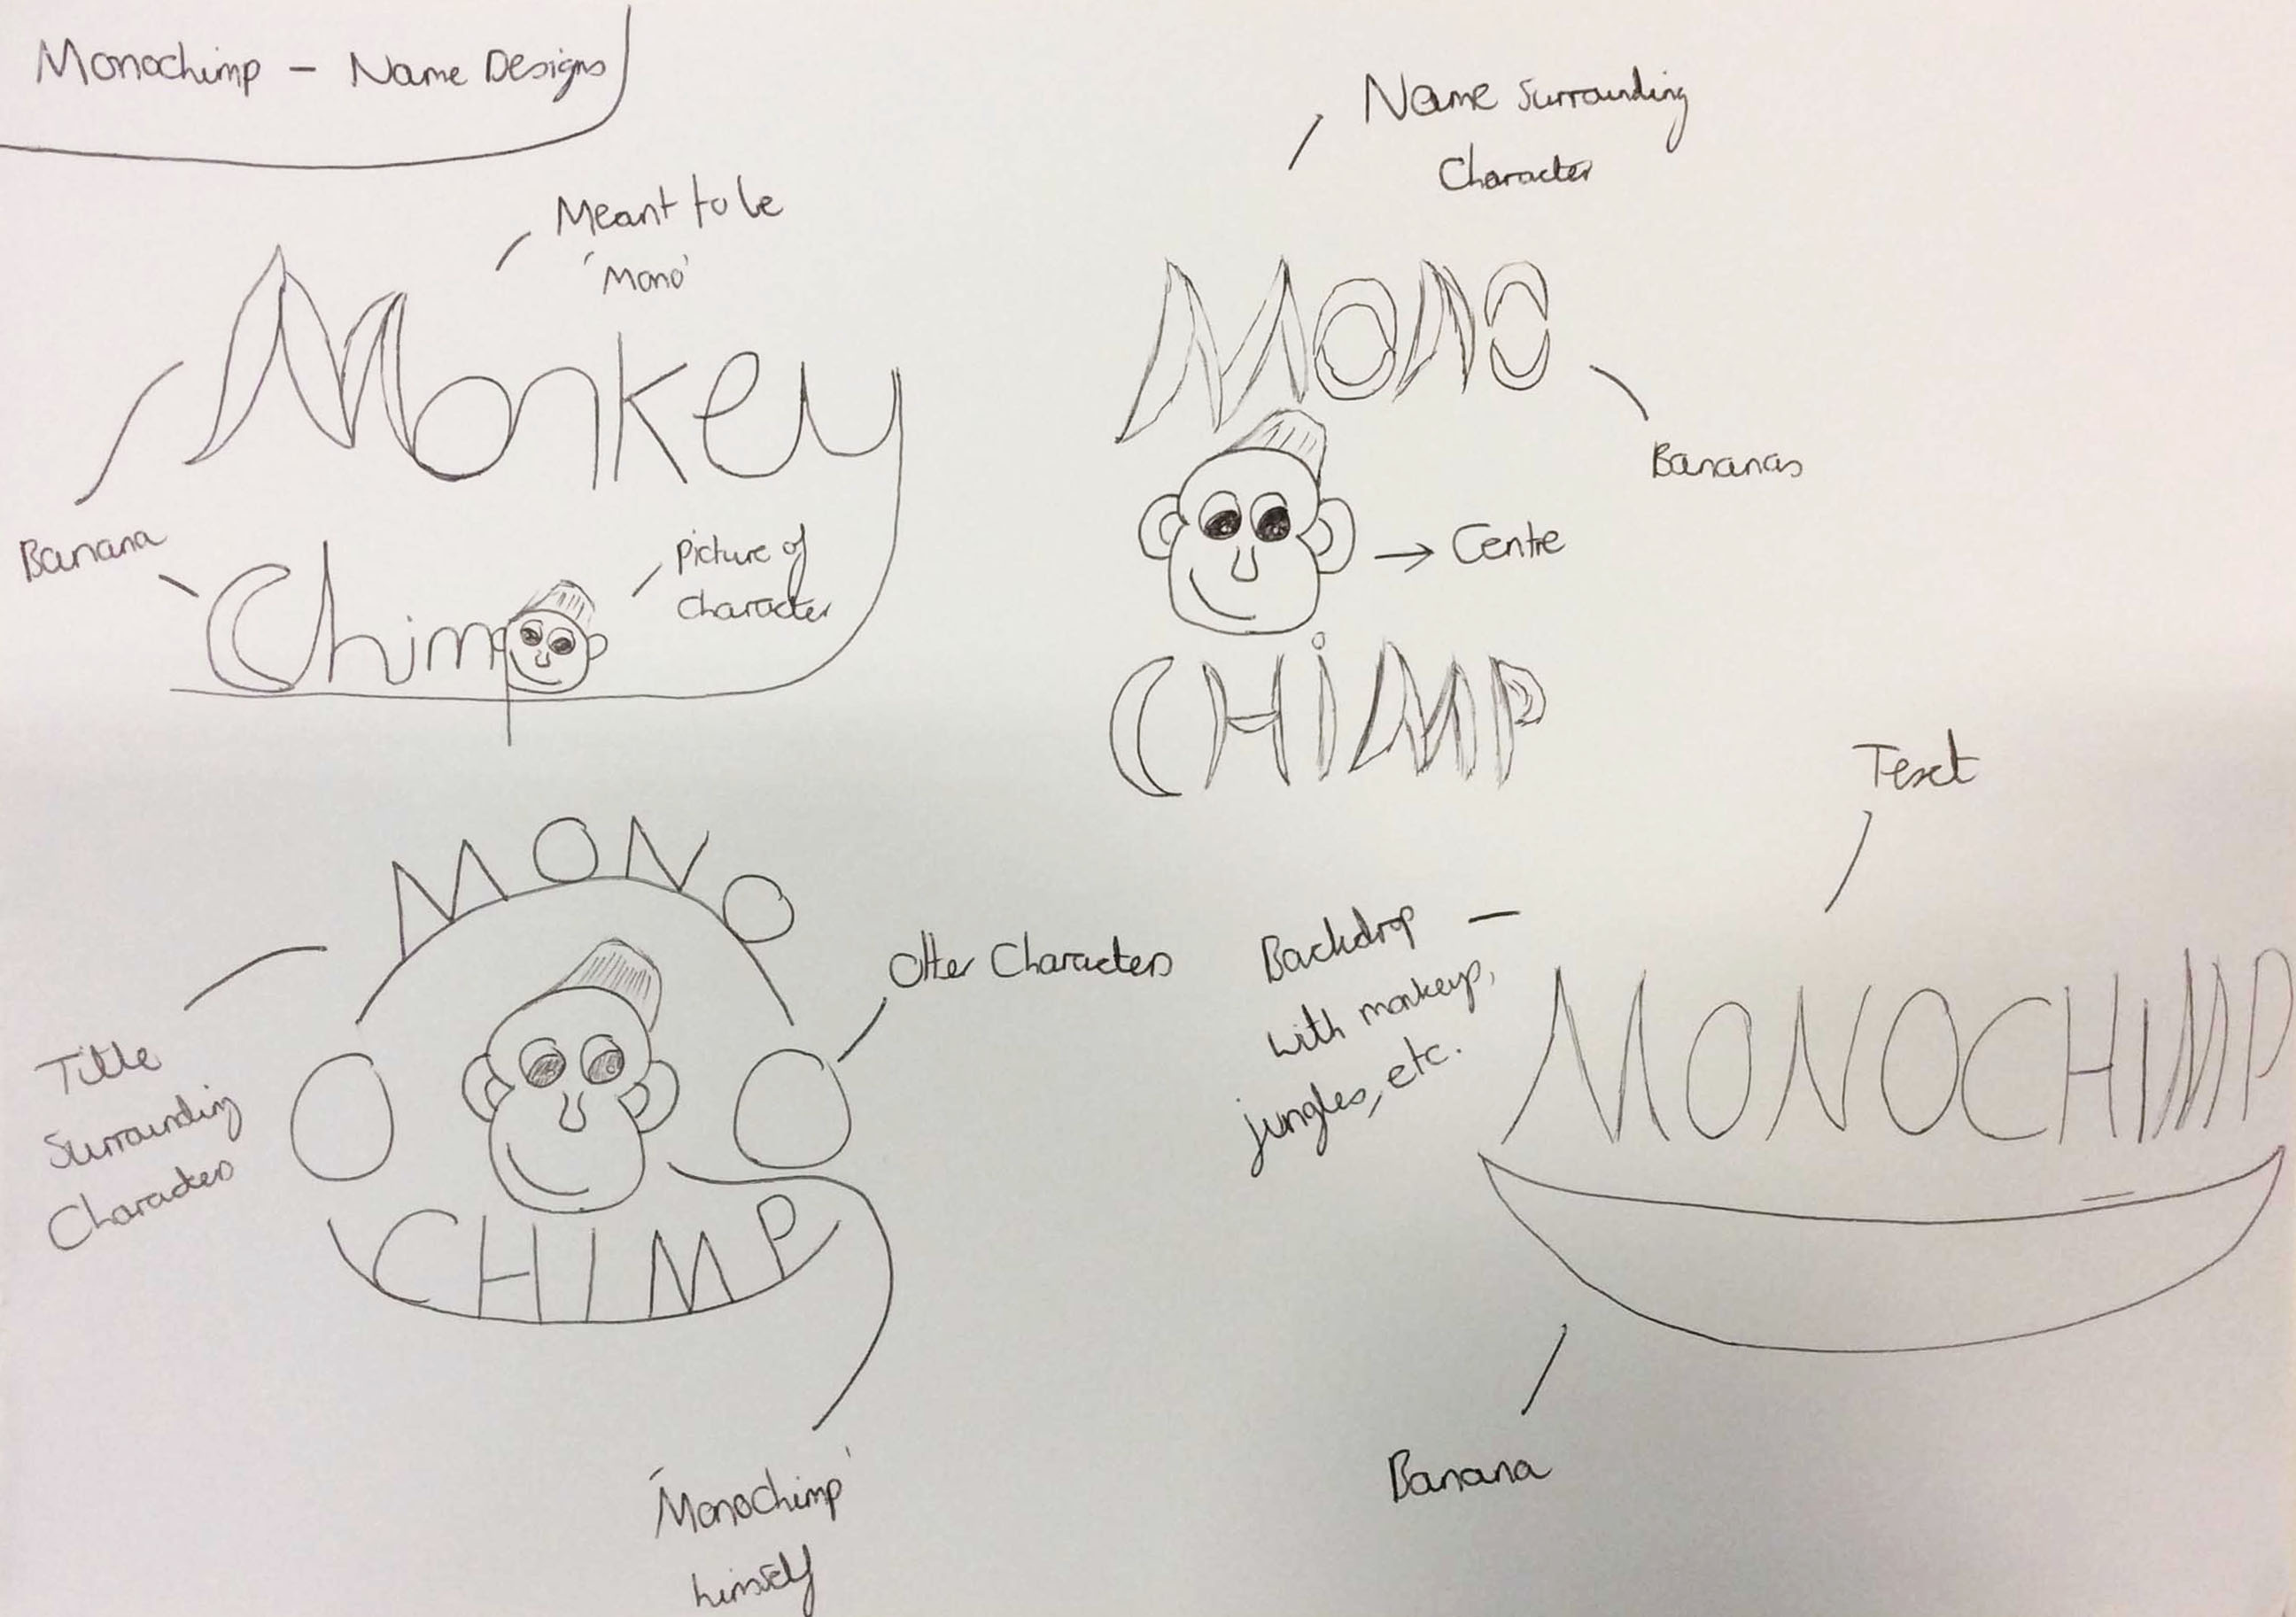
Title Screen Designs - Sketches
Digital Title Screen Designs
Scale Perspective Drawings
Overview
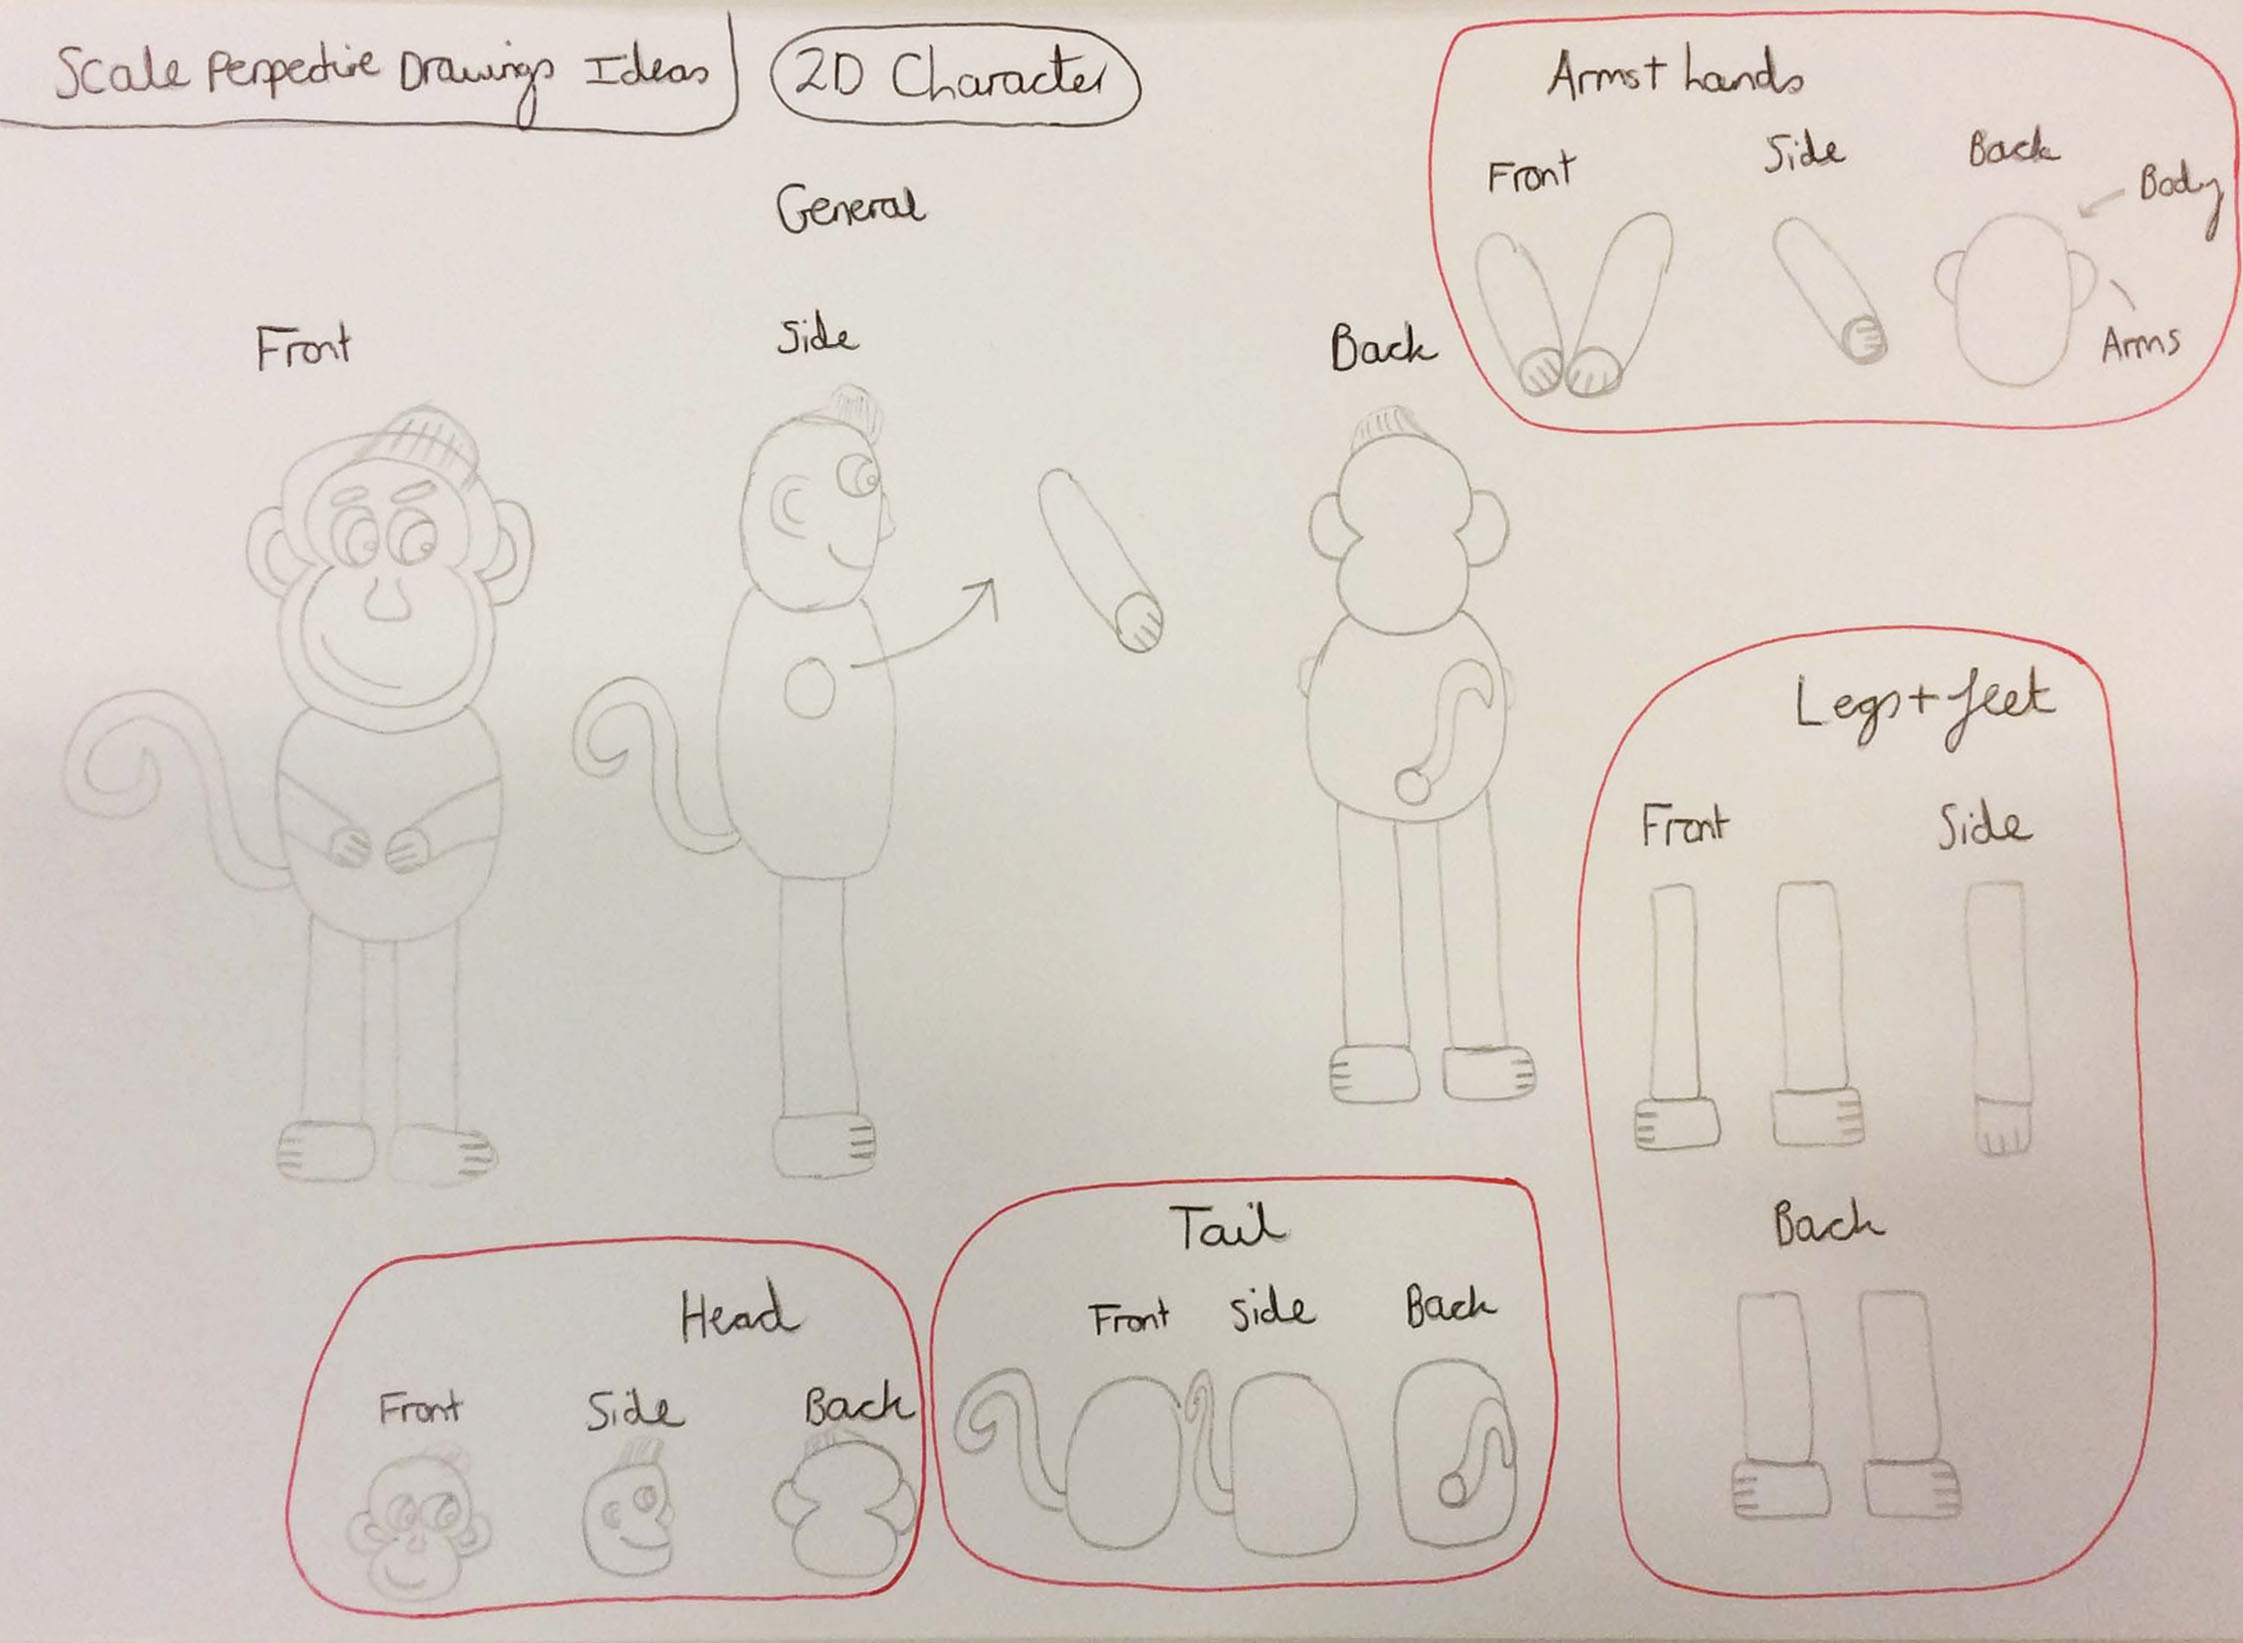
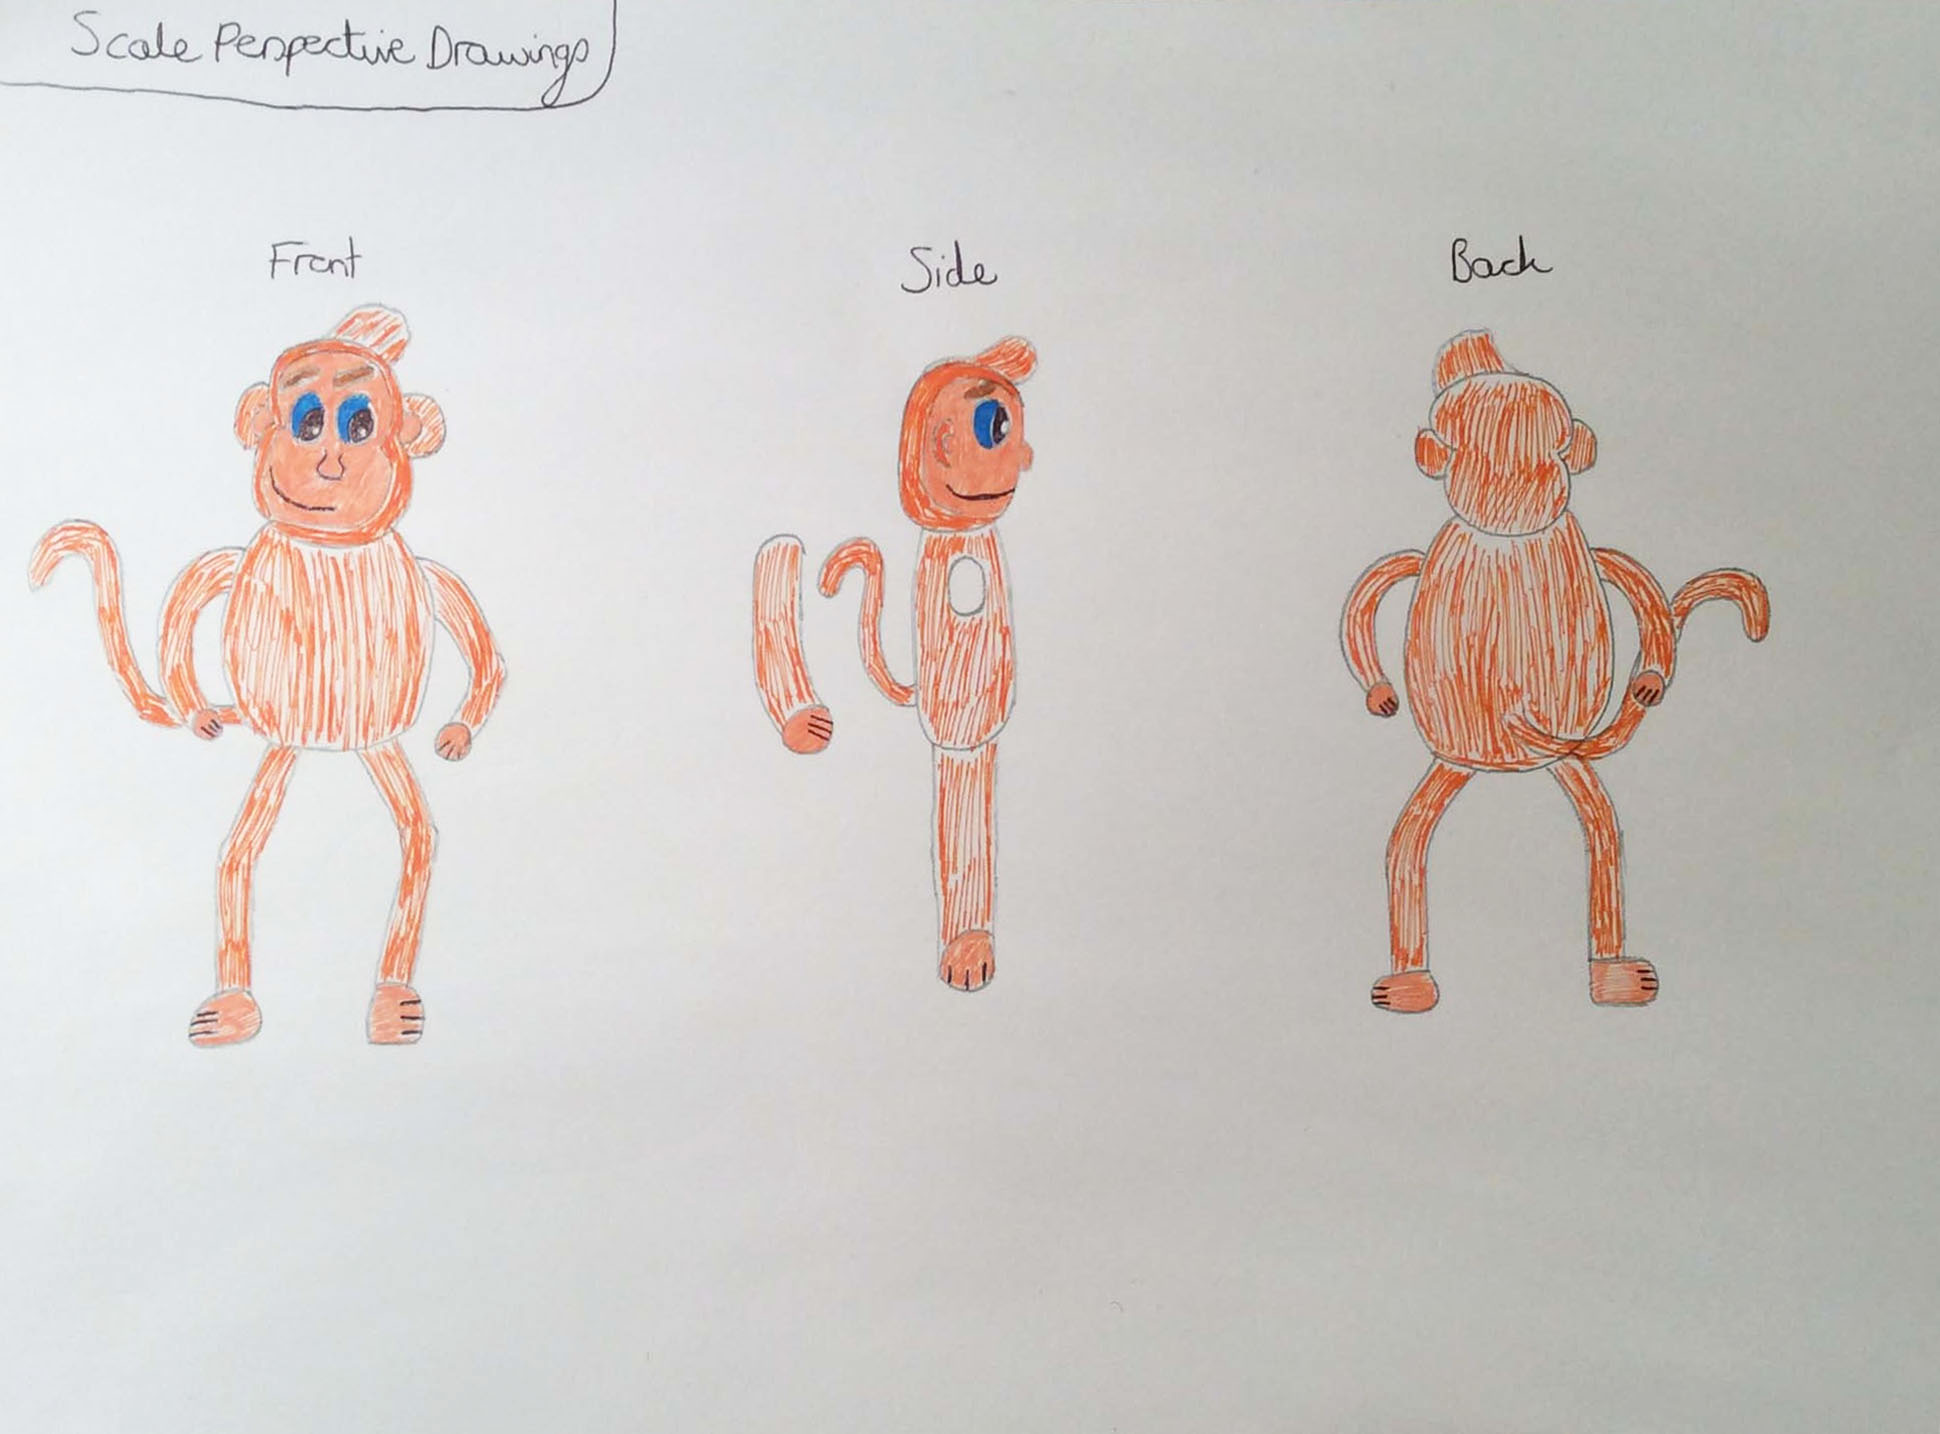
The first sketch demonstrated the full body awareness of 'Mono Chimp' before adding more joints to his arms and legs. The second sketch was the scale perspective drawing for the final character with more colour and accuracy to show a good perception of his body.
The Actual Drawings
Initial Scale Perspective Drawings
Scale Perspective Drawings of the Final Character
Different Sections of my Character
Overview
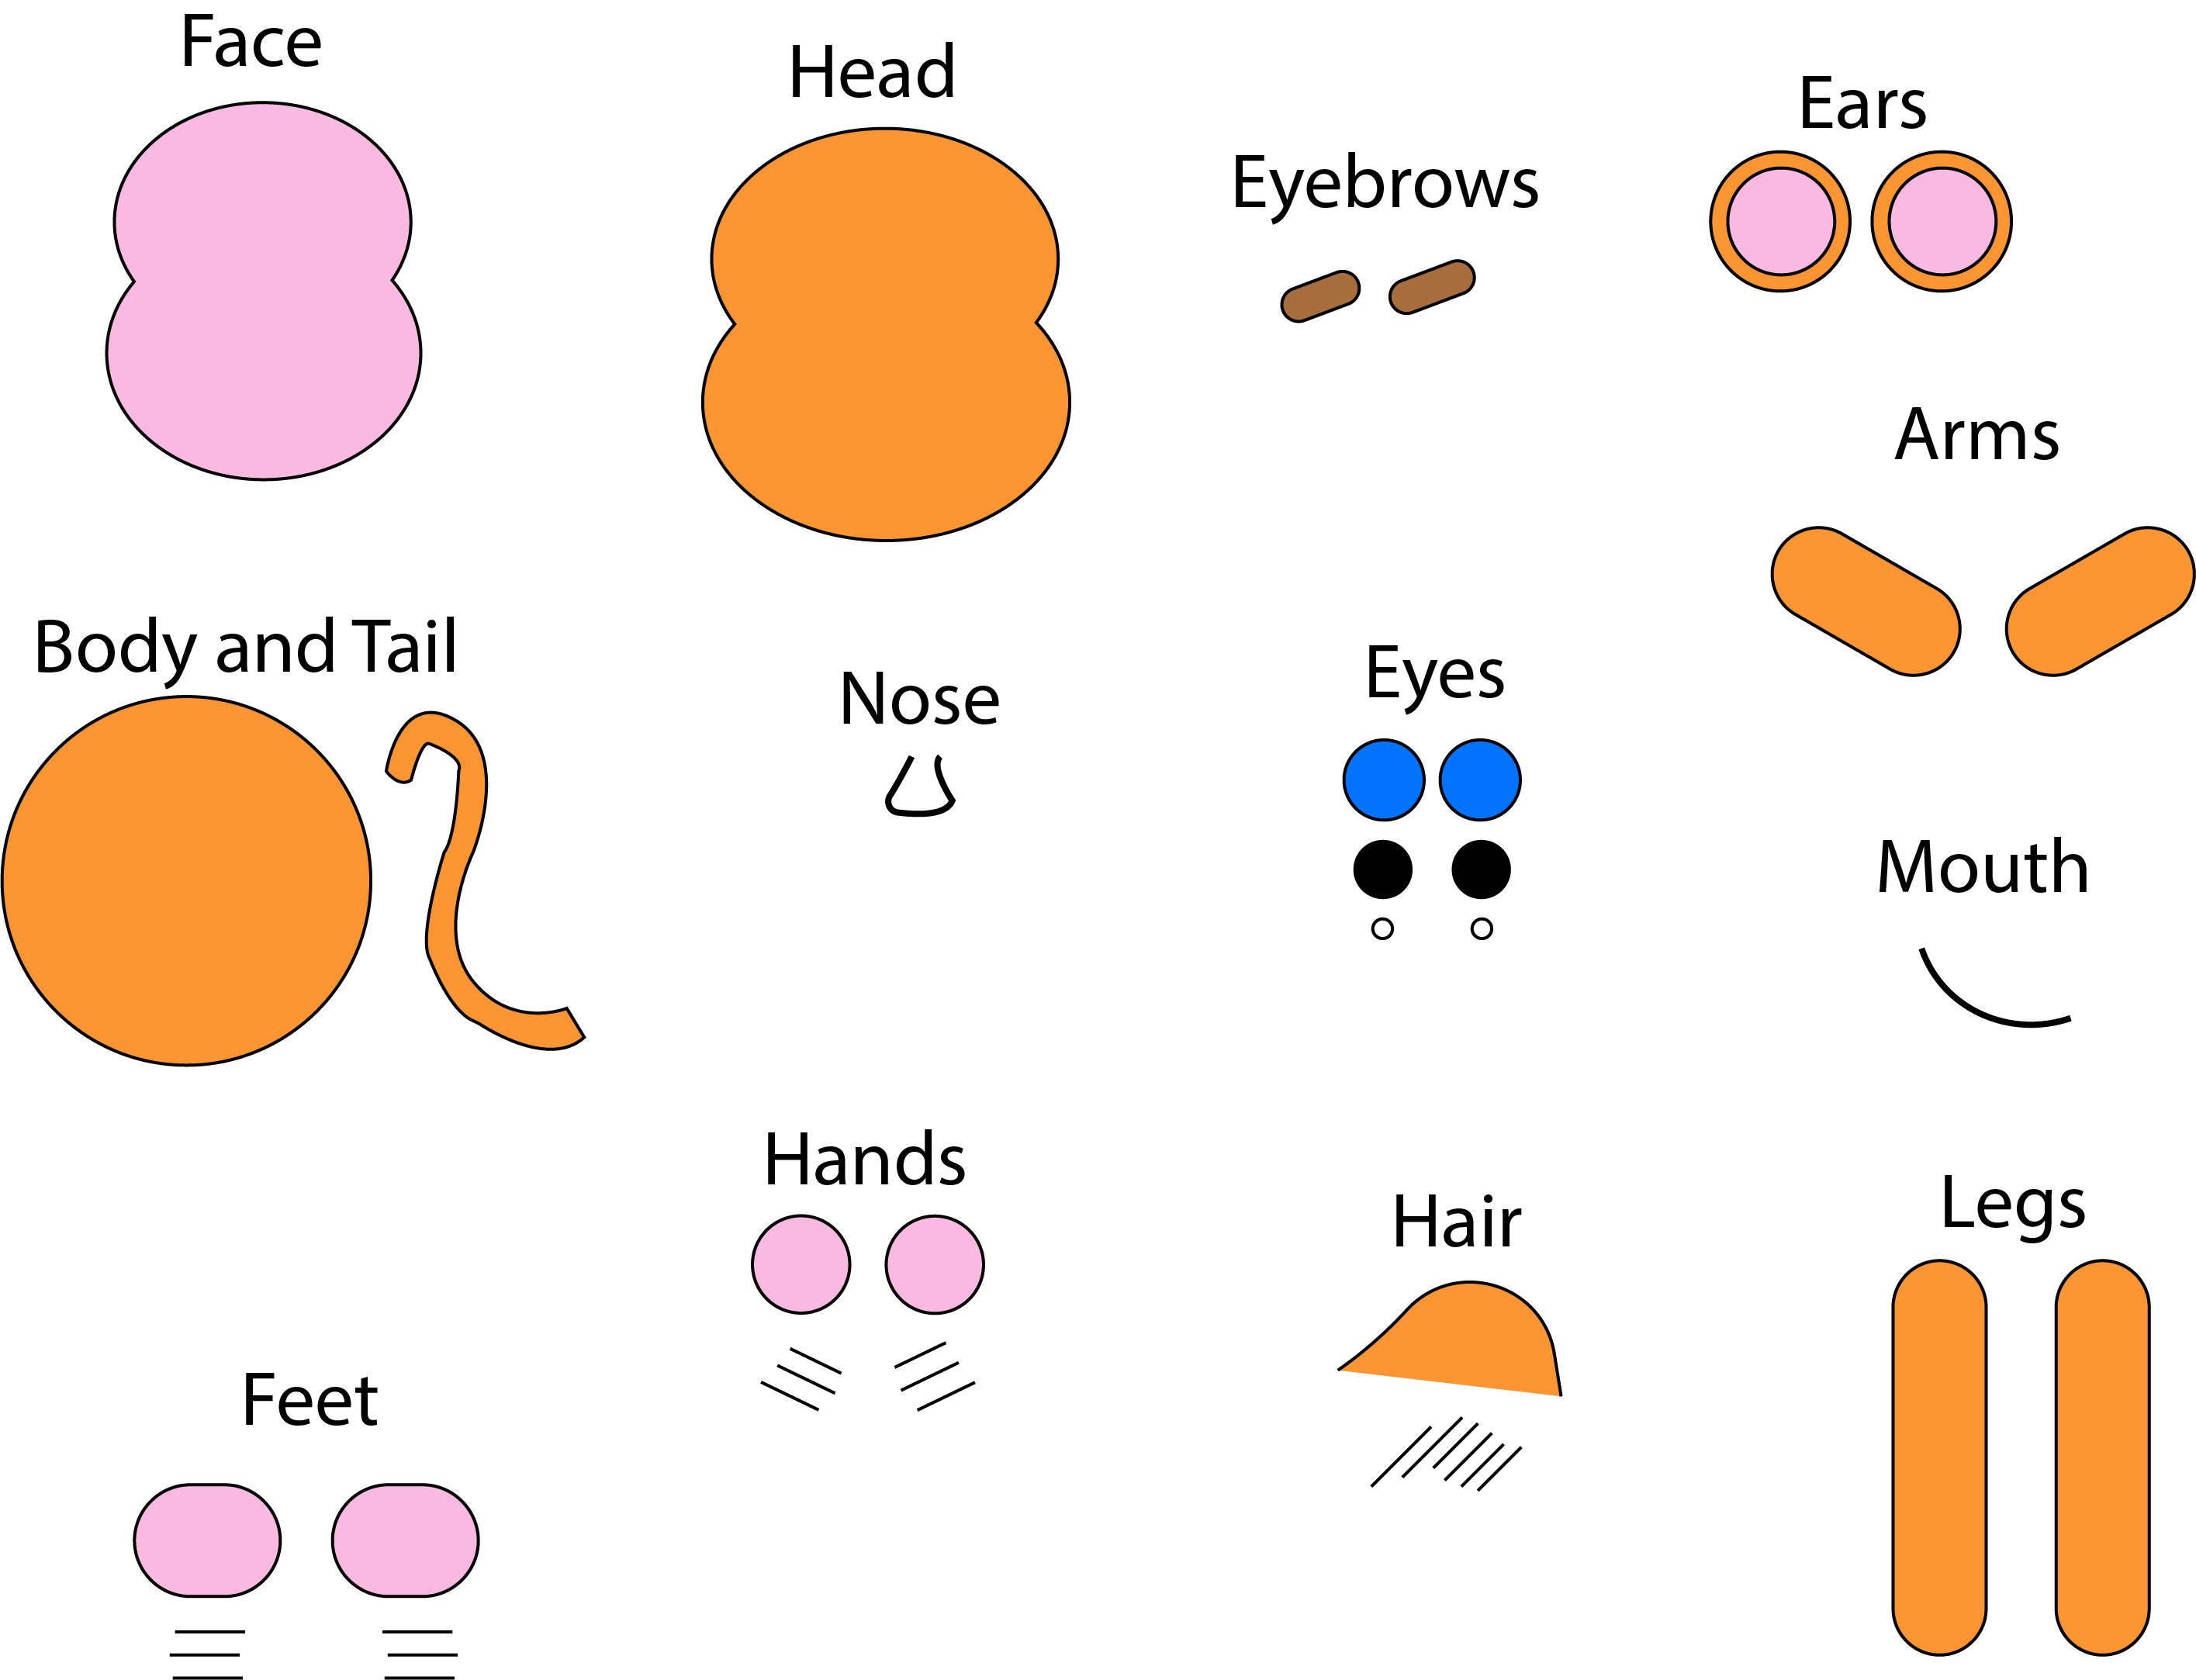
This analysed the individual parts of 'Mono Chimp' which combined to make his character appearance. Likewise to the scale perspective drawings, the first image displayed 'Mono Chimp's' body parts with simple joints in his arms and legs and the second presented the same with additional joints in his arms and legs.
The Actual Body Parts
Initial Body Parts
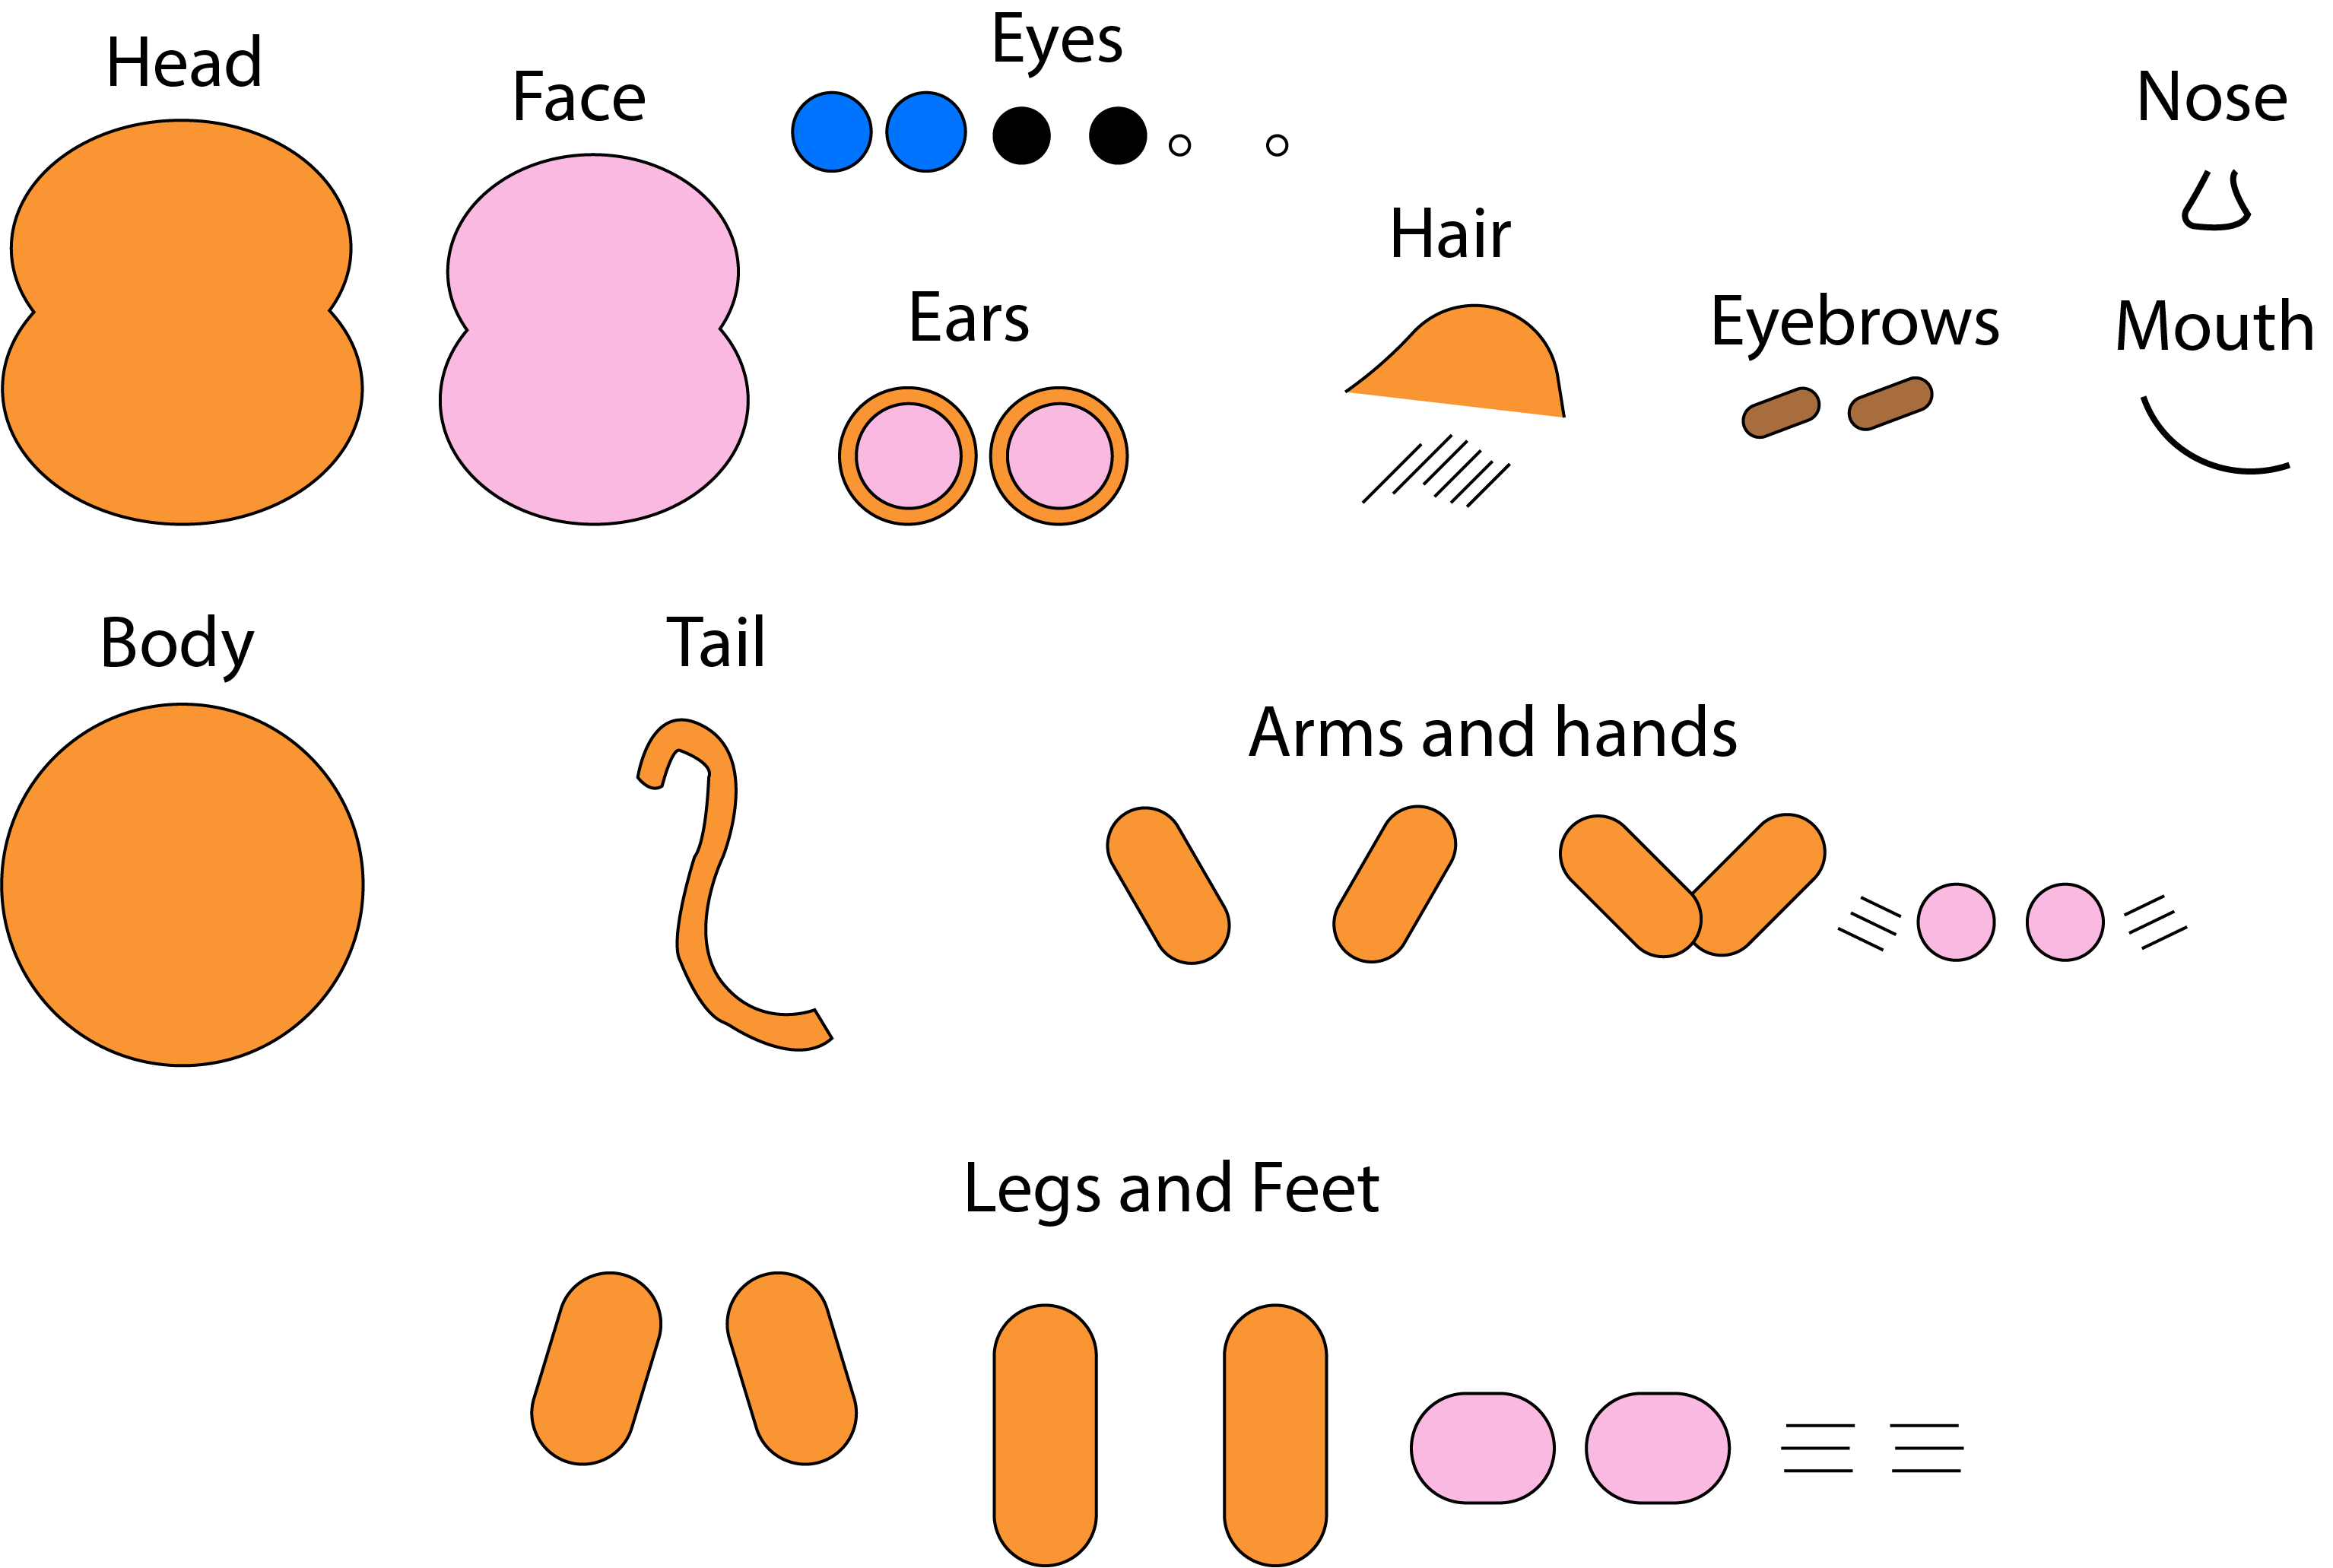
Body Parts of the Final Character
The Final Stages
Overview
As well as creating different aspects to demonstrate various areas and ideas of my character, I also then needed to animate the character. This was completed utilising 'Adobe After Effects'. This can be viewed in the final section of this page.
To view more detail about this project and to view the pitch bible for this project, please see the documents provided below. As explained before, the pitch bible explains the story of the game and role of 'Mono Chimp'.
The Documents to View
A More Detailed Process (Document)The Pitch Bible